COMPARTIR
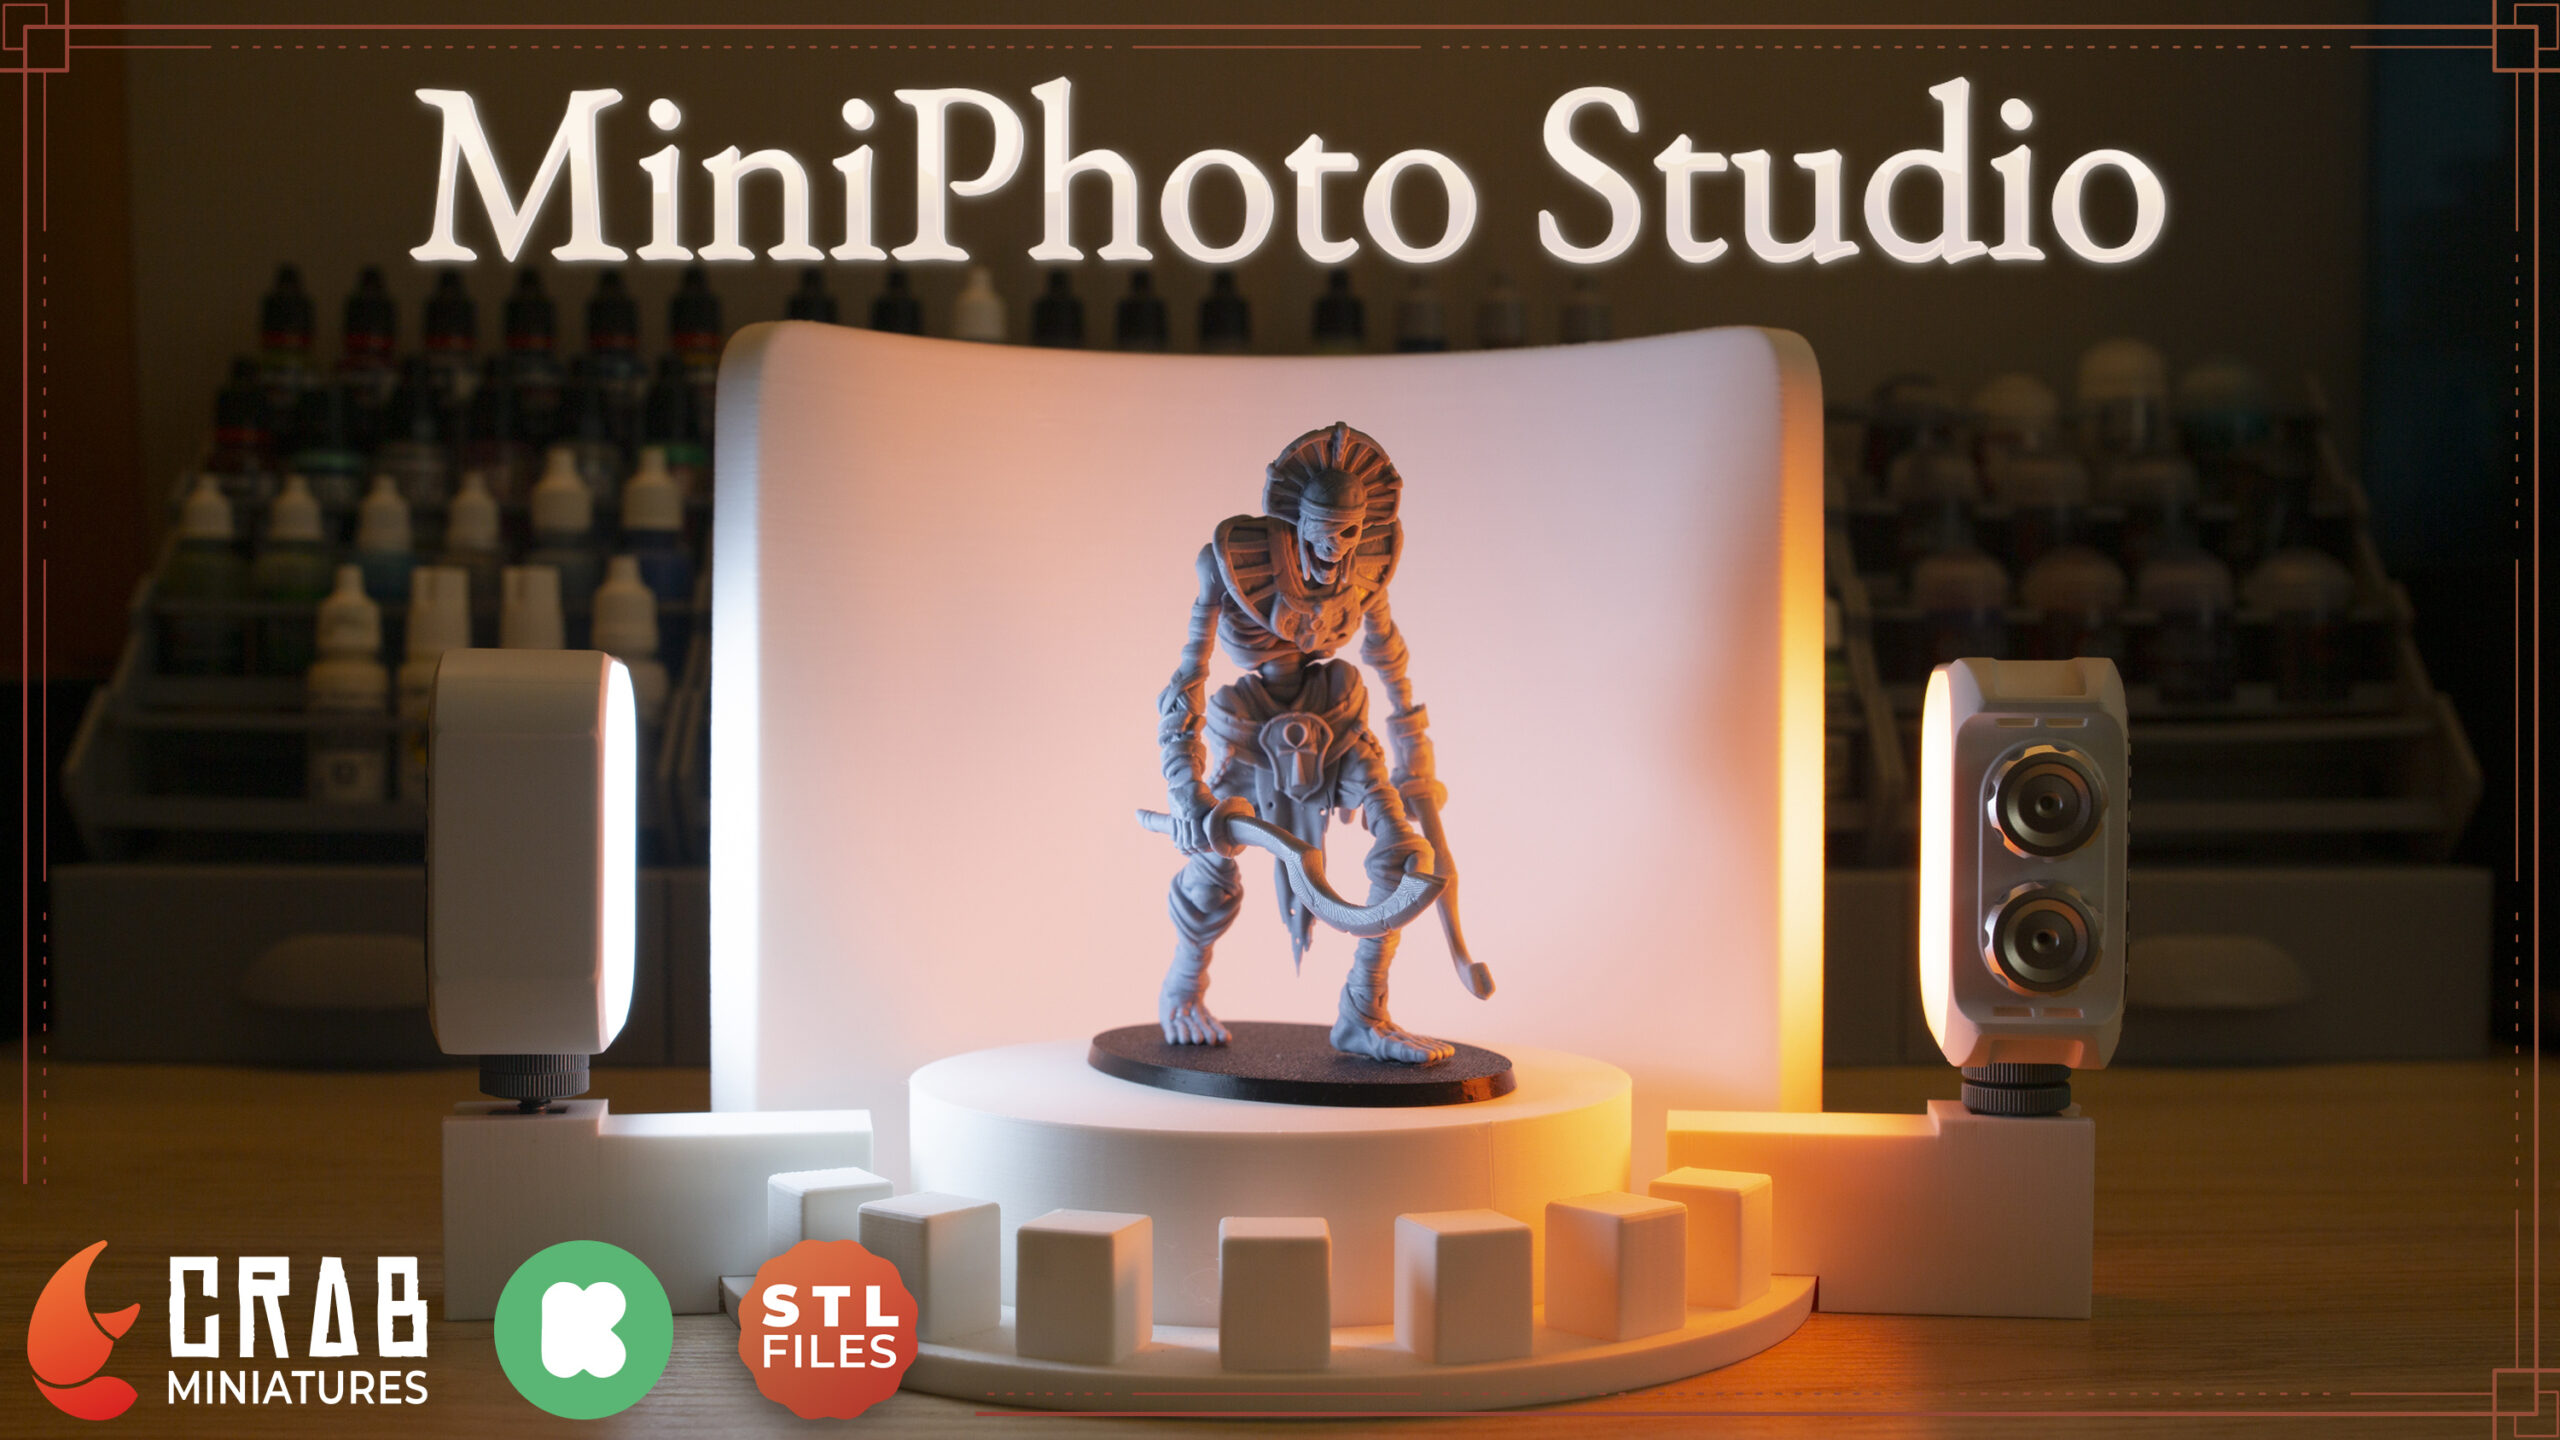
MiniPhoto STUDIO
The ideal solution for quick and easy miniatures photography… or whatever you want!
Información
This time we bring you something different. Maybe not a very popular project, because it isn’t an army, but we believe it can be very useful to you.
So… We present the MiniPhoto Studio! our photography set for miniatures, or for whatever you want!


It’ll help you to take photos of your miniatures in a faster and more comfortable way.

In this project you’ll find the complete set with different width and height options to print and this is what you need to know:
- You’ll receive only STL files optimized for FDM printing. No physical delivery.
- You’ll need adapted spotlights with universal hot shoe.
Remember that you can follow us on Instagram or Kickstarter to be tuned for all our projects!


It’s very simple:
1.- Place the miniature on the central platform.
2.- Use the supports to adjust the height, orientation, and distance of the spotlights according to your needs.
3.- Place as many spotlights as you need.
4.- Take the picture with your phone or your camera!

As easy as this…

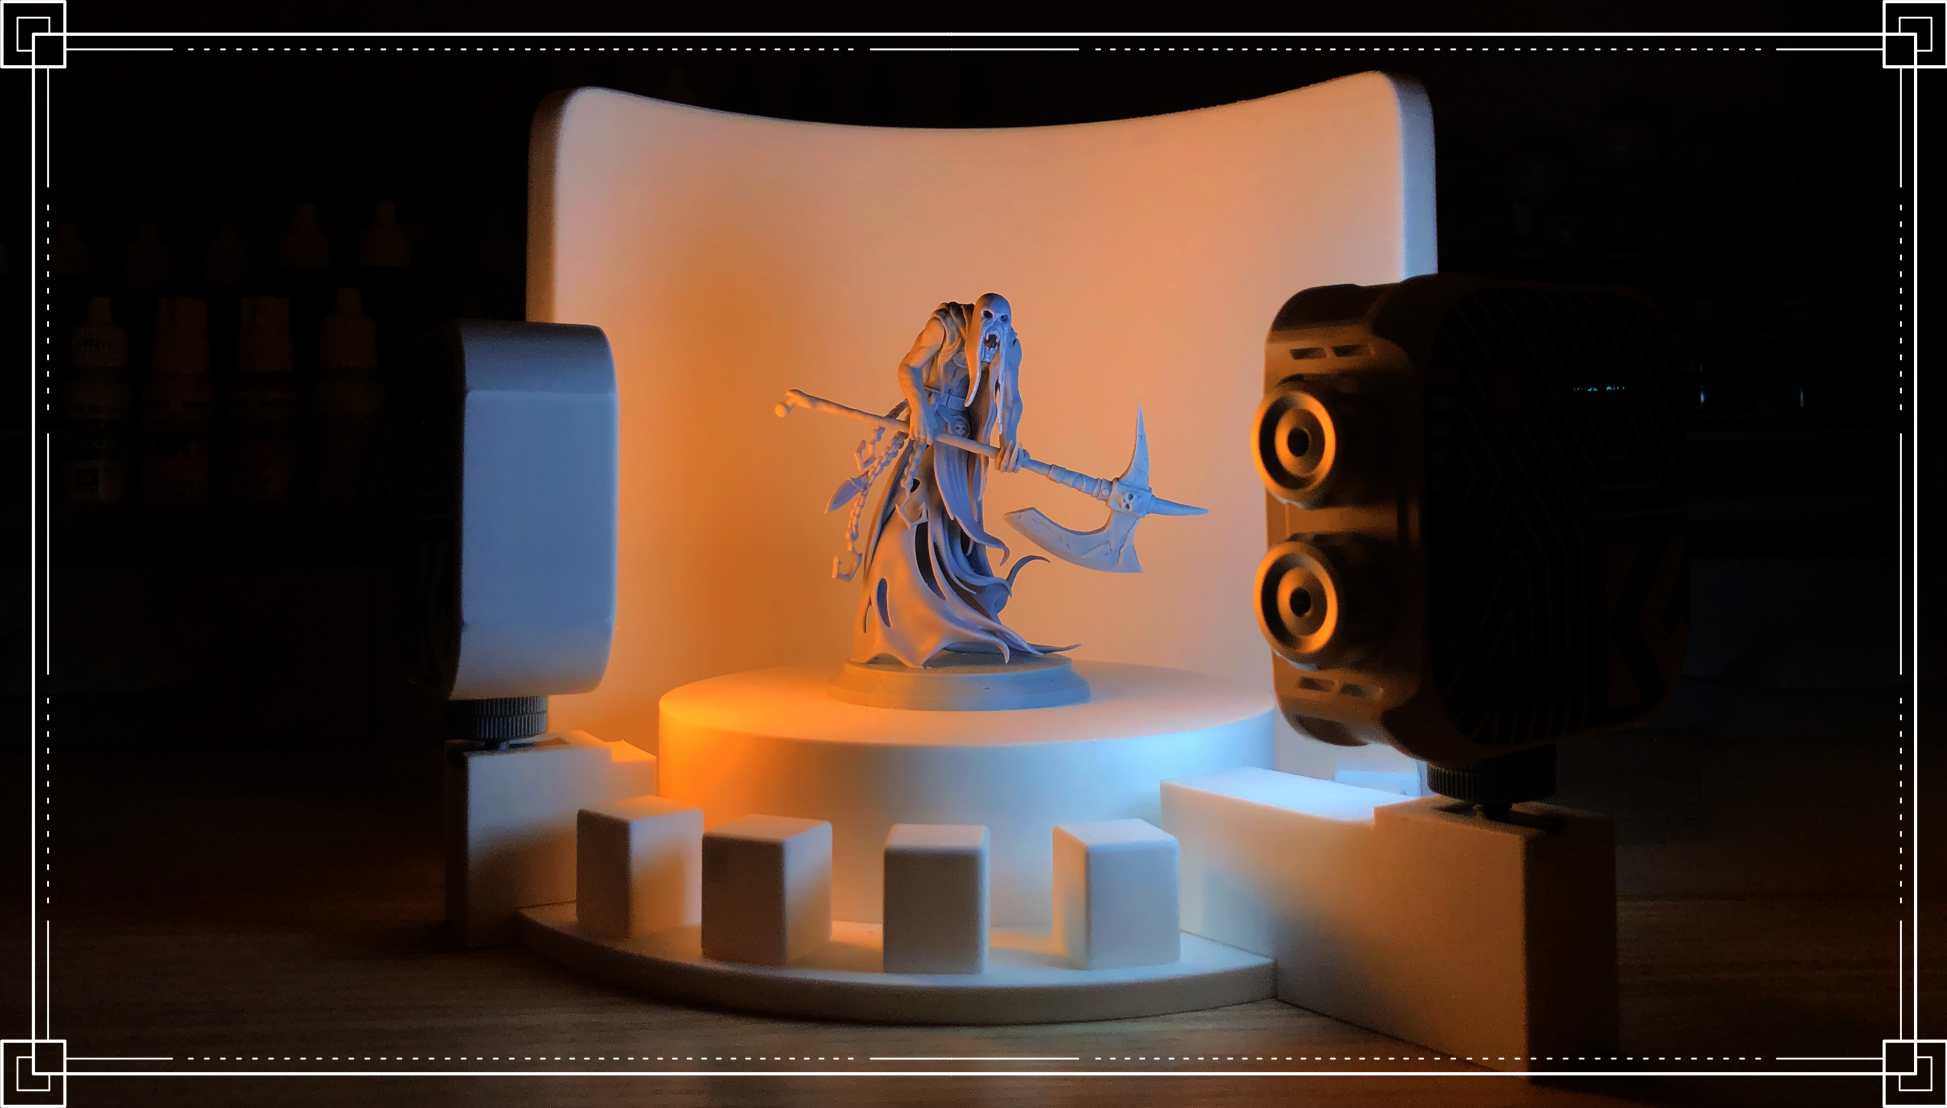
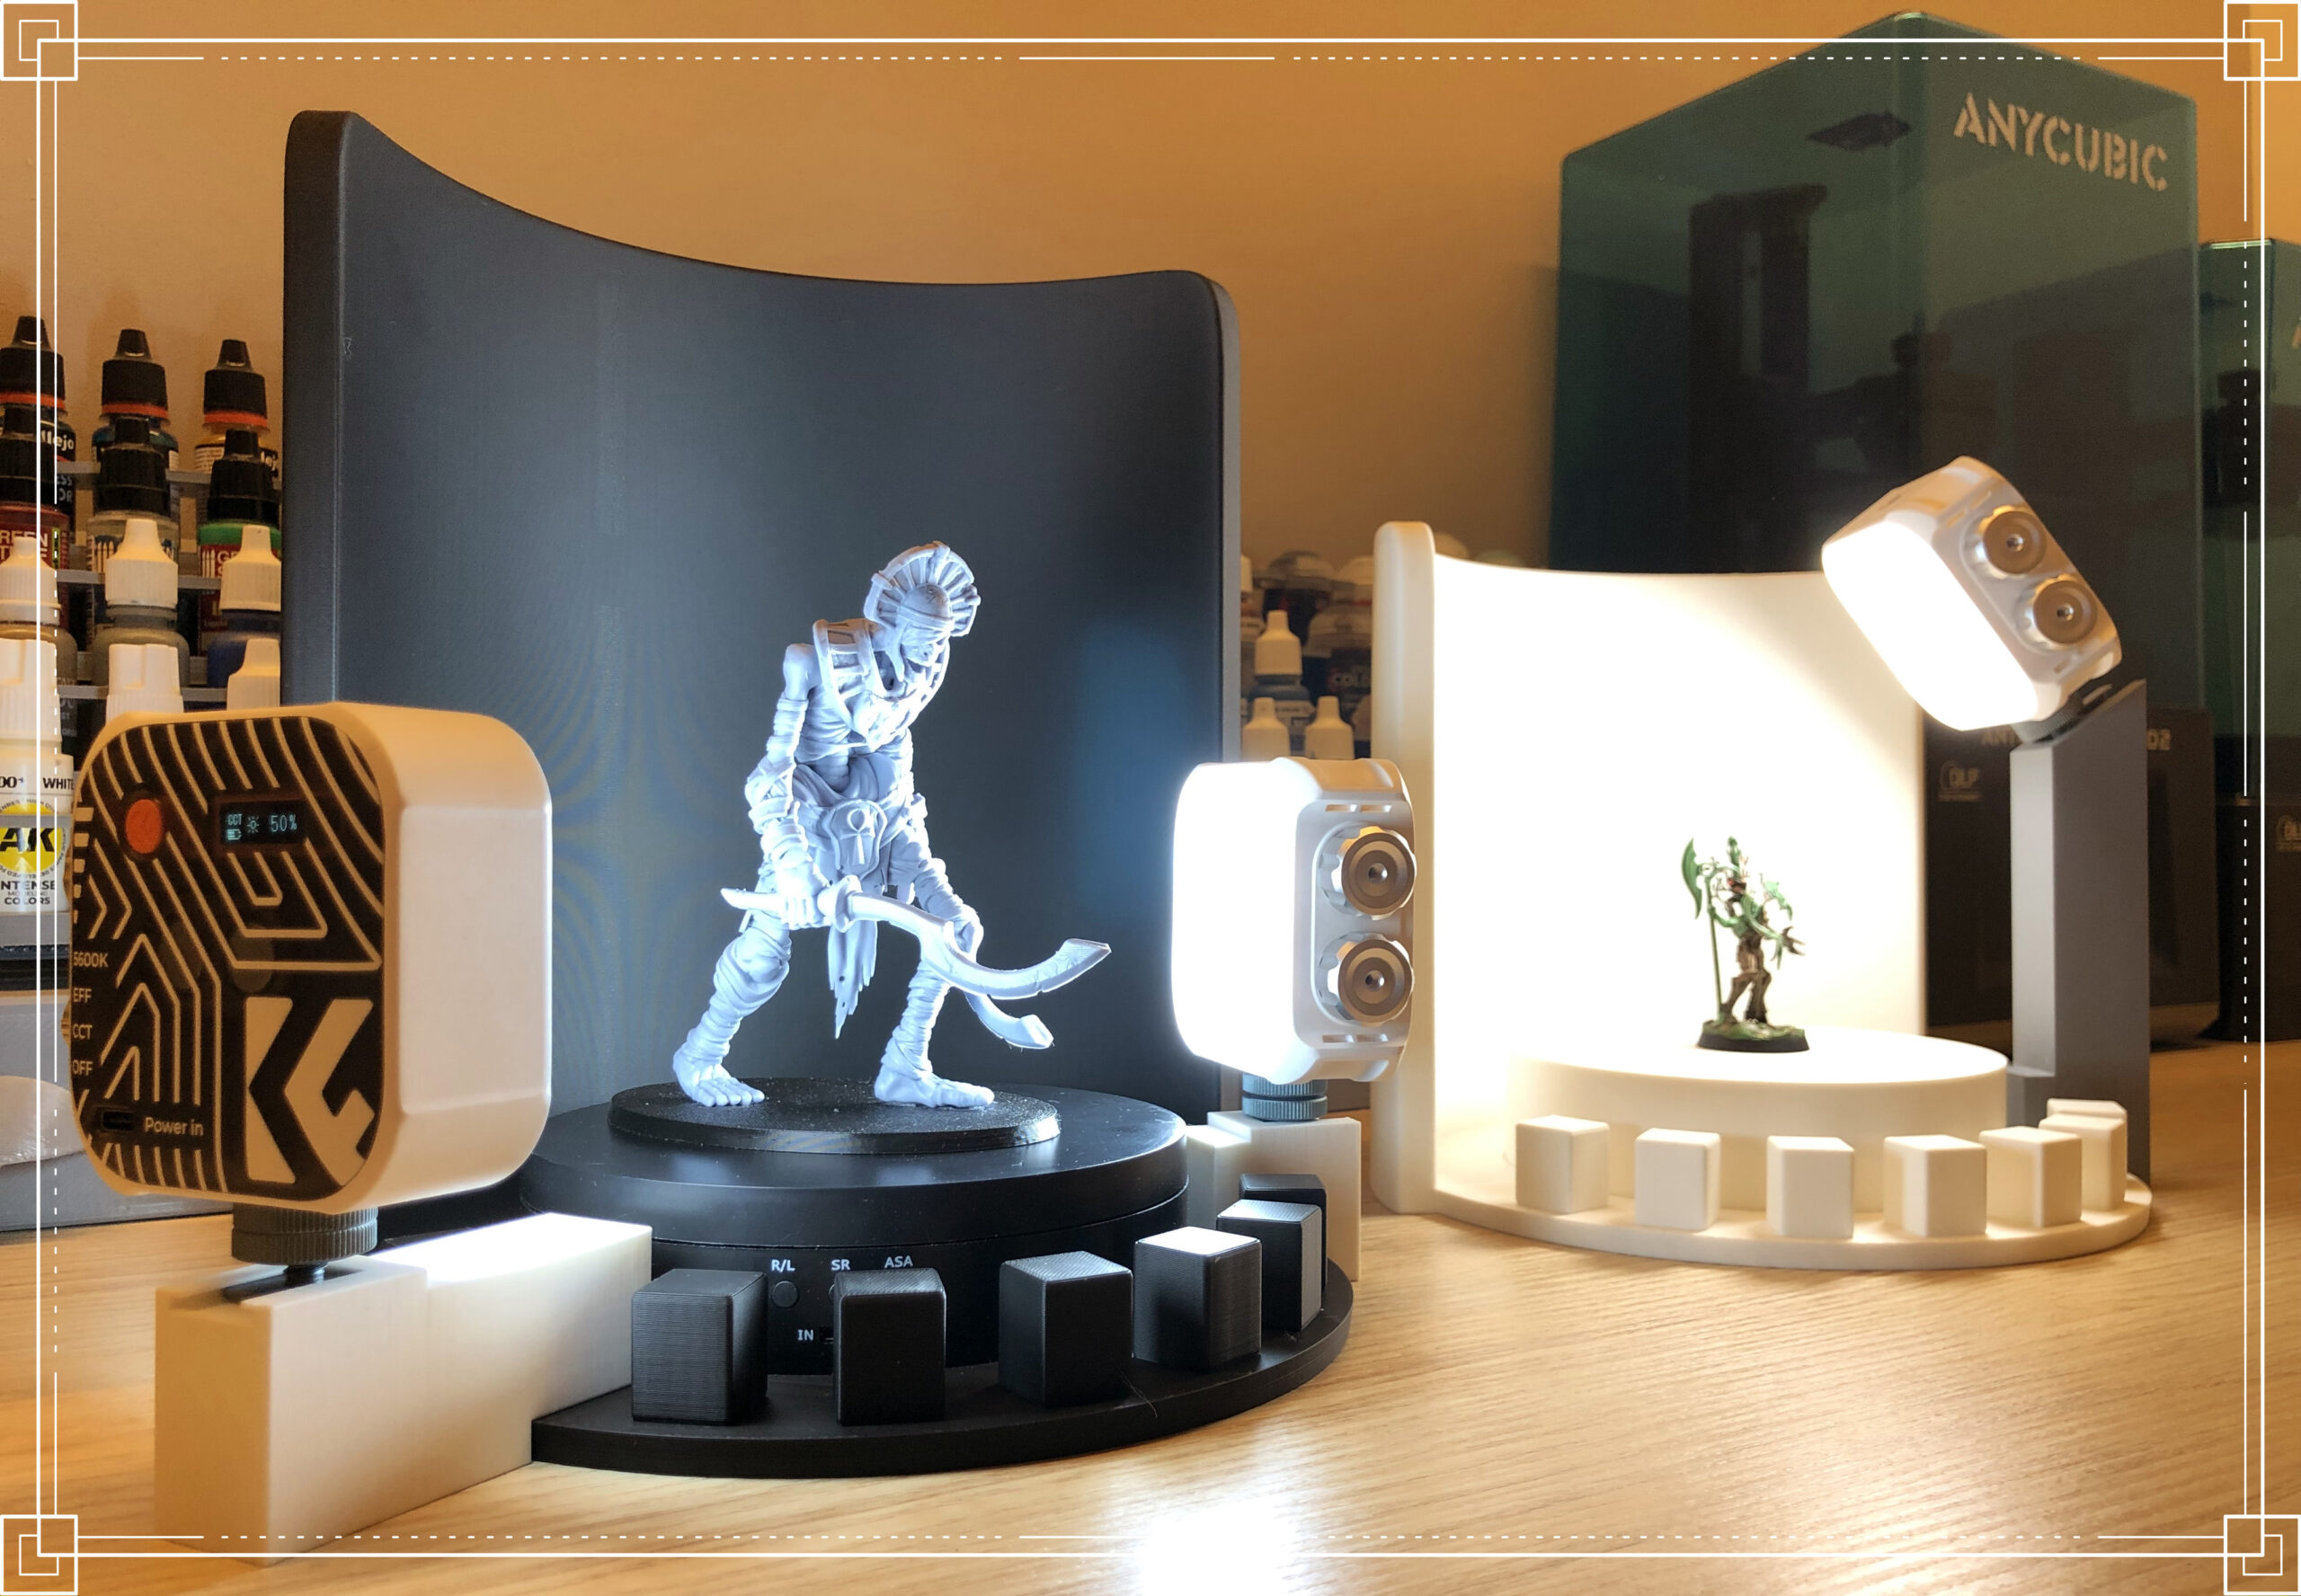
… and this is what it looks like!


We provide you different pieces with a universal attachment for the hot shoe of any camera.
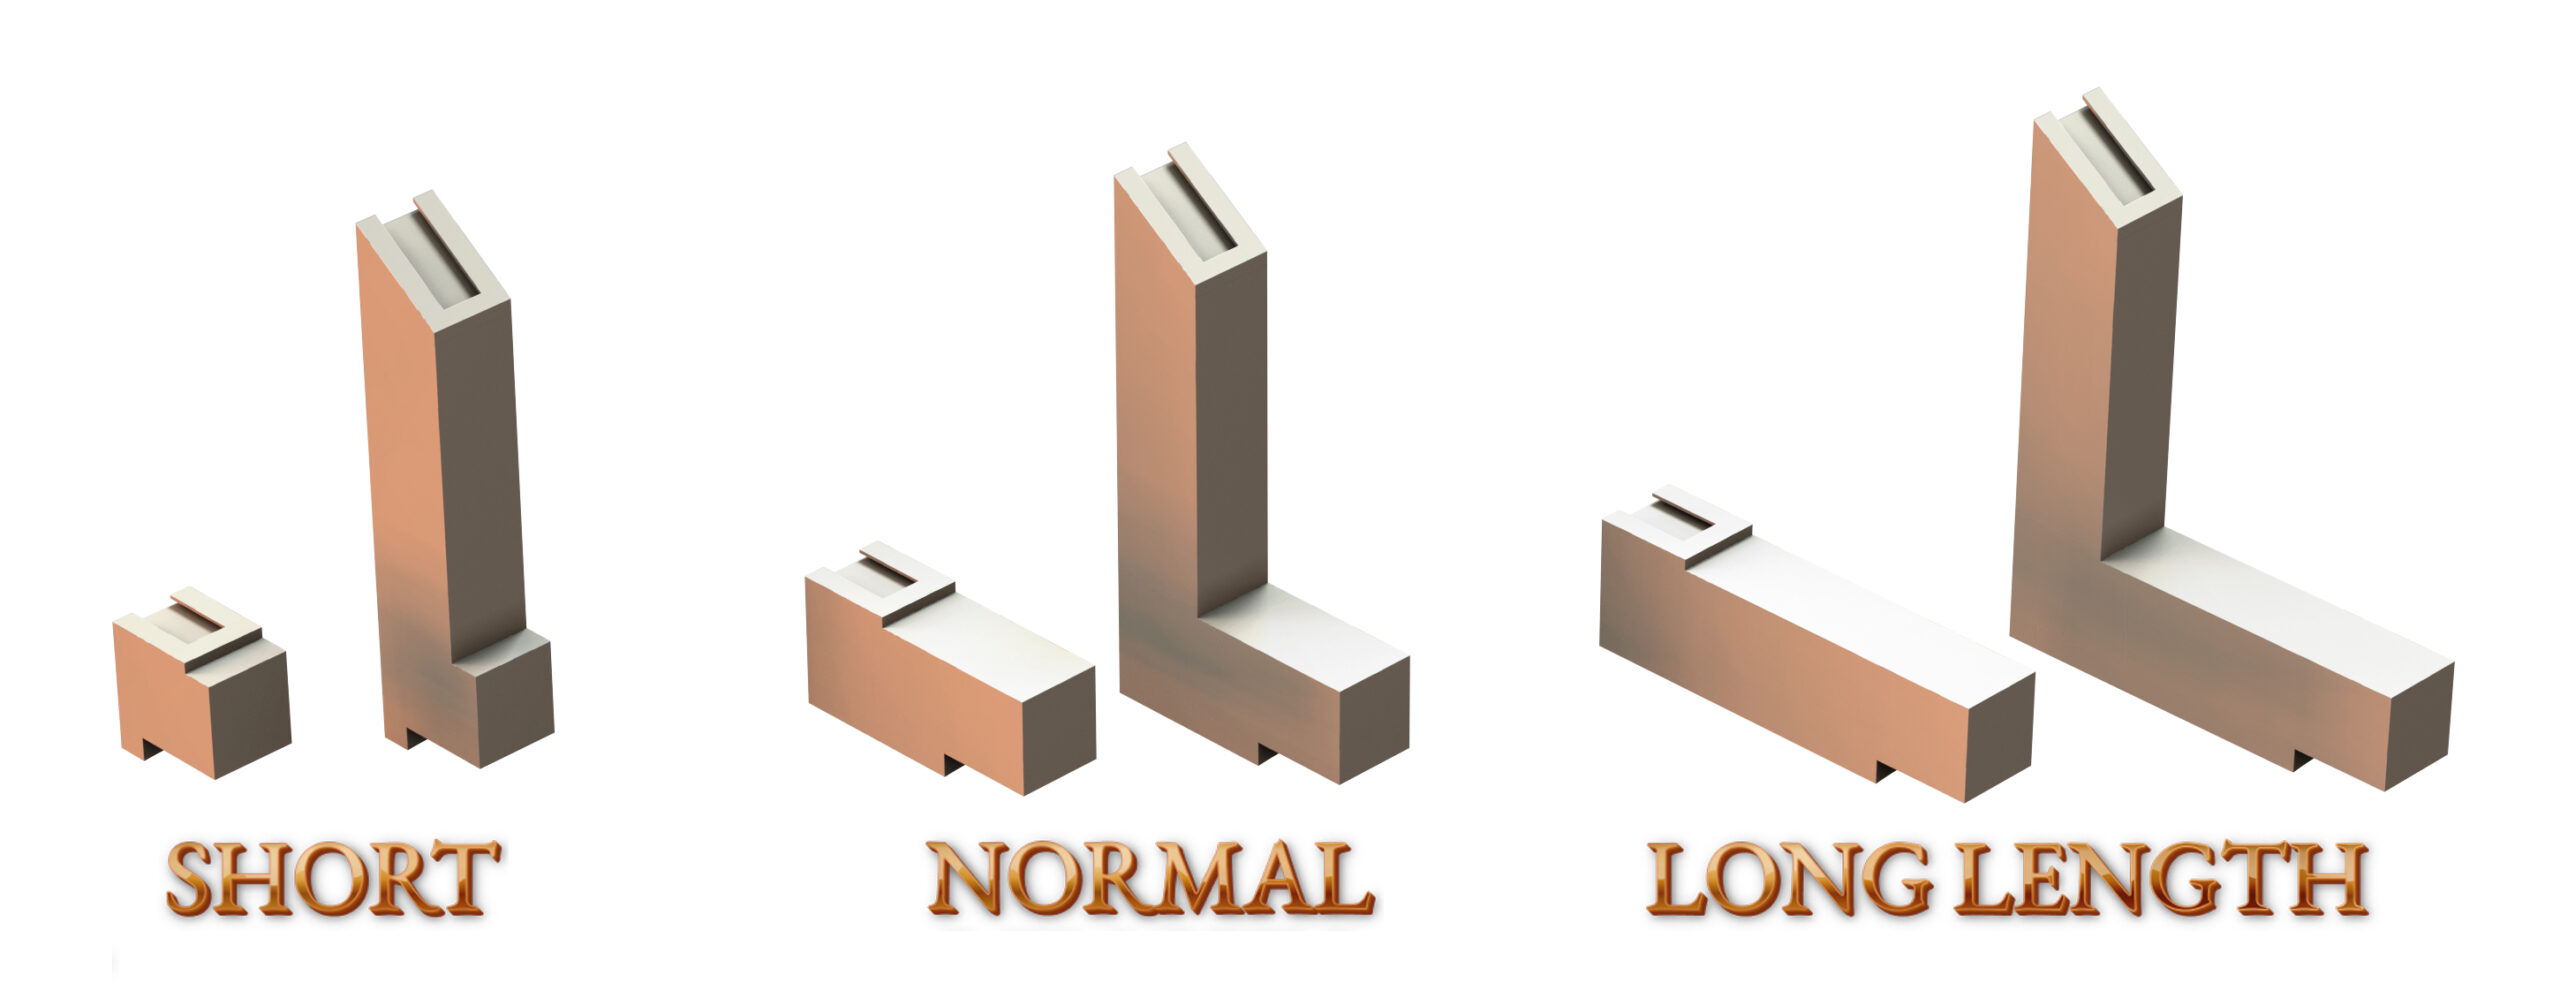
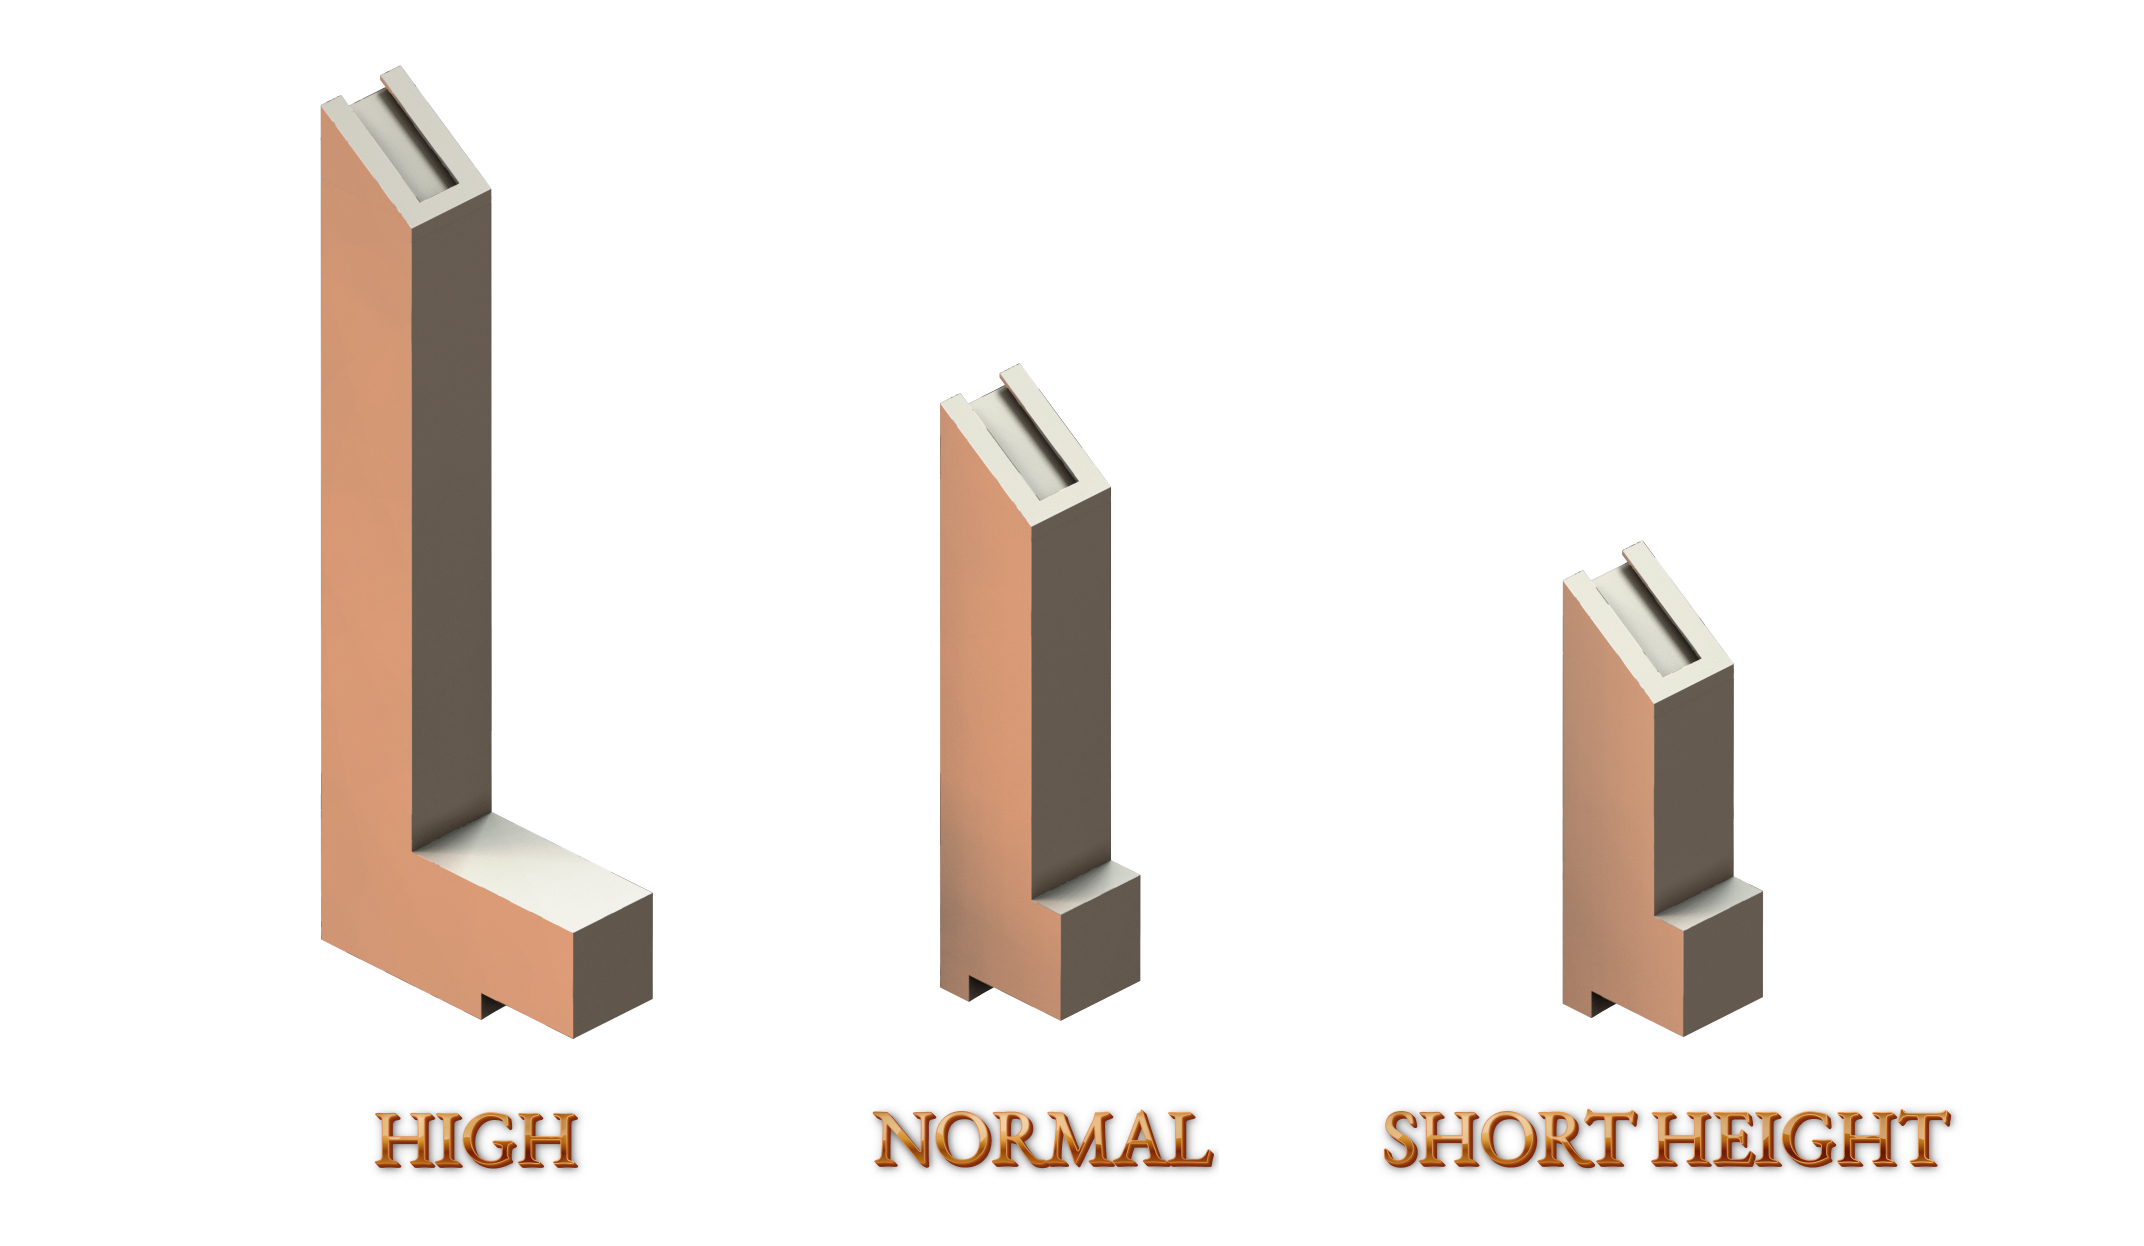
You’ll have all possible variations of all these pieces to set the distance, inclination and height of the lights.
So with these pieces you can adjust the height of the light and the distance to the miniature.
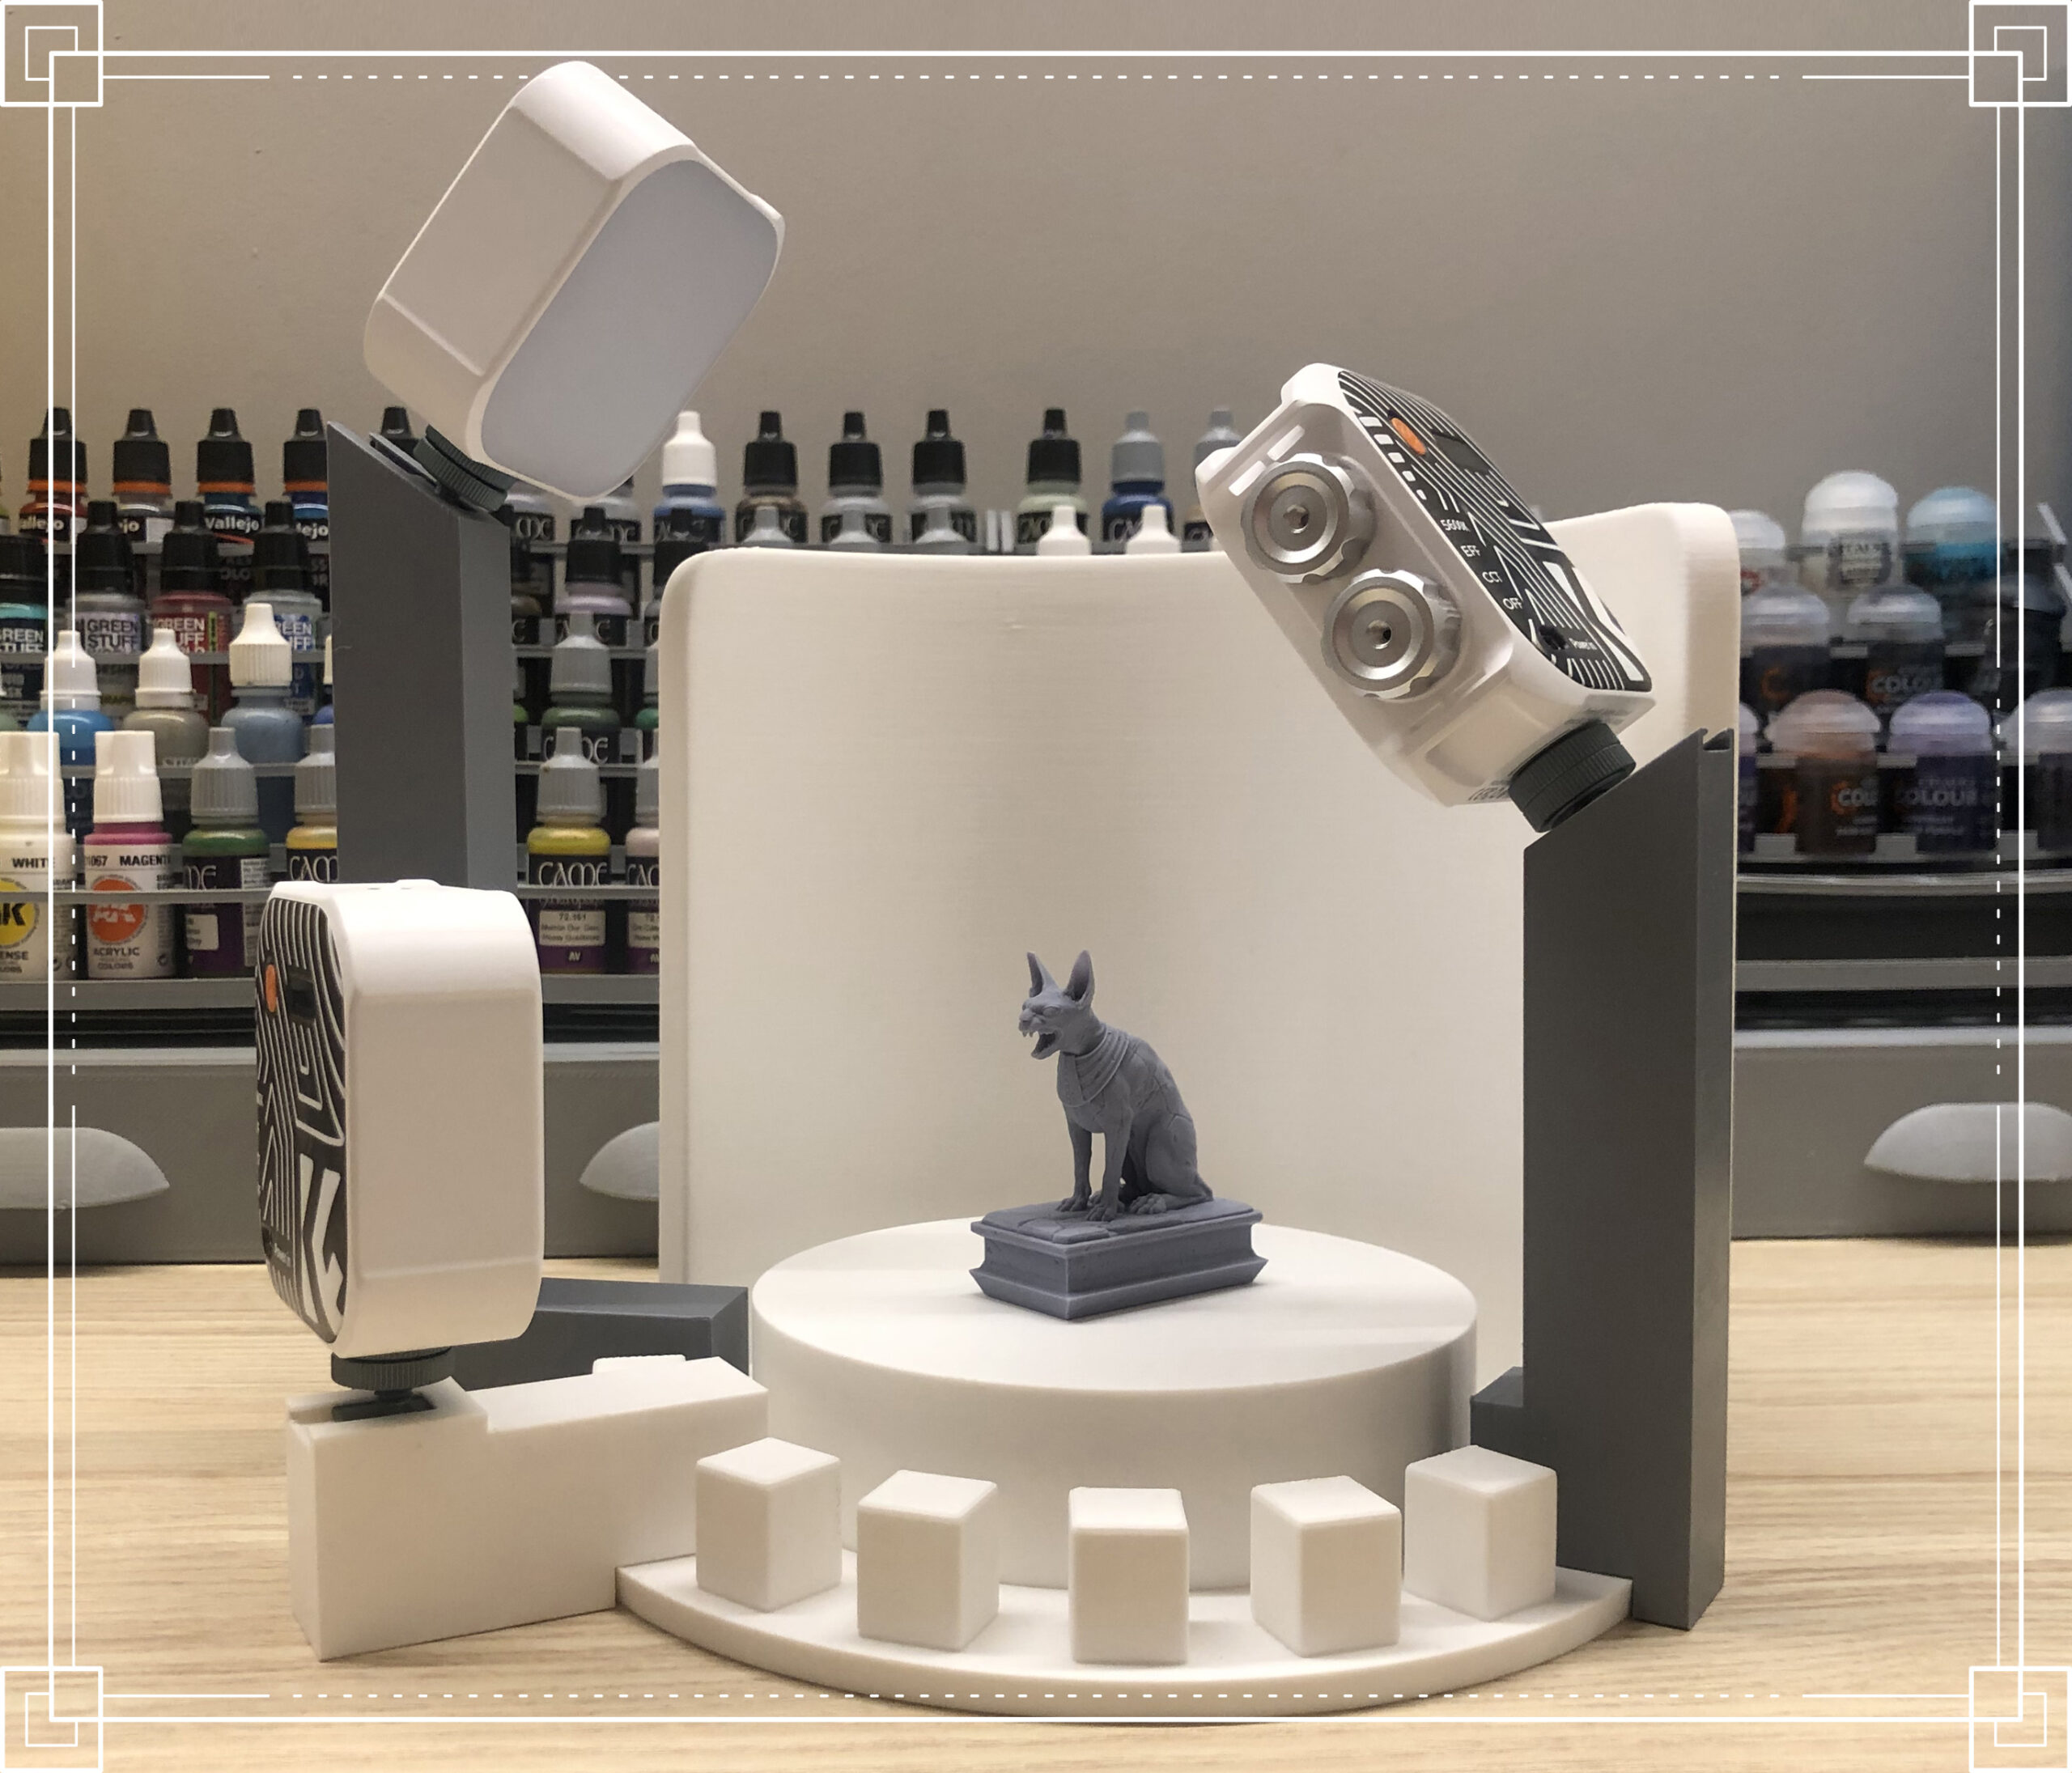
Example with three spotlights at different heights and orientations

Best of all, when you find your best setup, you’ll never have to fight with spotlight positions again! Just put the miniature in the center, put the pieces/spotlights in the positions and take the pictures!


We have designed it mainly for 32mm scale miniatures, but you can use it for 75mm scale miniatures or about 18 cm high.
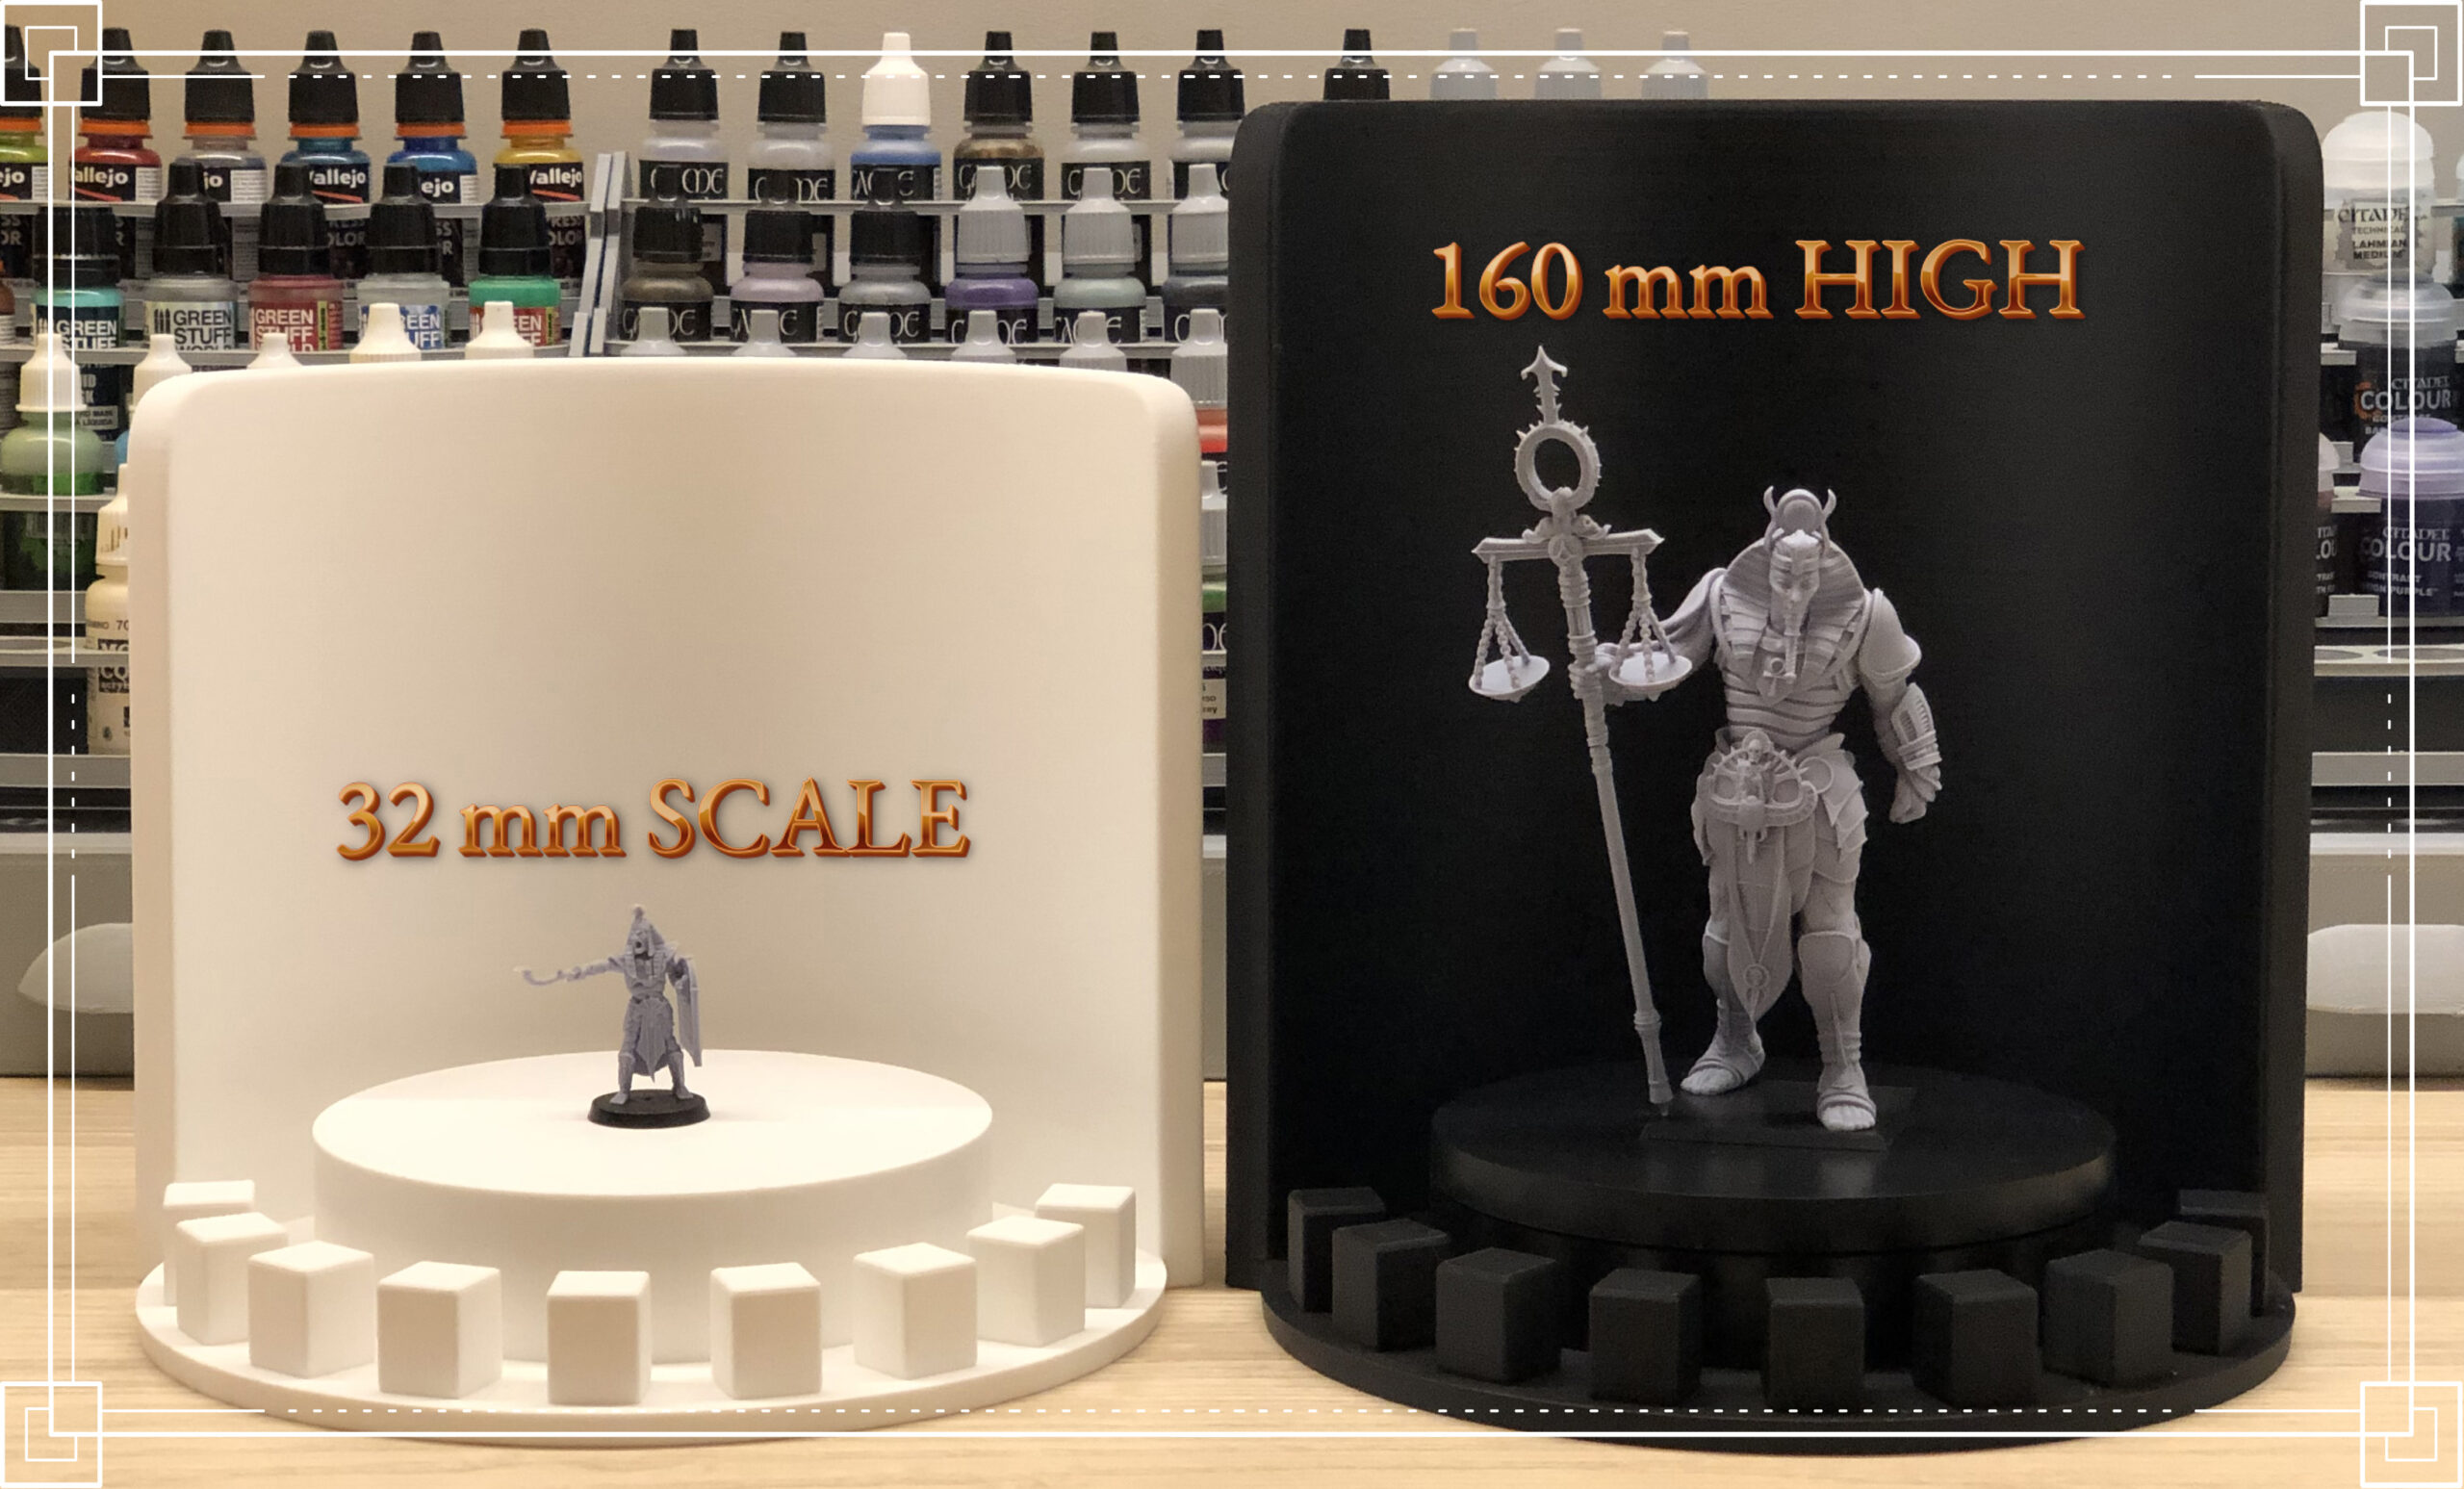
You’ll have different background sizes to choose the one that best suits your needs.


VERY IMPORTANT! You need to have the spotlights with a universal hot shoe to be able to put it on the pieces.
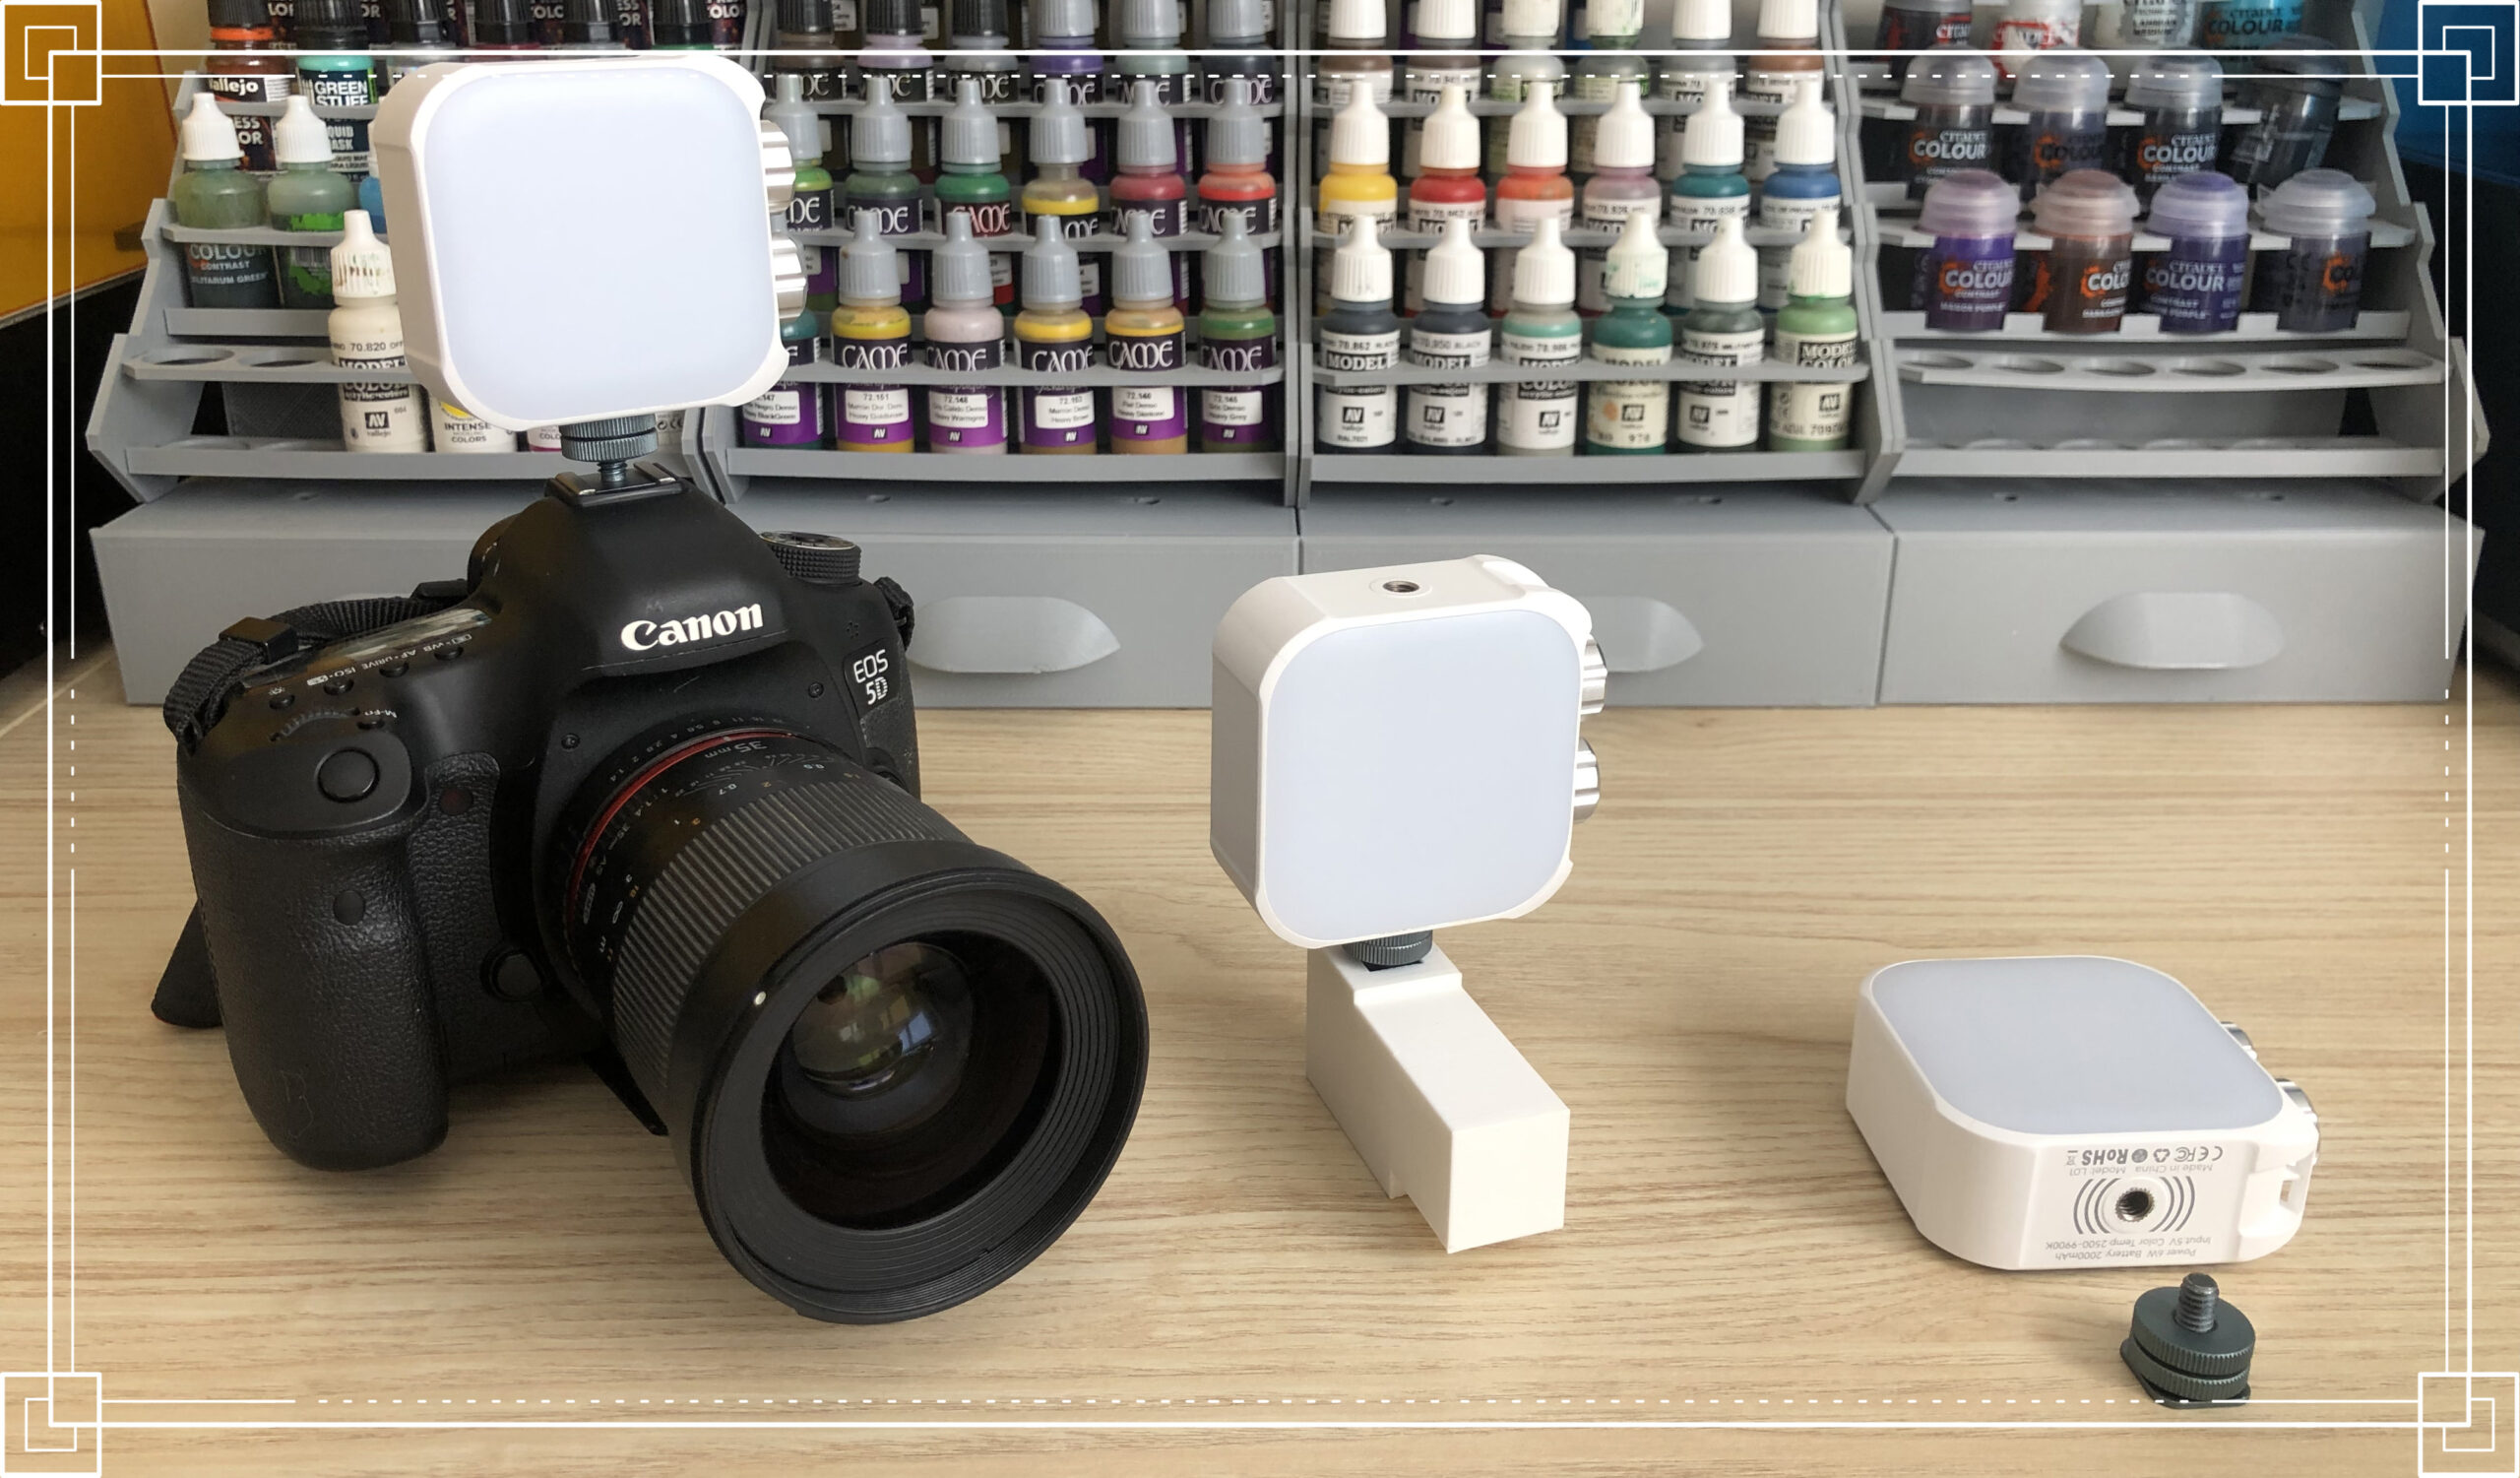
If you can use your spotlight on a camera, then you can use it in MiniPhotoStudio!
We have used these ones:
https://amzn.eu/d/5DIc8kR
But you can use the ones you want (bigger, brighter, with colors, without color…) but it must have a universal shoe, don’t forget!


You’ll have different types of platforms and sizes, so you can print the one you prefer.
For example, you can print the set with the central platform as an island. This way you’ll have a slight horizon, and at the same time it creates an interesting atmosphere. We especially liked this option.
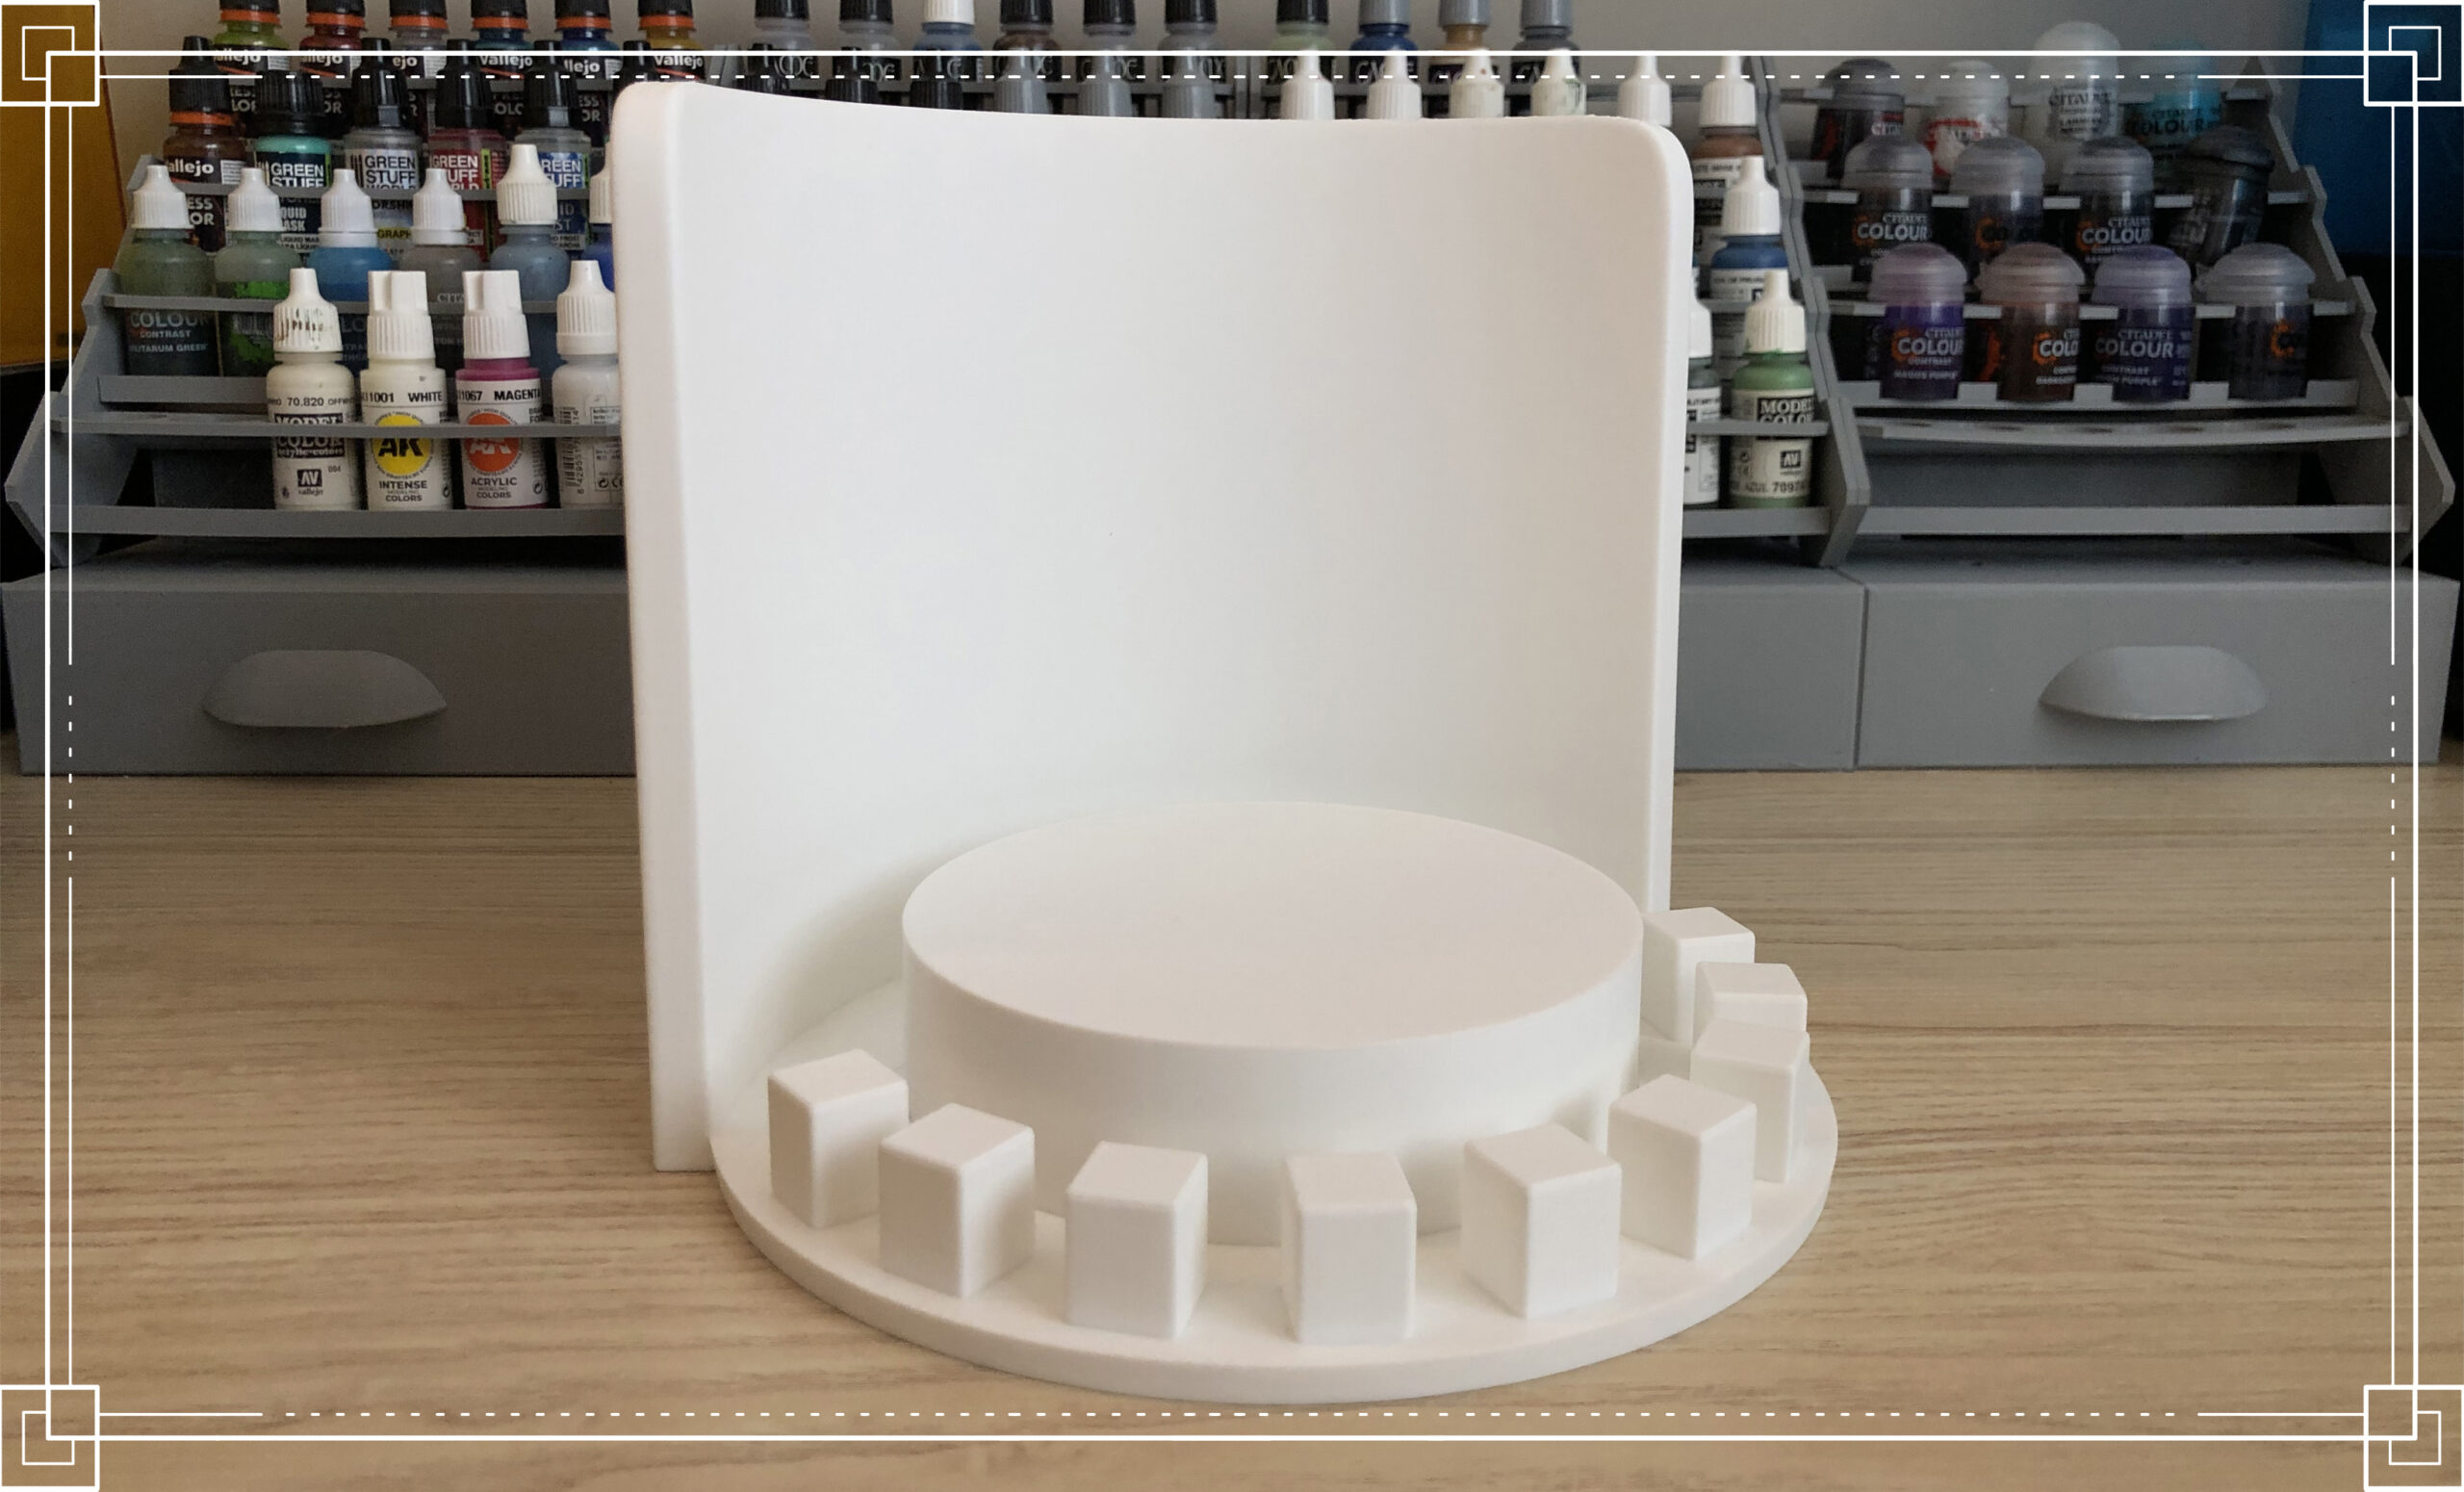

Or you can print it without a platform and you can use a turntable to make turnarounds. If you choose this option, then you can print the platform separately, or a platform cover to print it in the same color as the background if you want!

VERY IMPORTANT! The size of this turntable is 145mm. If you have another size, write to us and we’ll make another file to fit yours!

Turntable:
https://amzn.eu/d/8WVlcPc
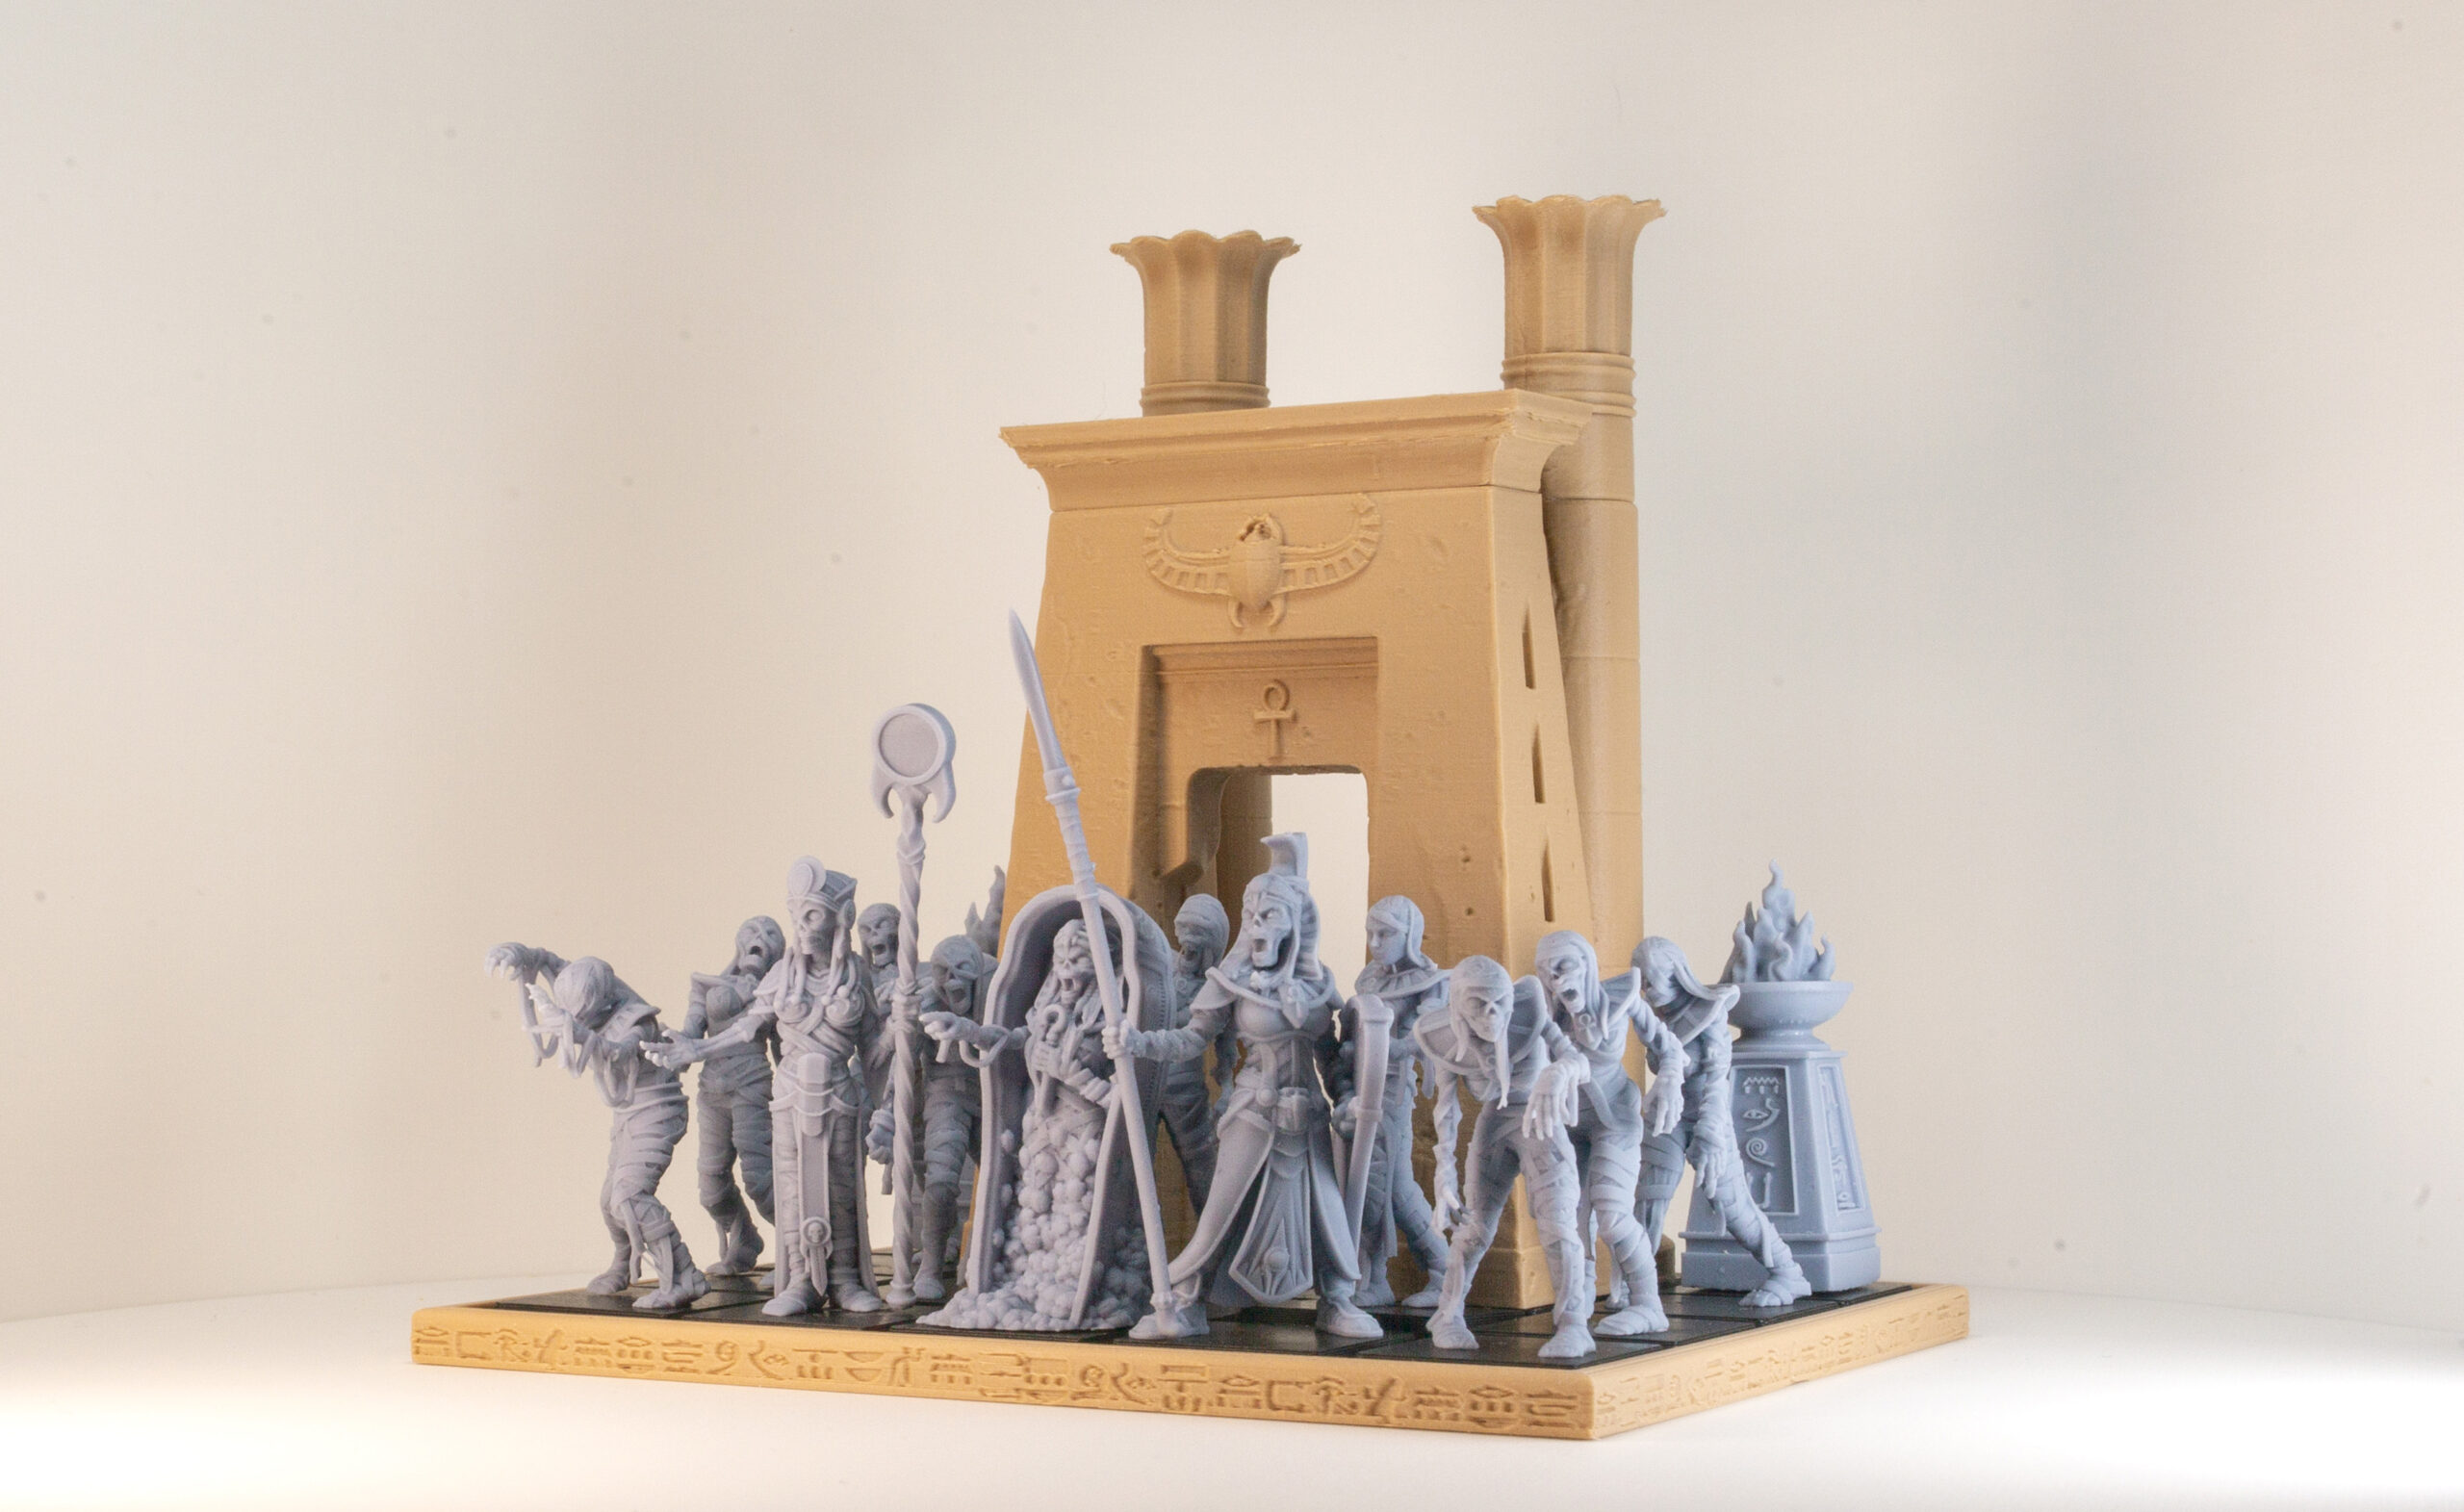
We have also prepared an XL size, trying to make the most of all the space available in the printer. And like the previous one, you’ll also find different background heights.
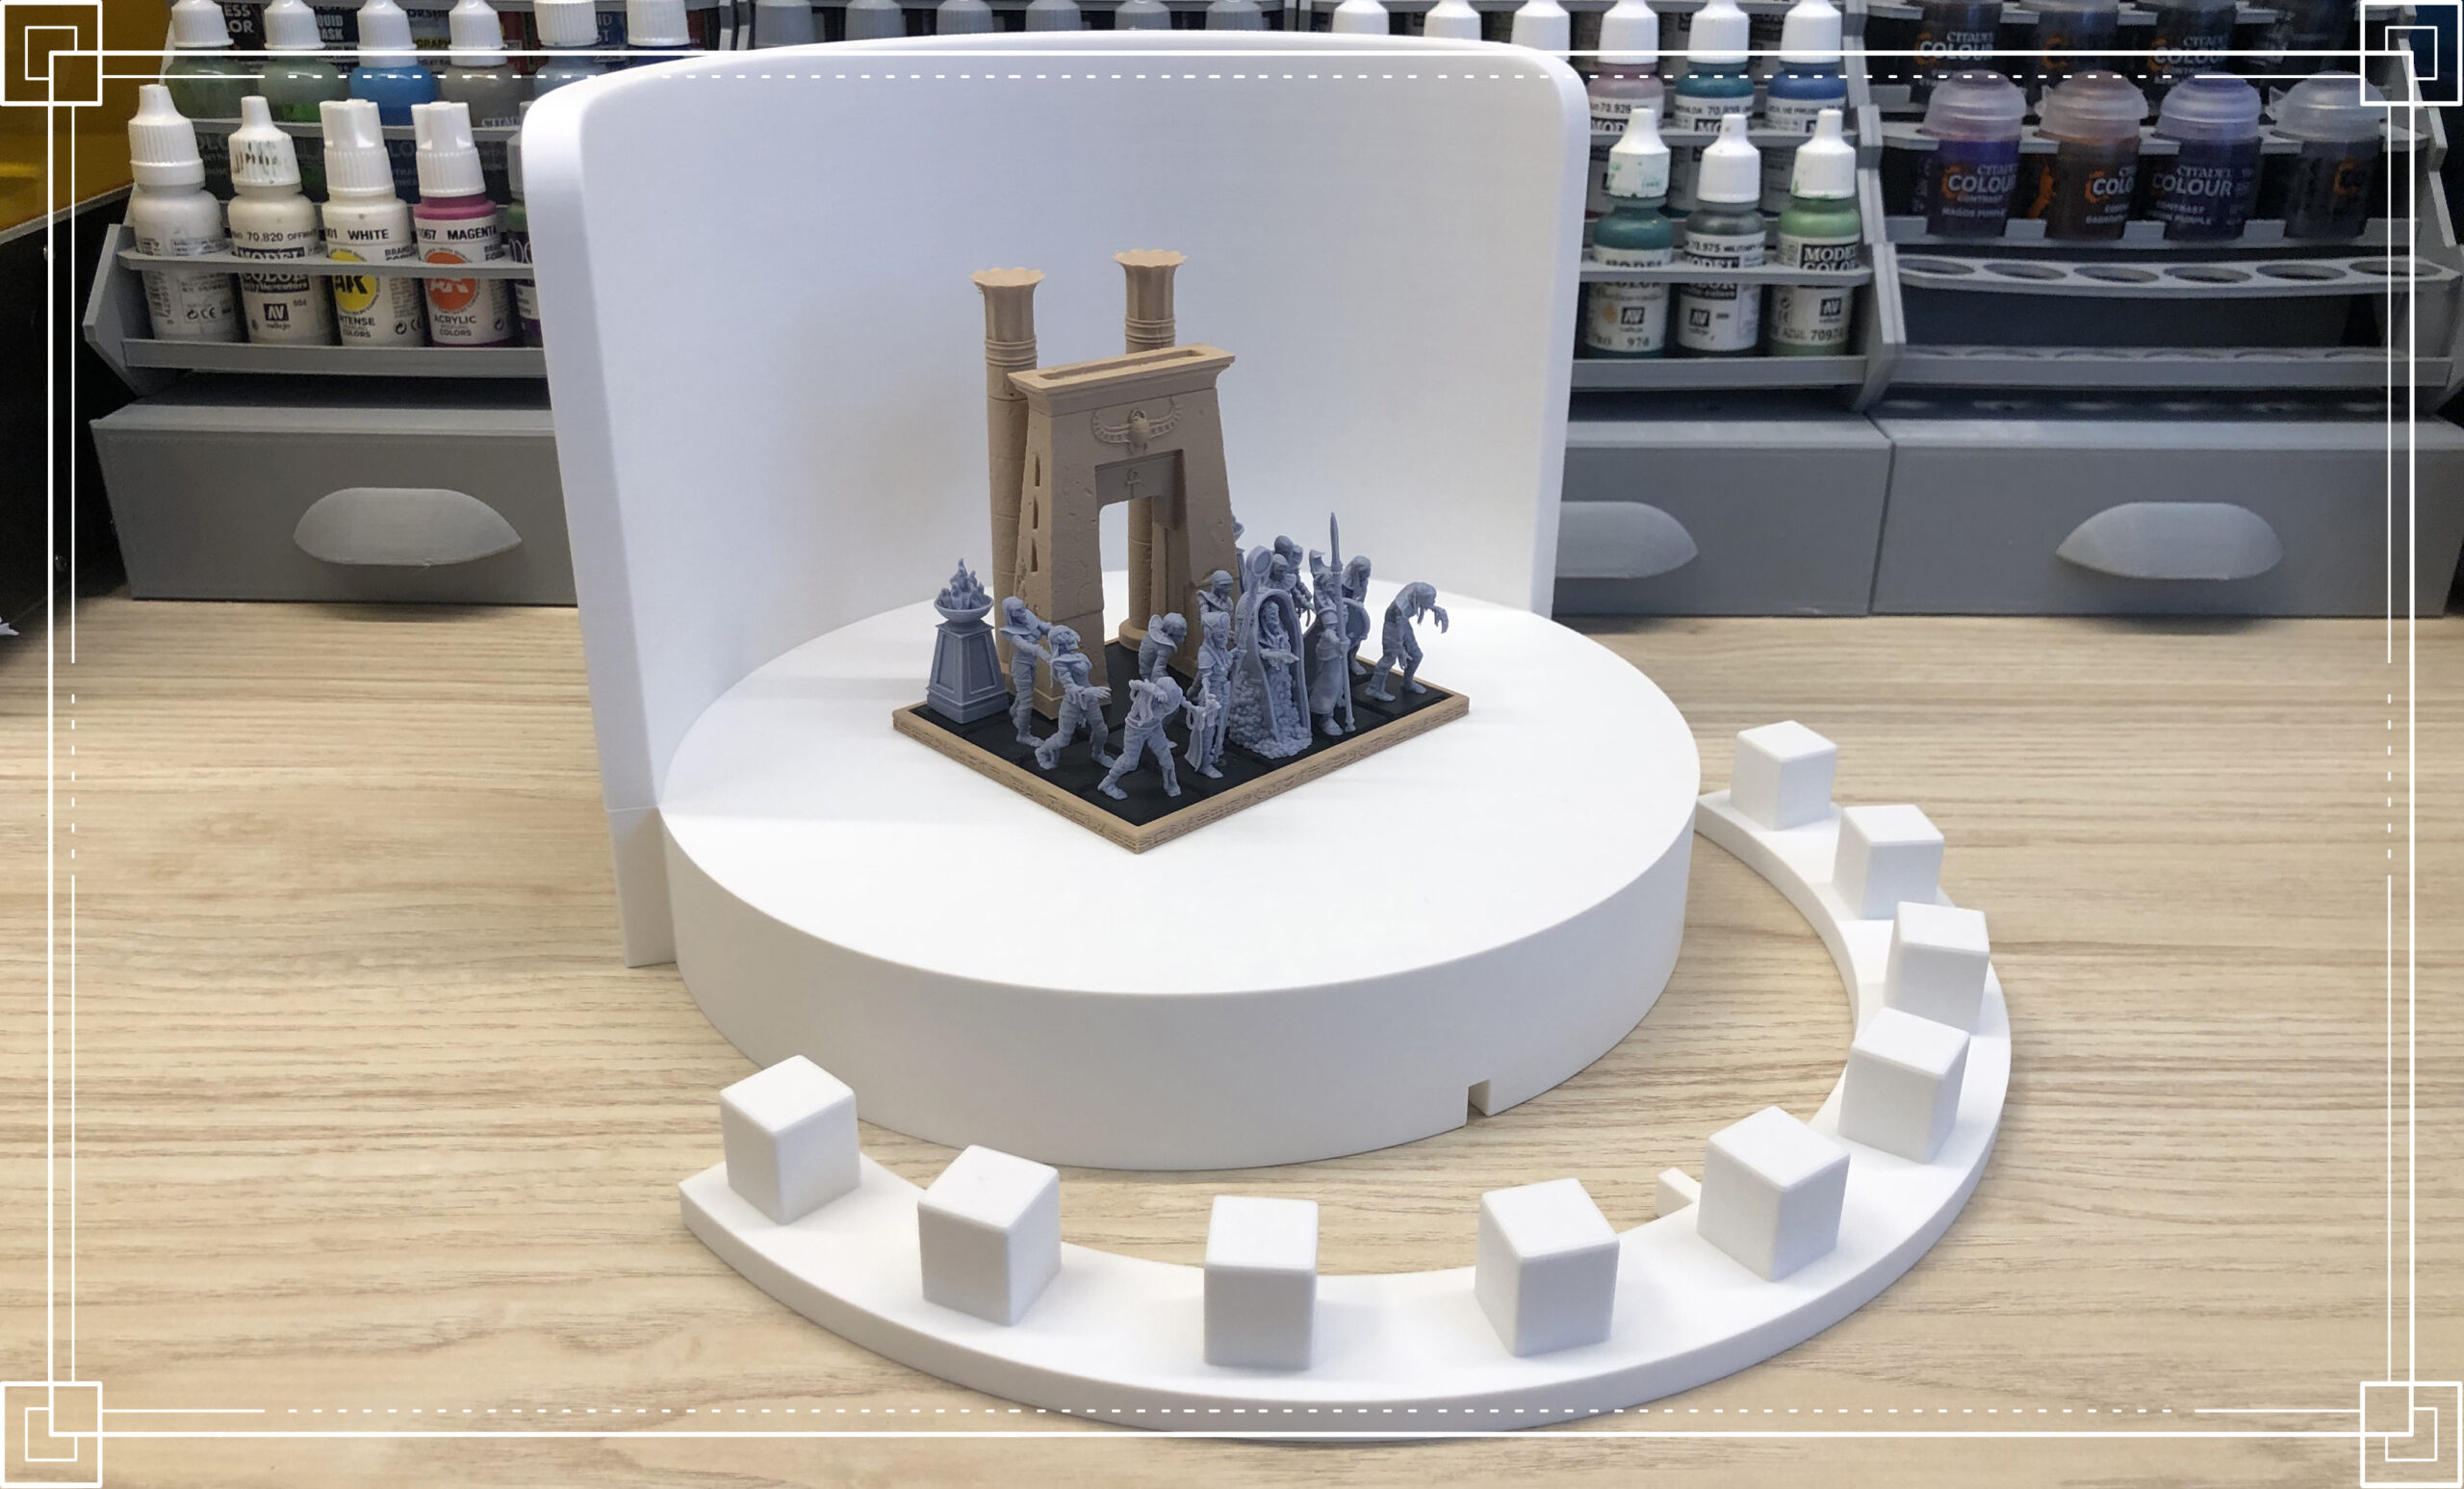
With this option, you can take pictures of big miniatures or entire regiments.
It measures 24×24 cm and consists of two pieces to print: the platform and the hooks for the spotlights.

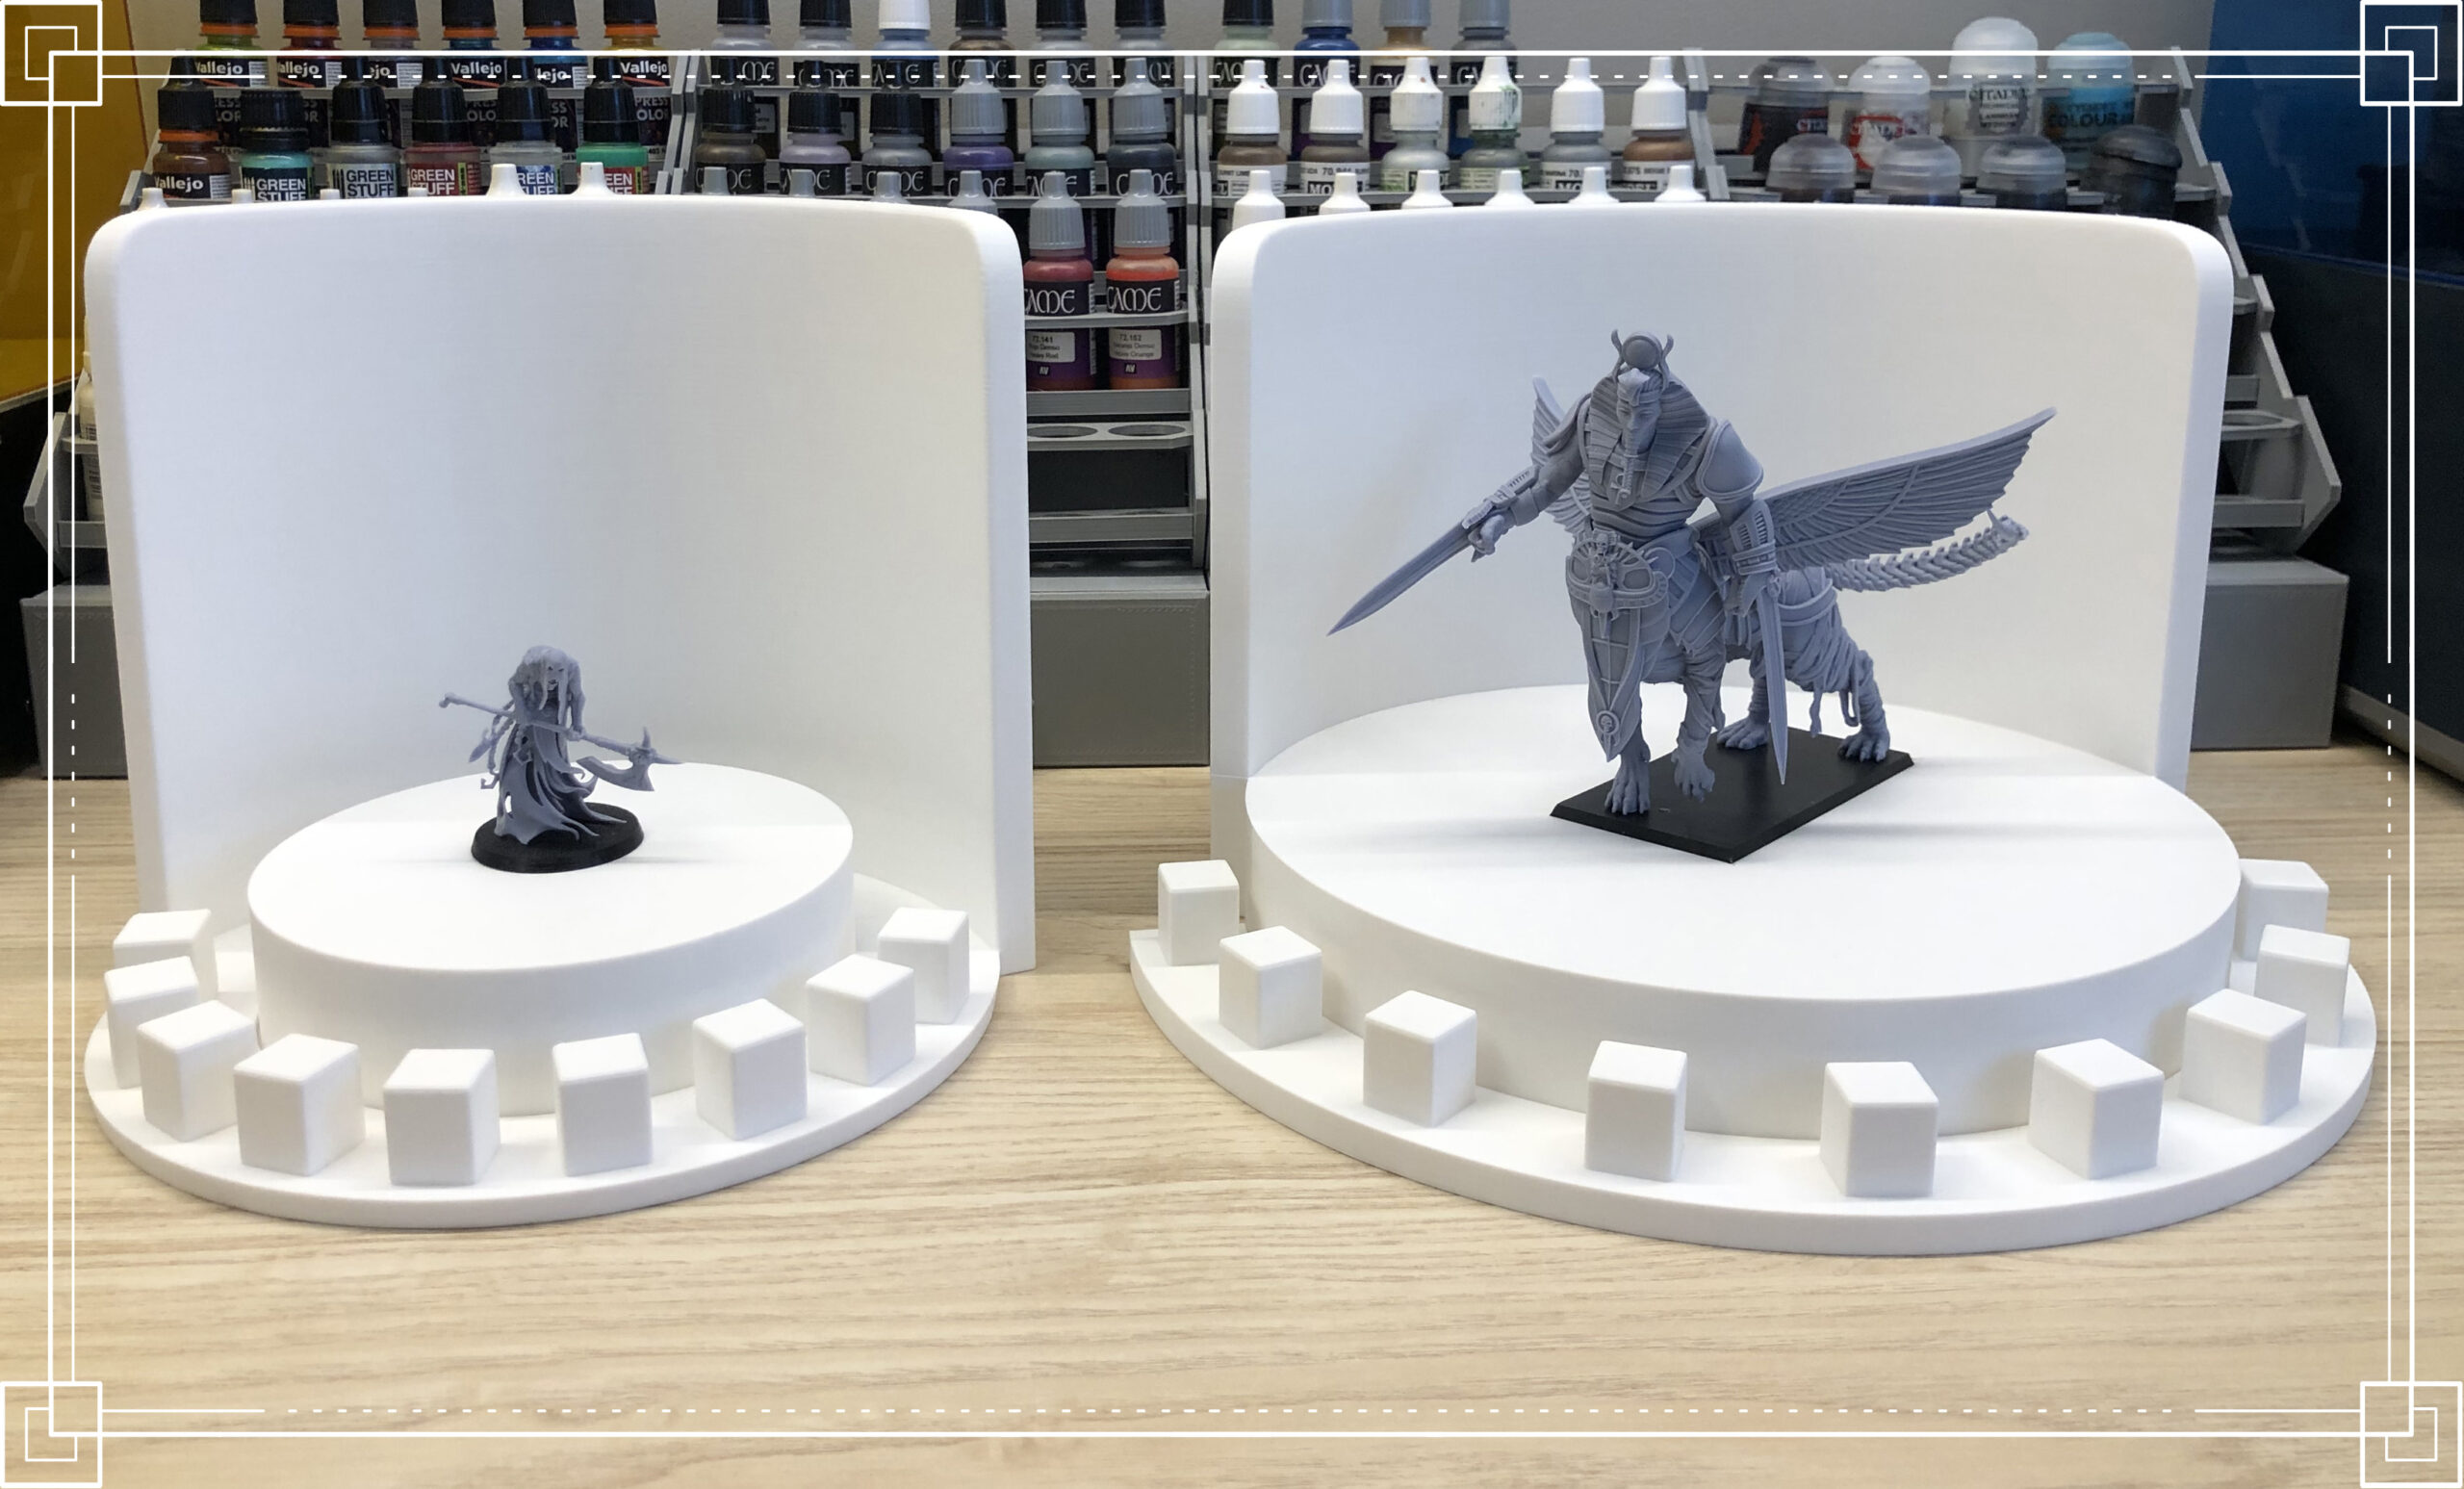


These props can help you to make different compositions with various miniatures.
We have included a few more variations of these that you see below.
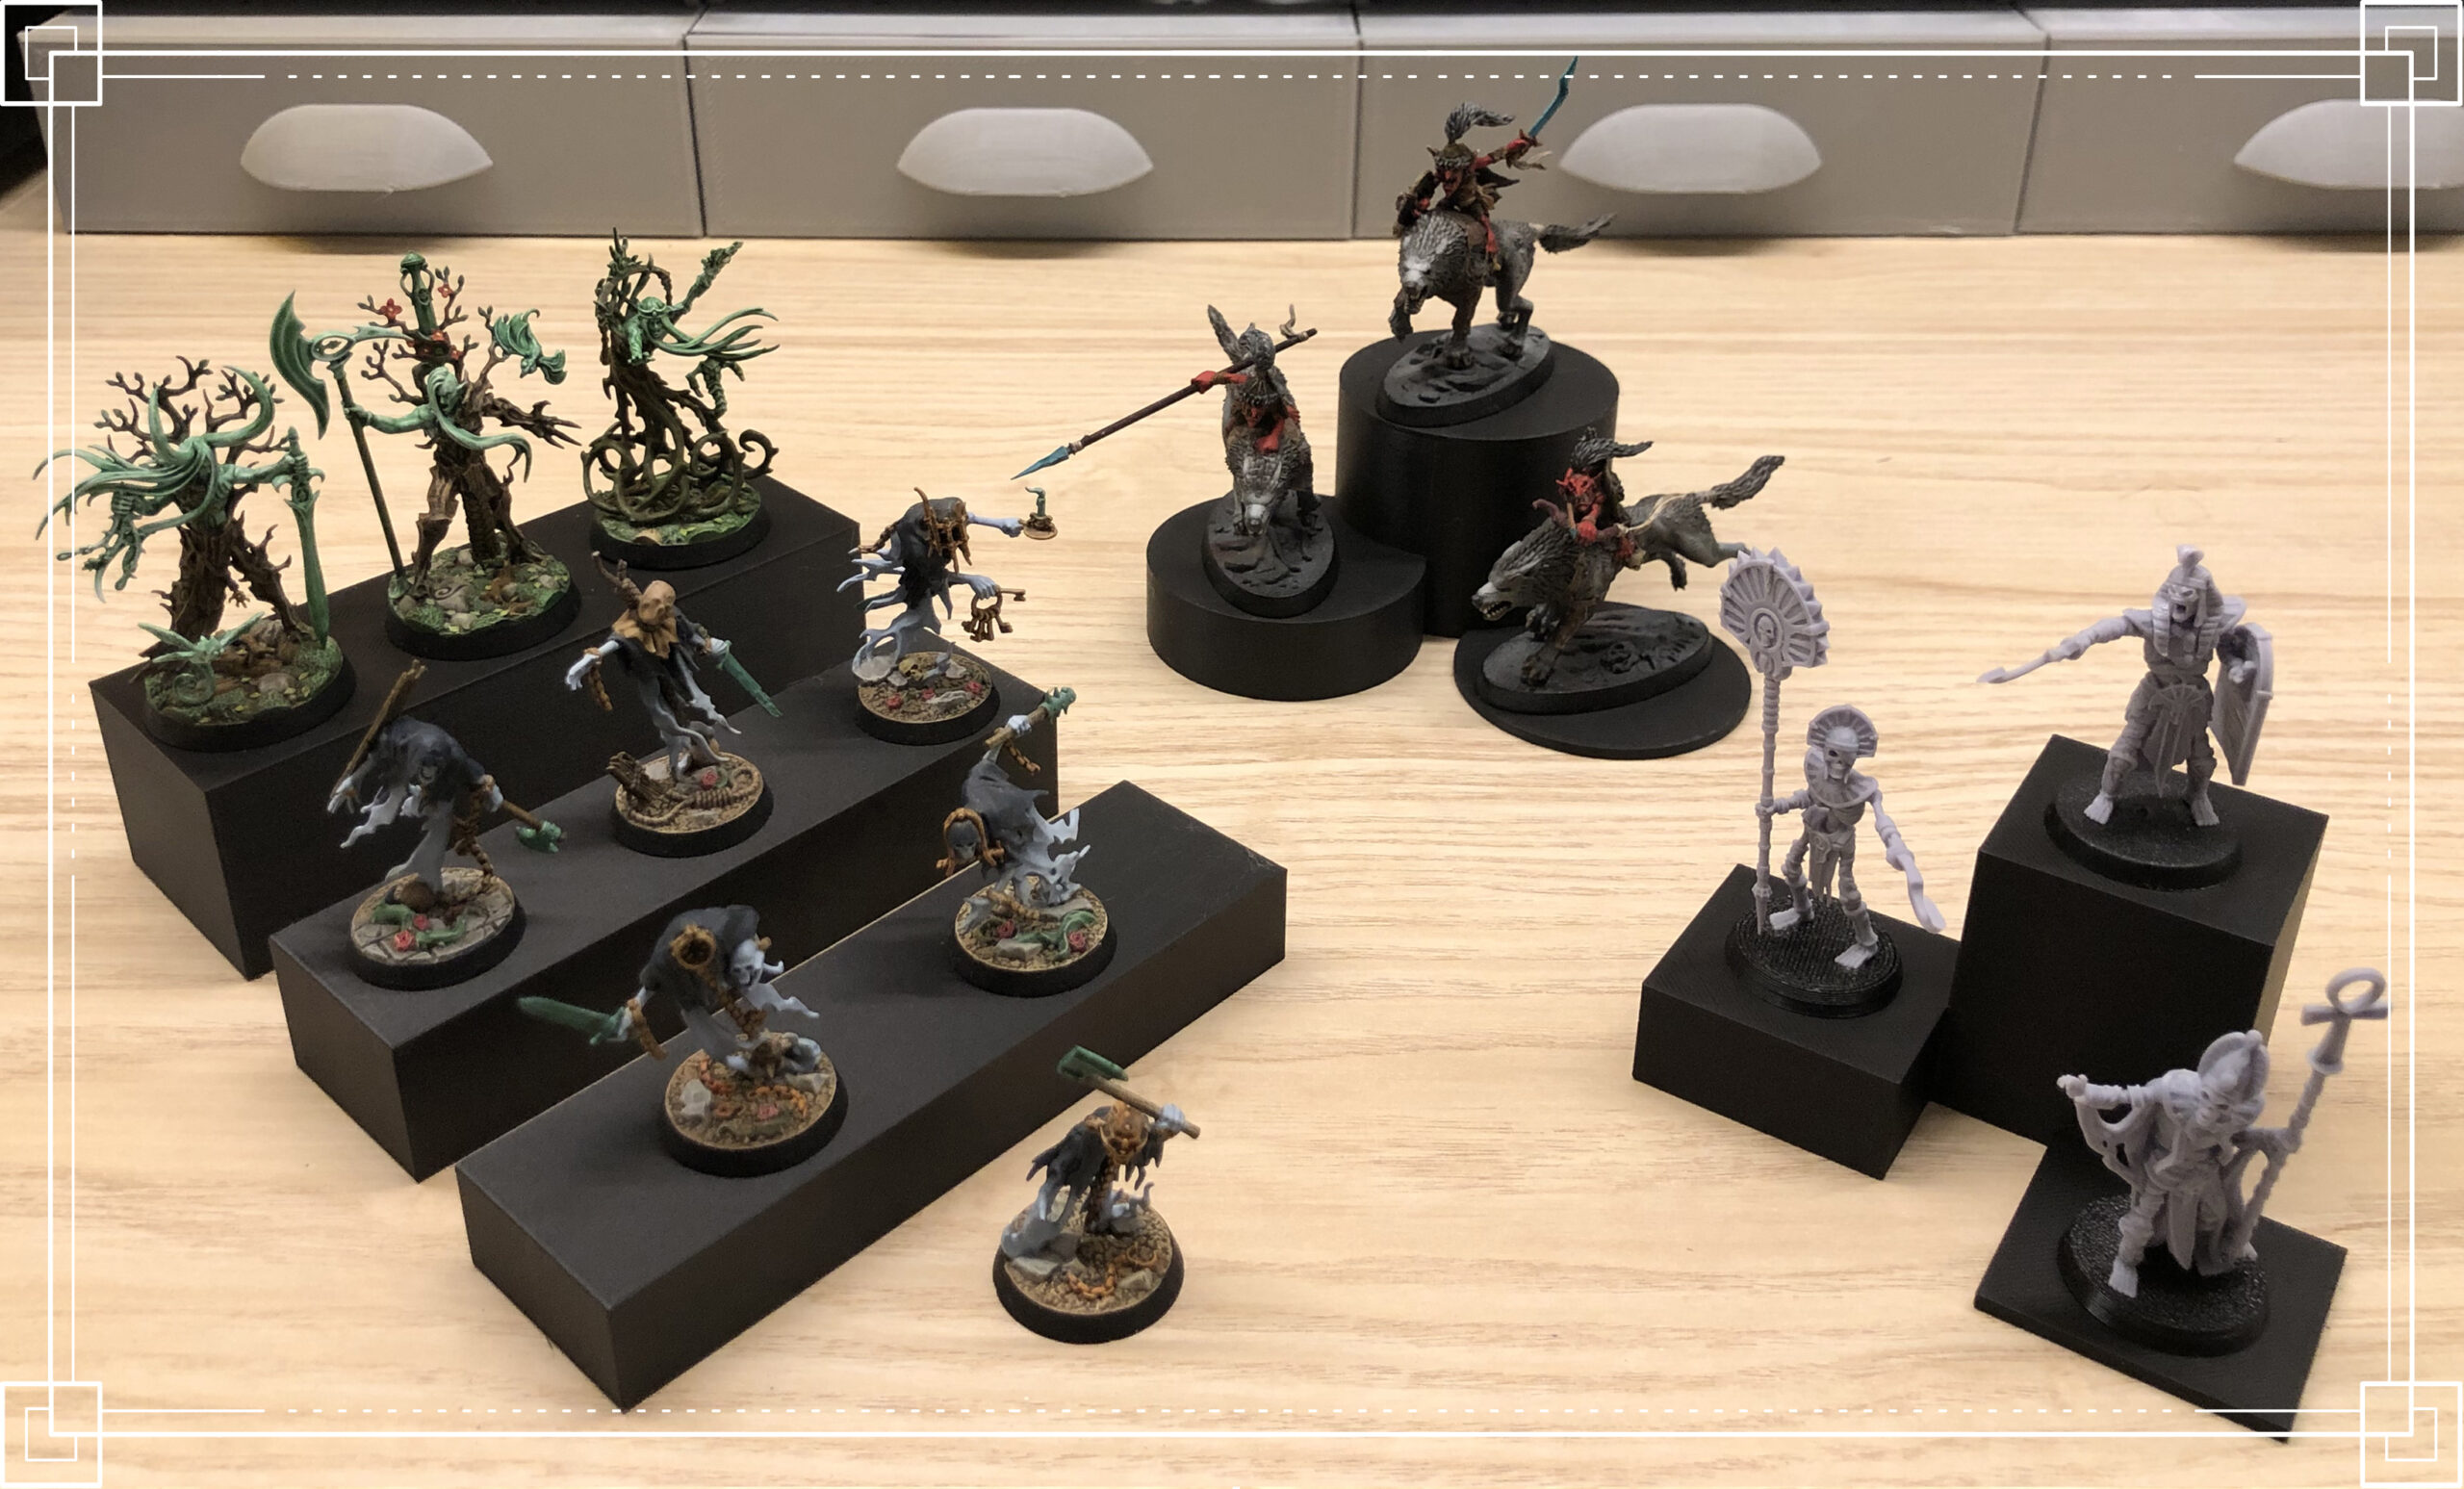
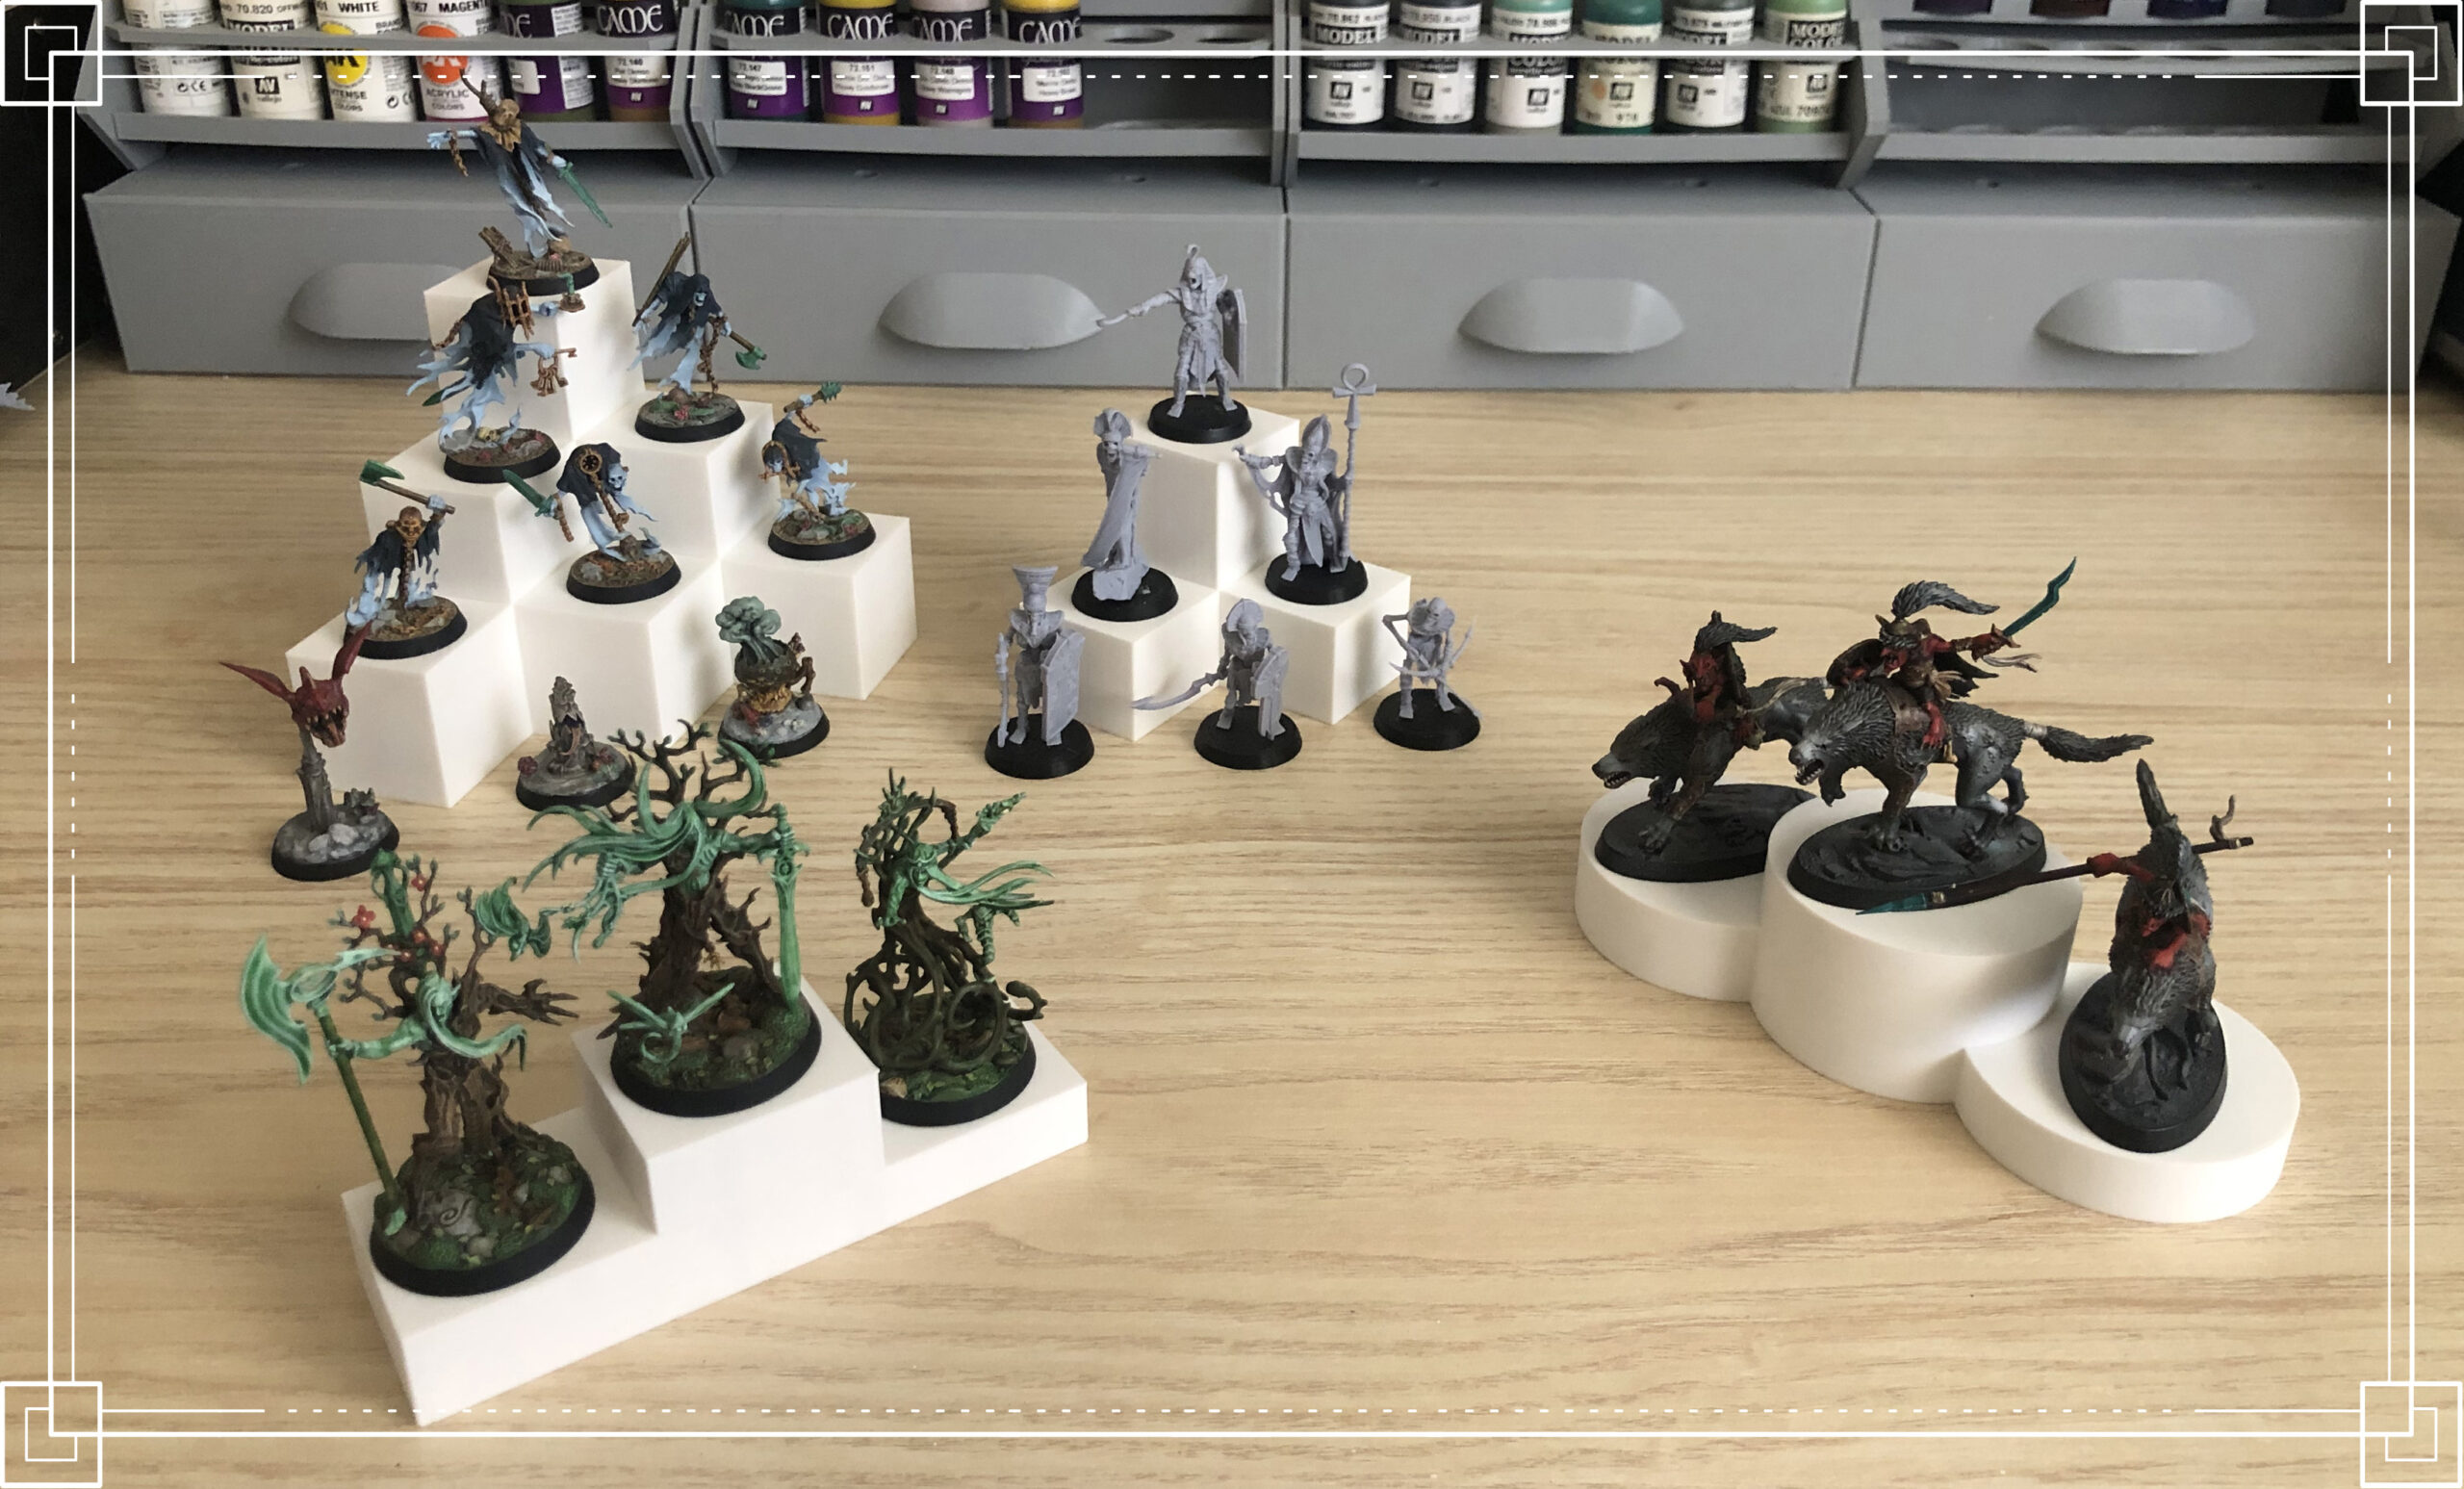


You can take the photo with whatever you want! It’s up to you!
Although we recommend with a camera, you’ll have more options to get the picture you want, but you can do it with both.
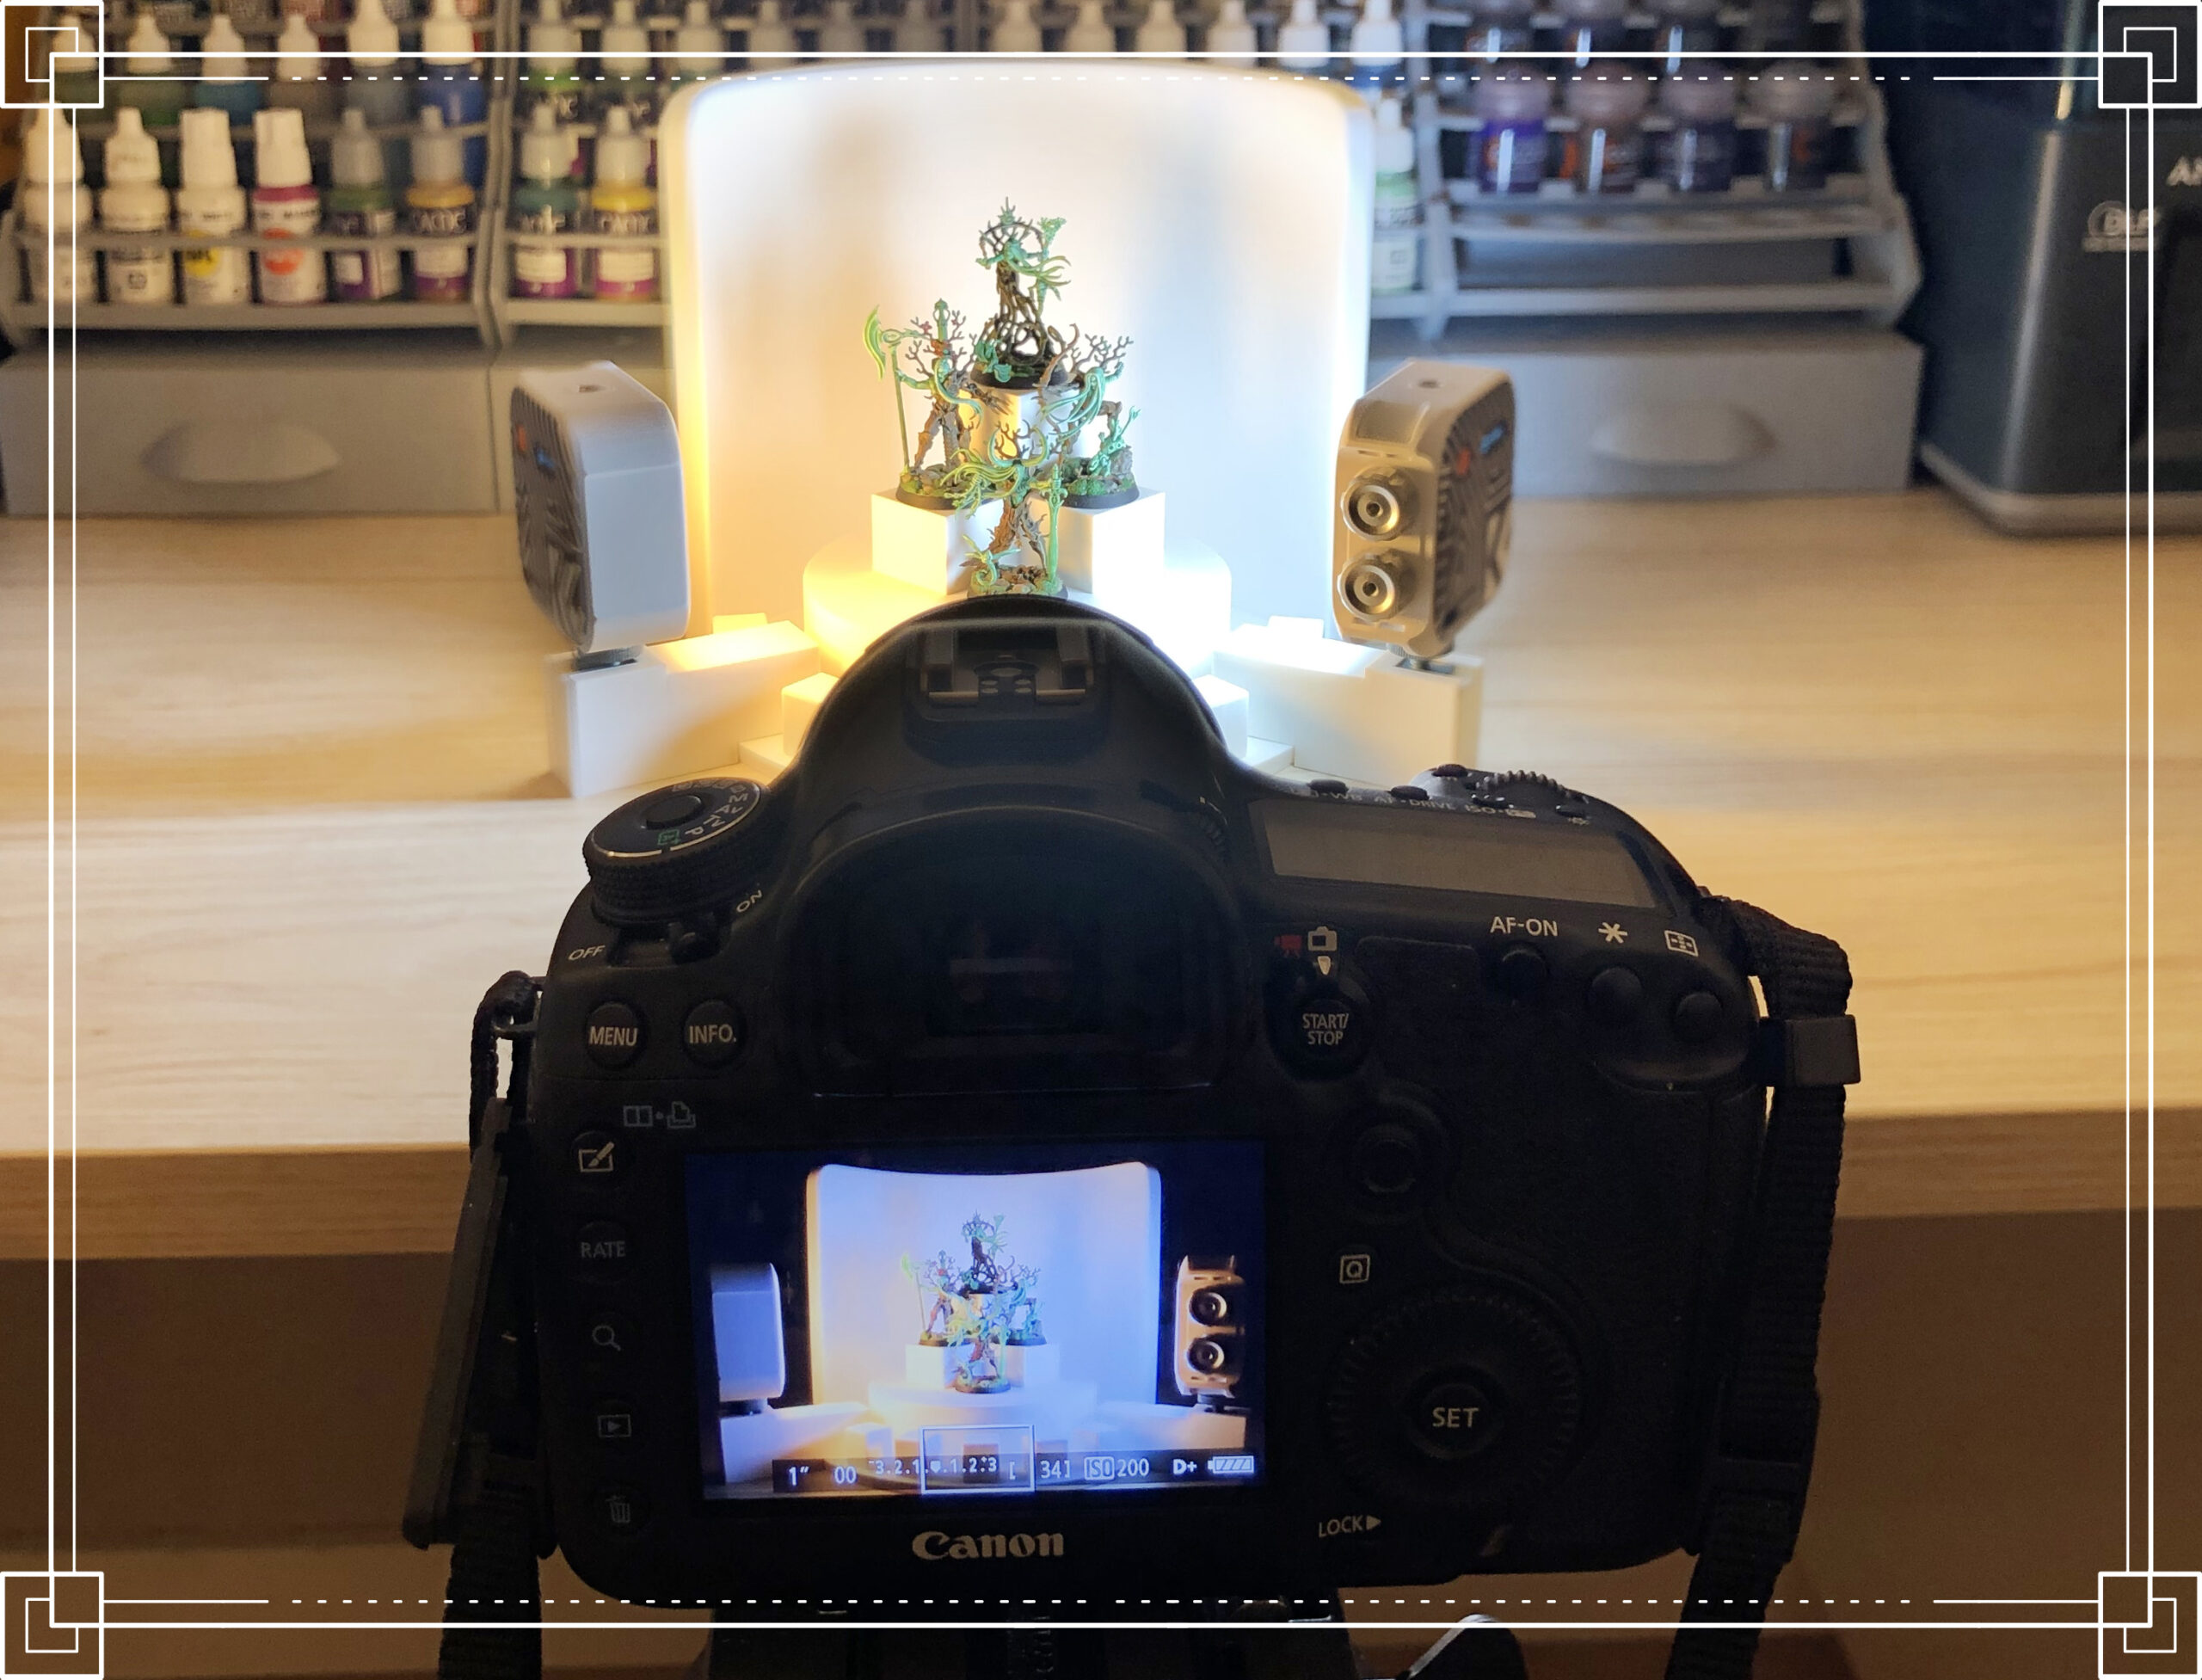
This is what it looks like with a camera:

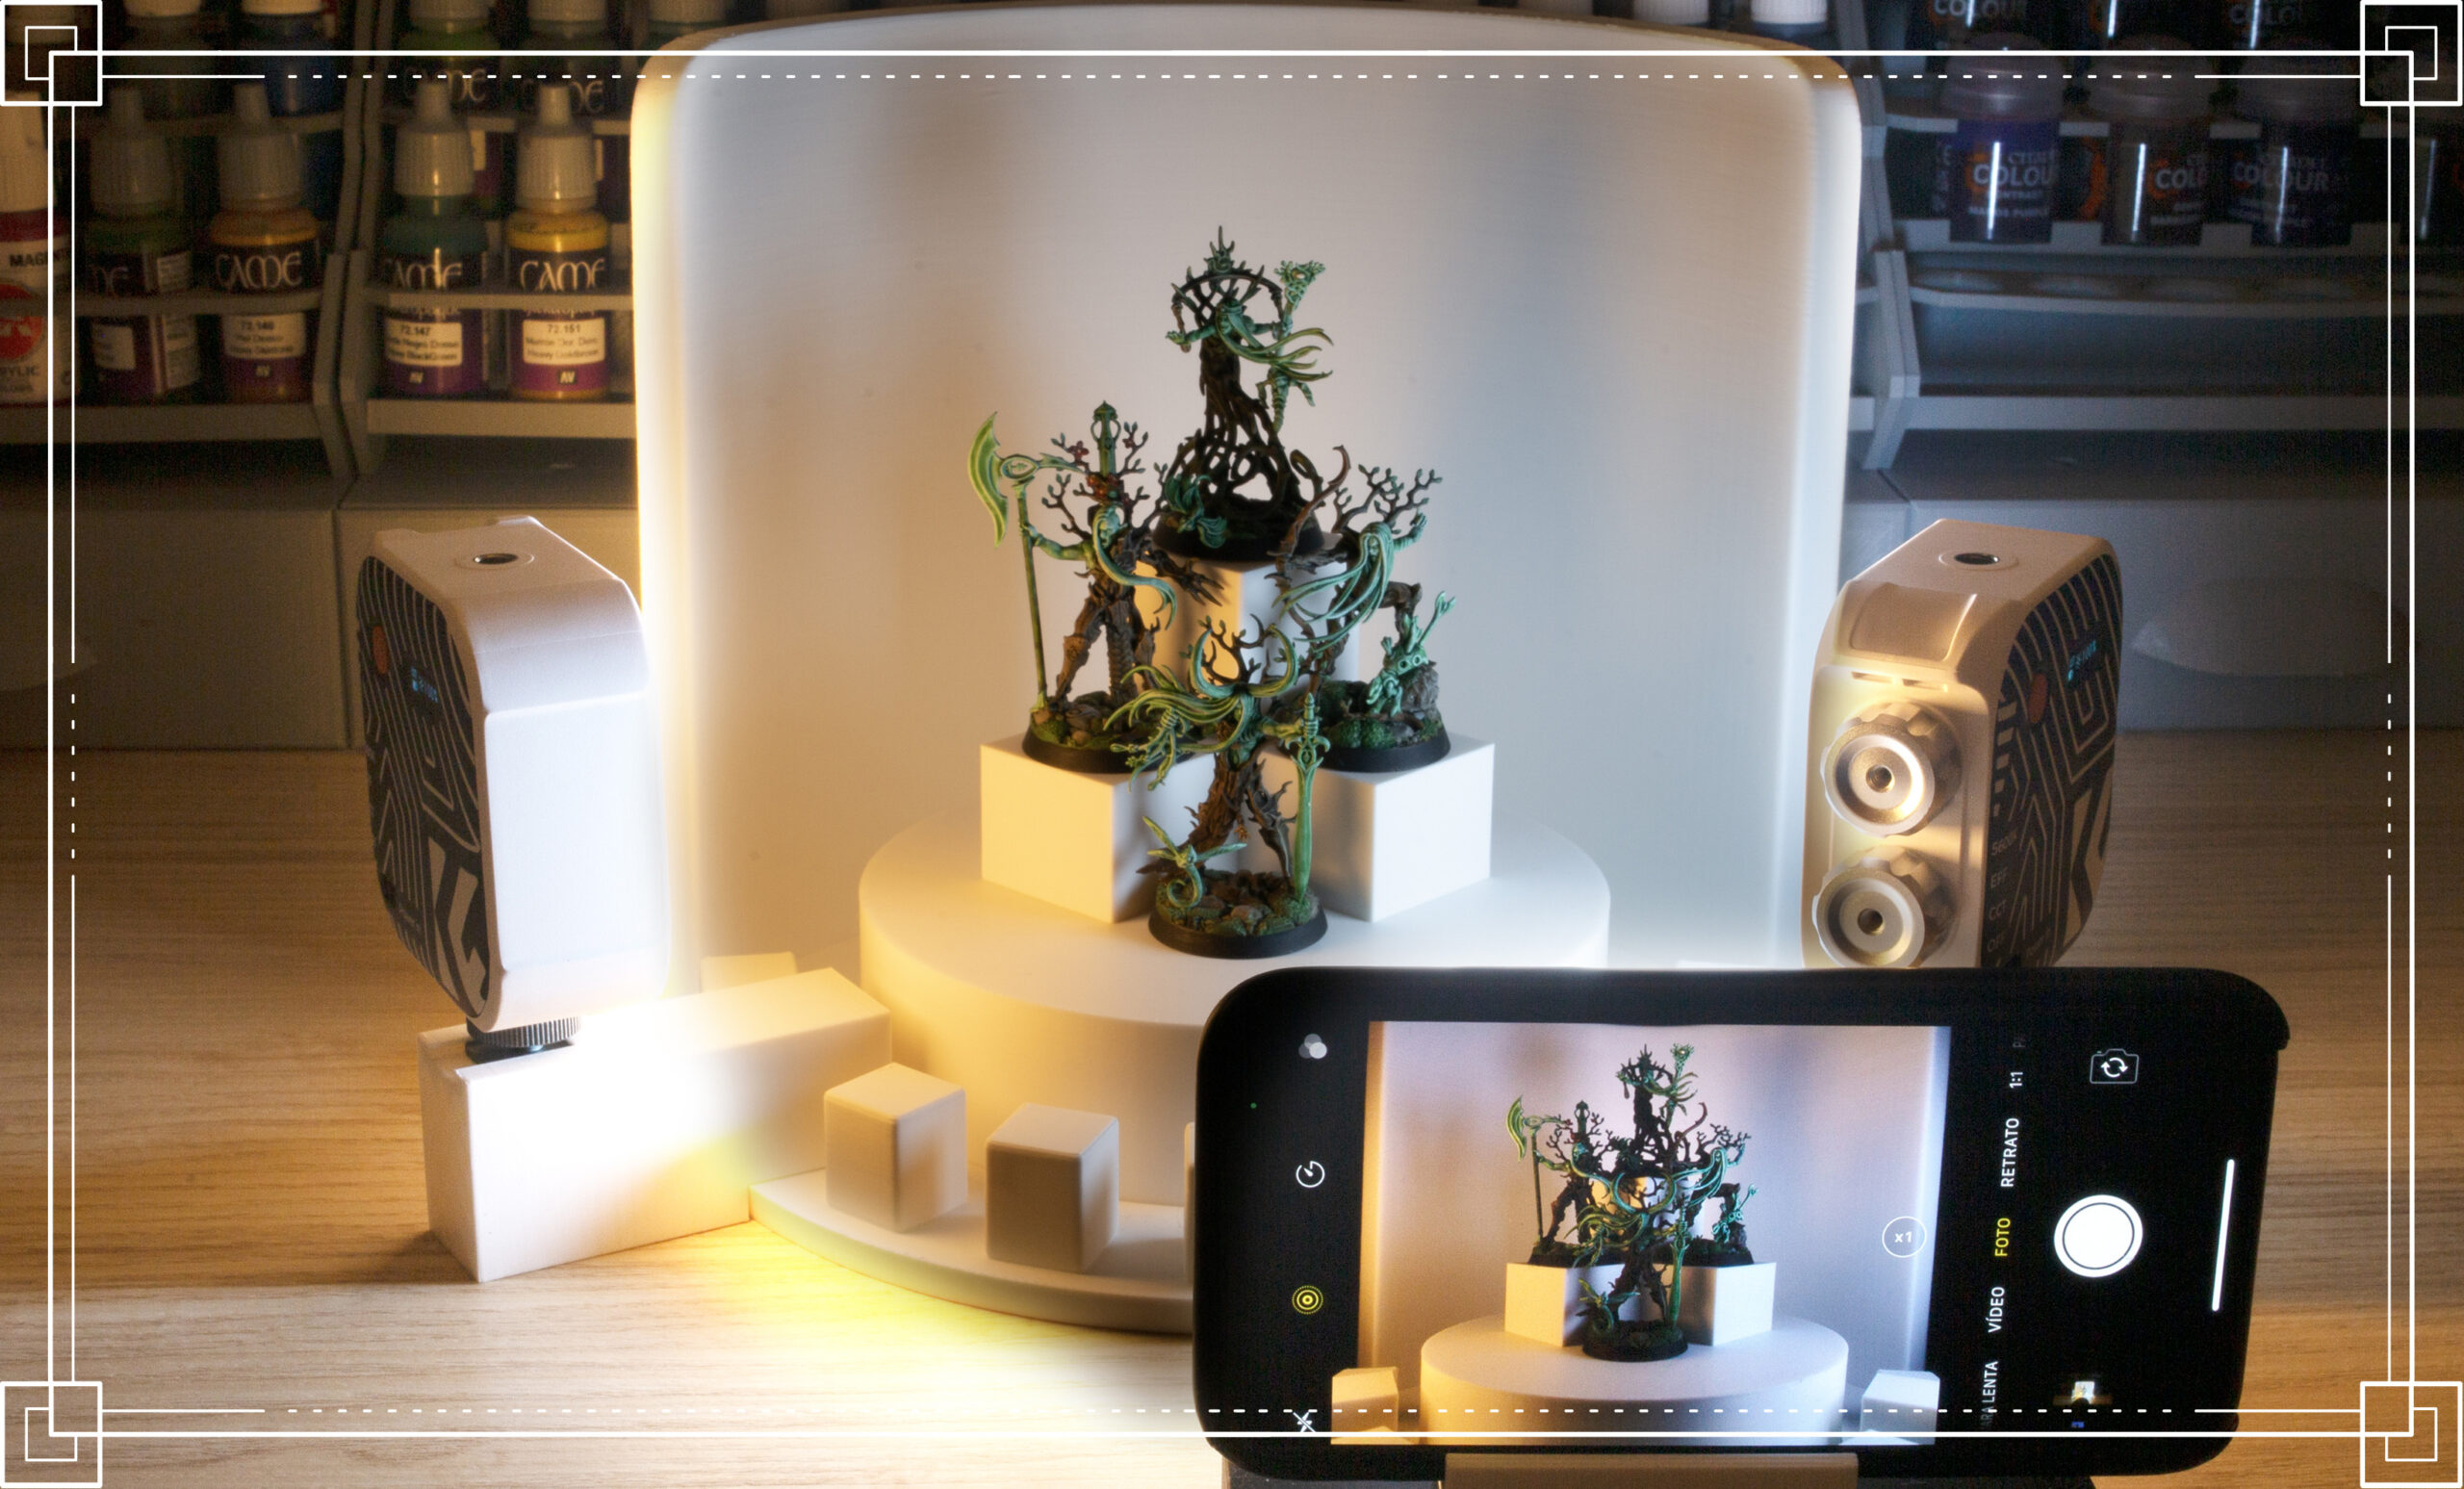
This is what it looks like with a mobile.

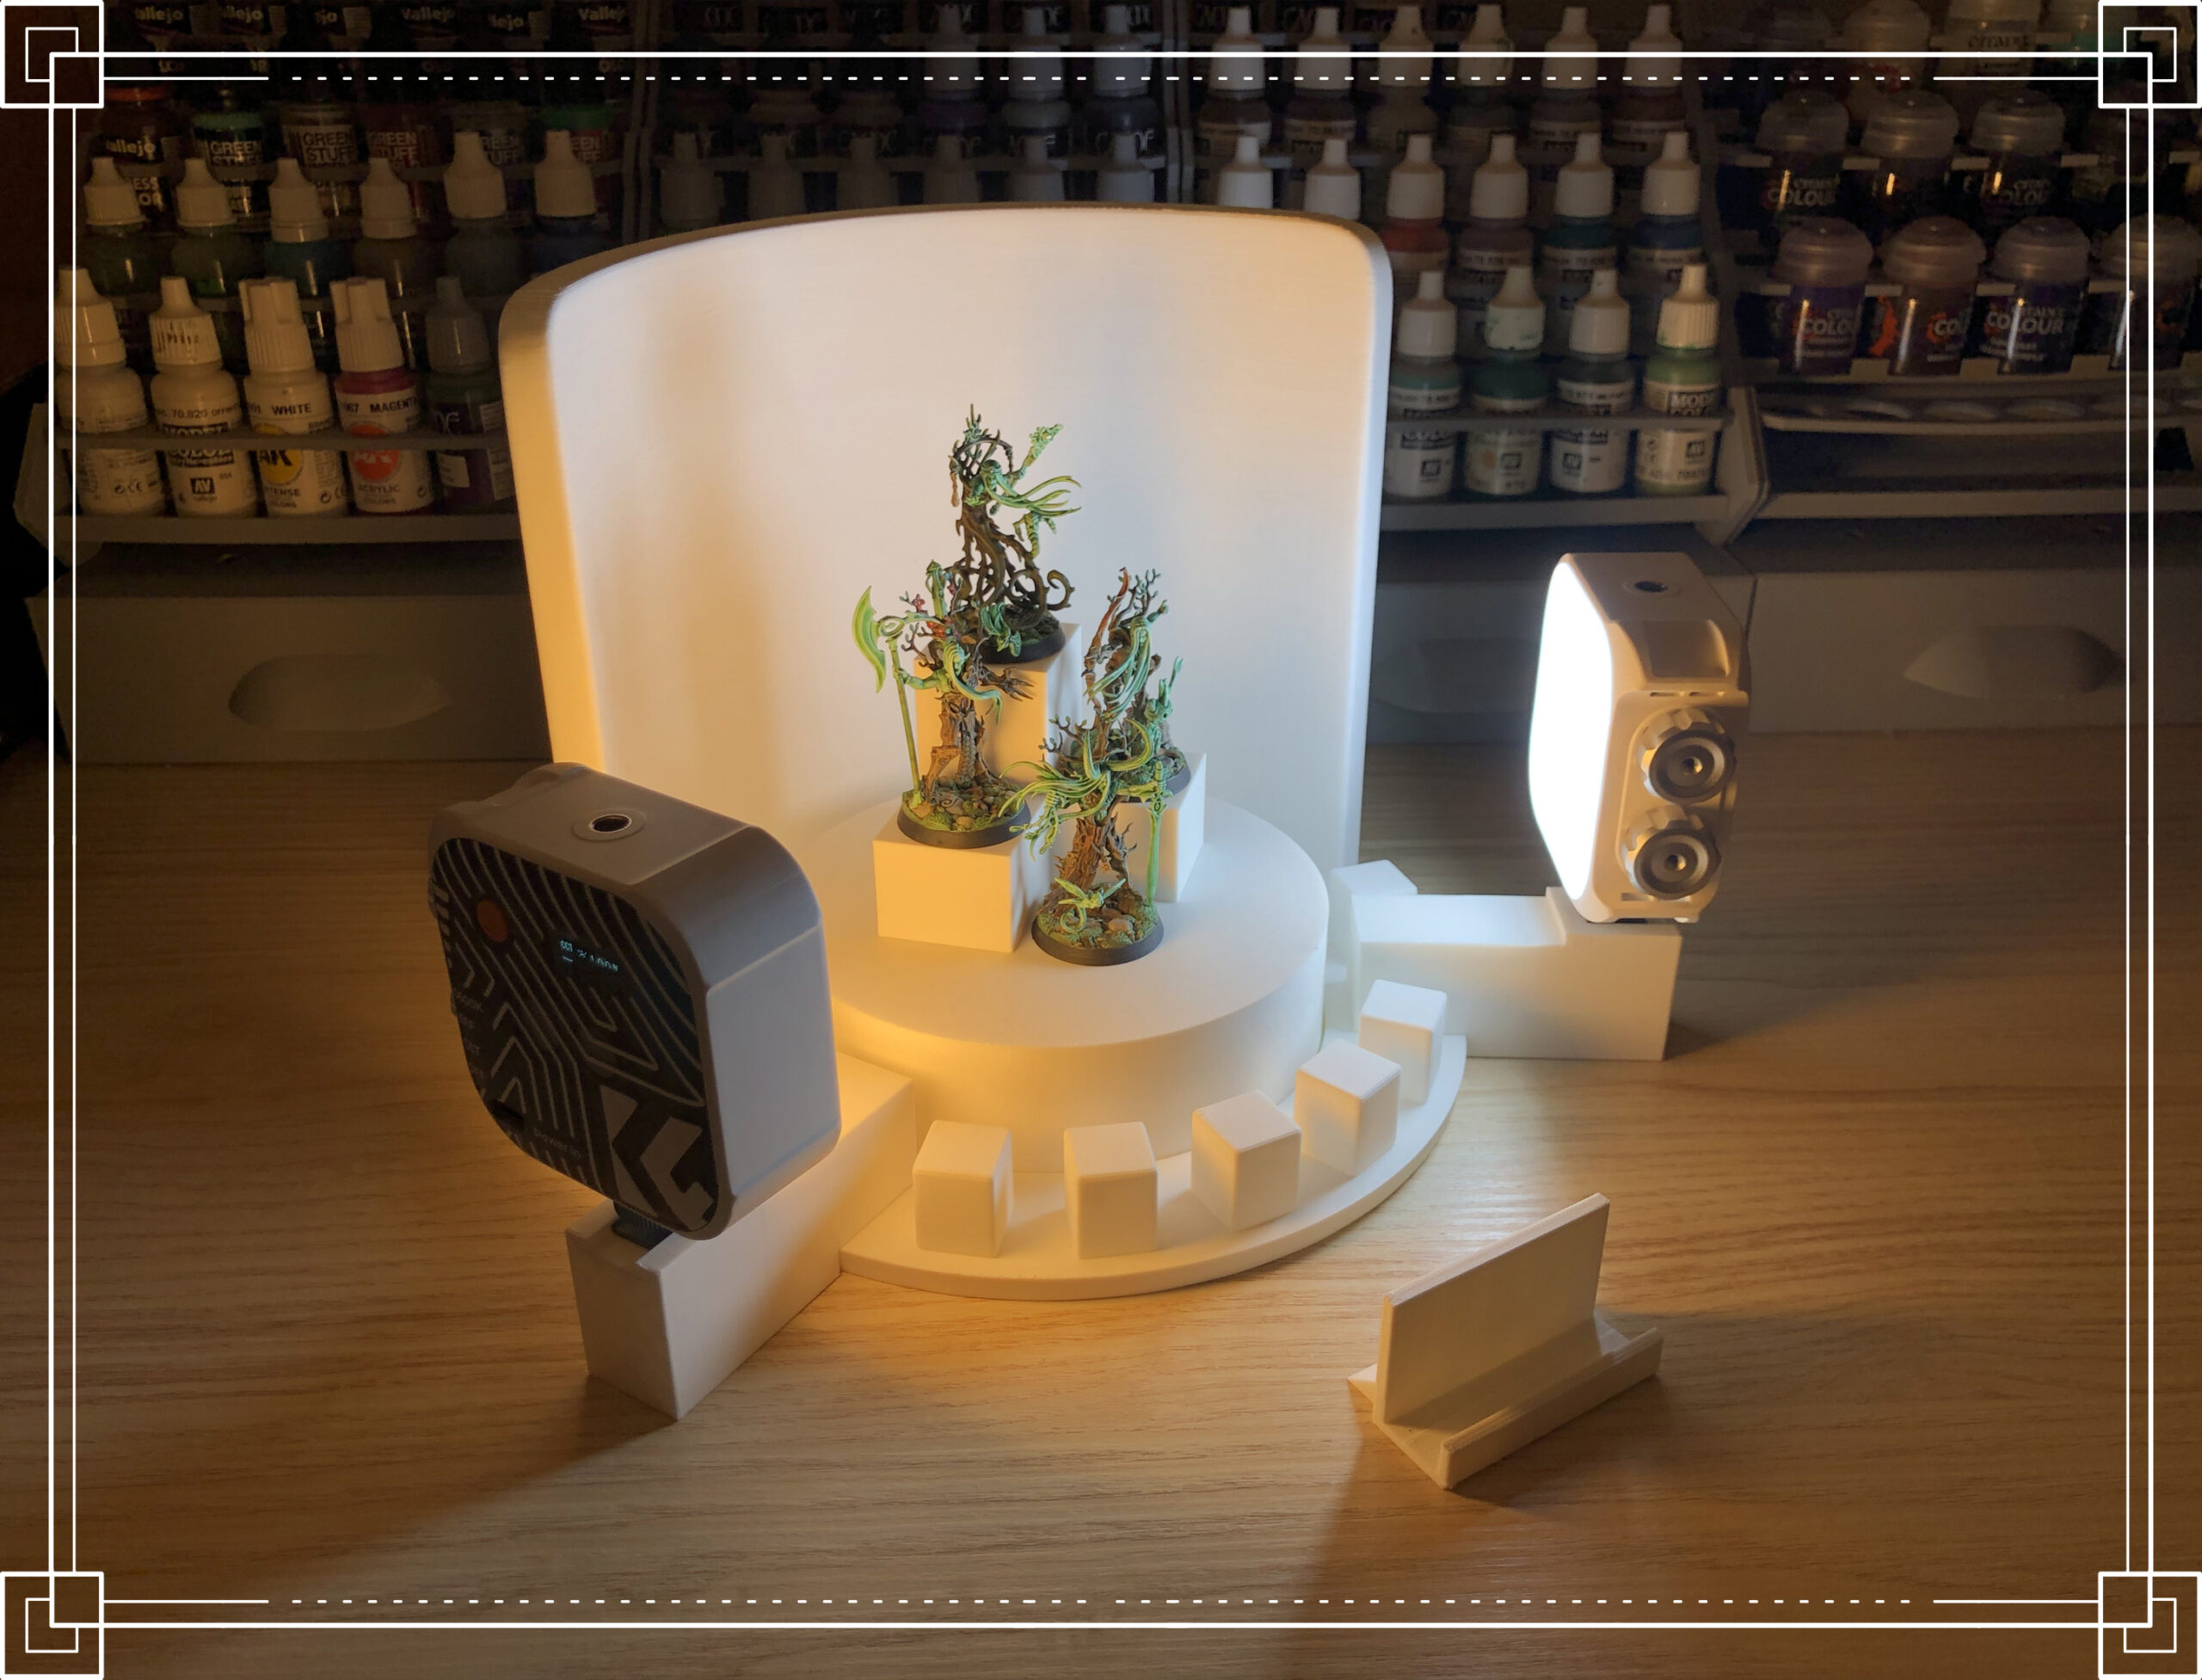
And we have added a very simple universal mobile holder but useful.


- This is the most important tip: Note the pieces and the intensity/color of the spotlights you use!
This way you’ll be able to repeat the lighting scheme whenever you want. - Beware of seams when printing! Make sure they’re at the back and not in the front in the middle of the background.
- We recommend printing it with 3-5 wall lines to avoid showing the infill in the photos.
The first test we did with 2 wall lines and white color and it looked so bad! - You may want to try the Foldio app: a simple app to adjust the background and control the brightness and color temperature in real time.
- Here is a link so you can check some predetermined positions of the spotlights for professional photography. They’ll help you as a guide for sure.https://www.dzoom.org.es/esquemas-iluminacion-retrato/But in any case we encourage you to experiment!
In the process of searching you may discover lighting you didn’t expect!


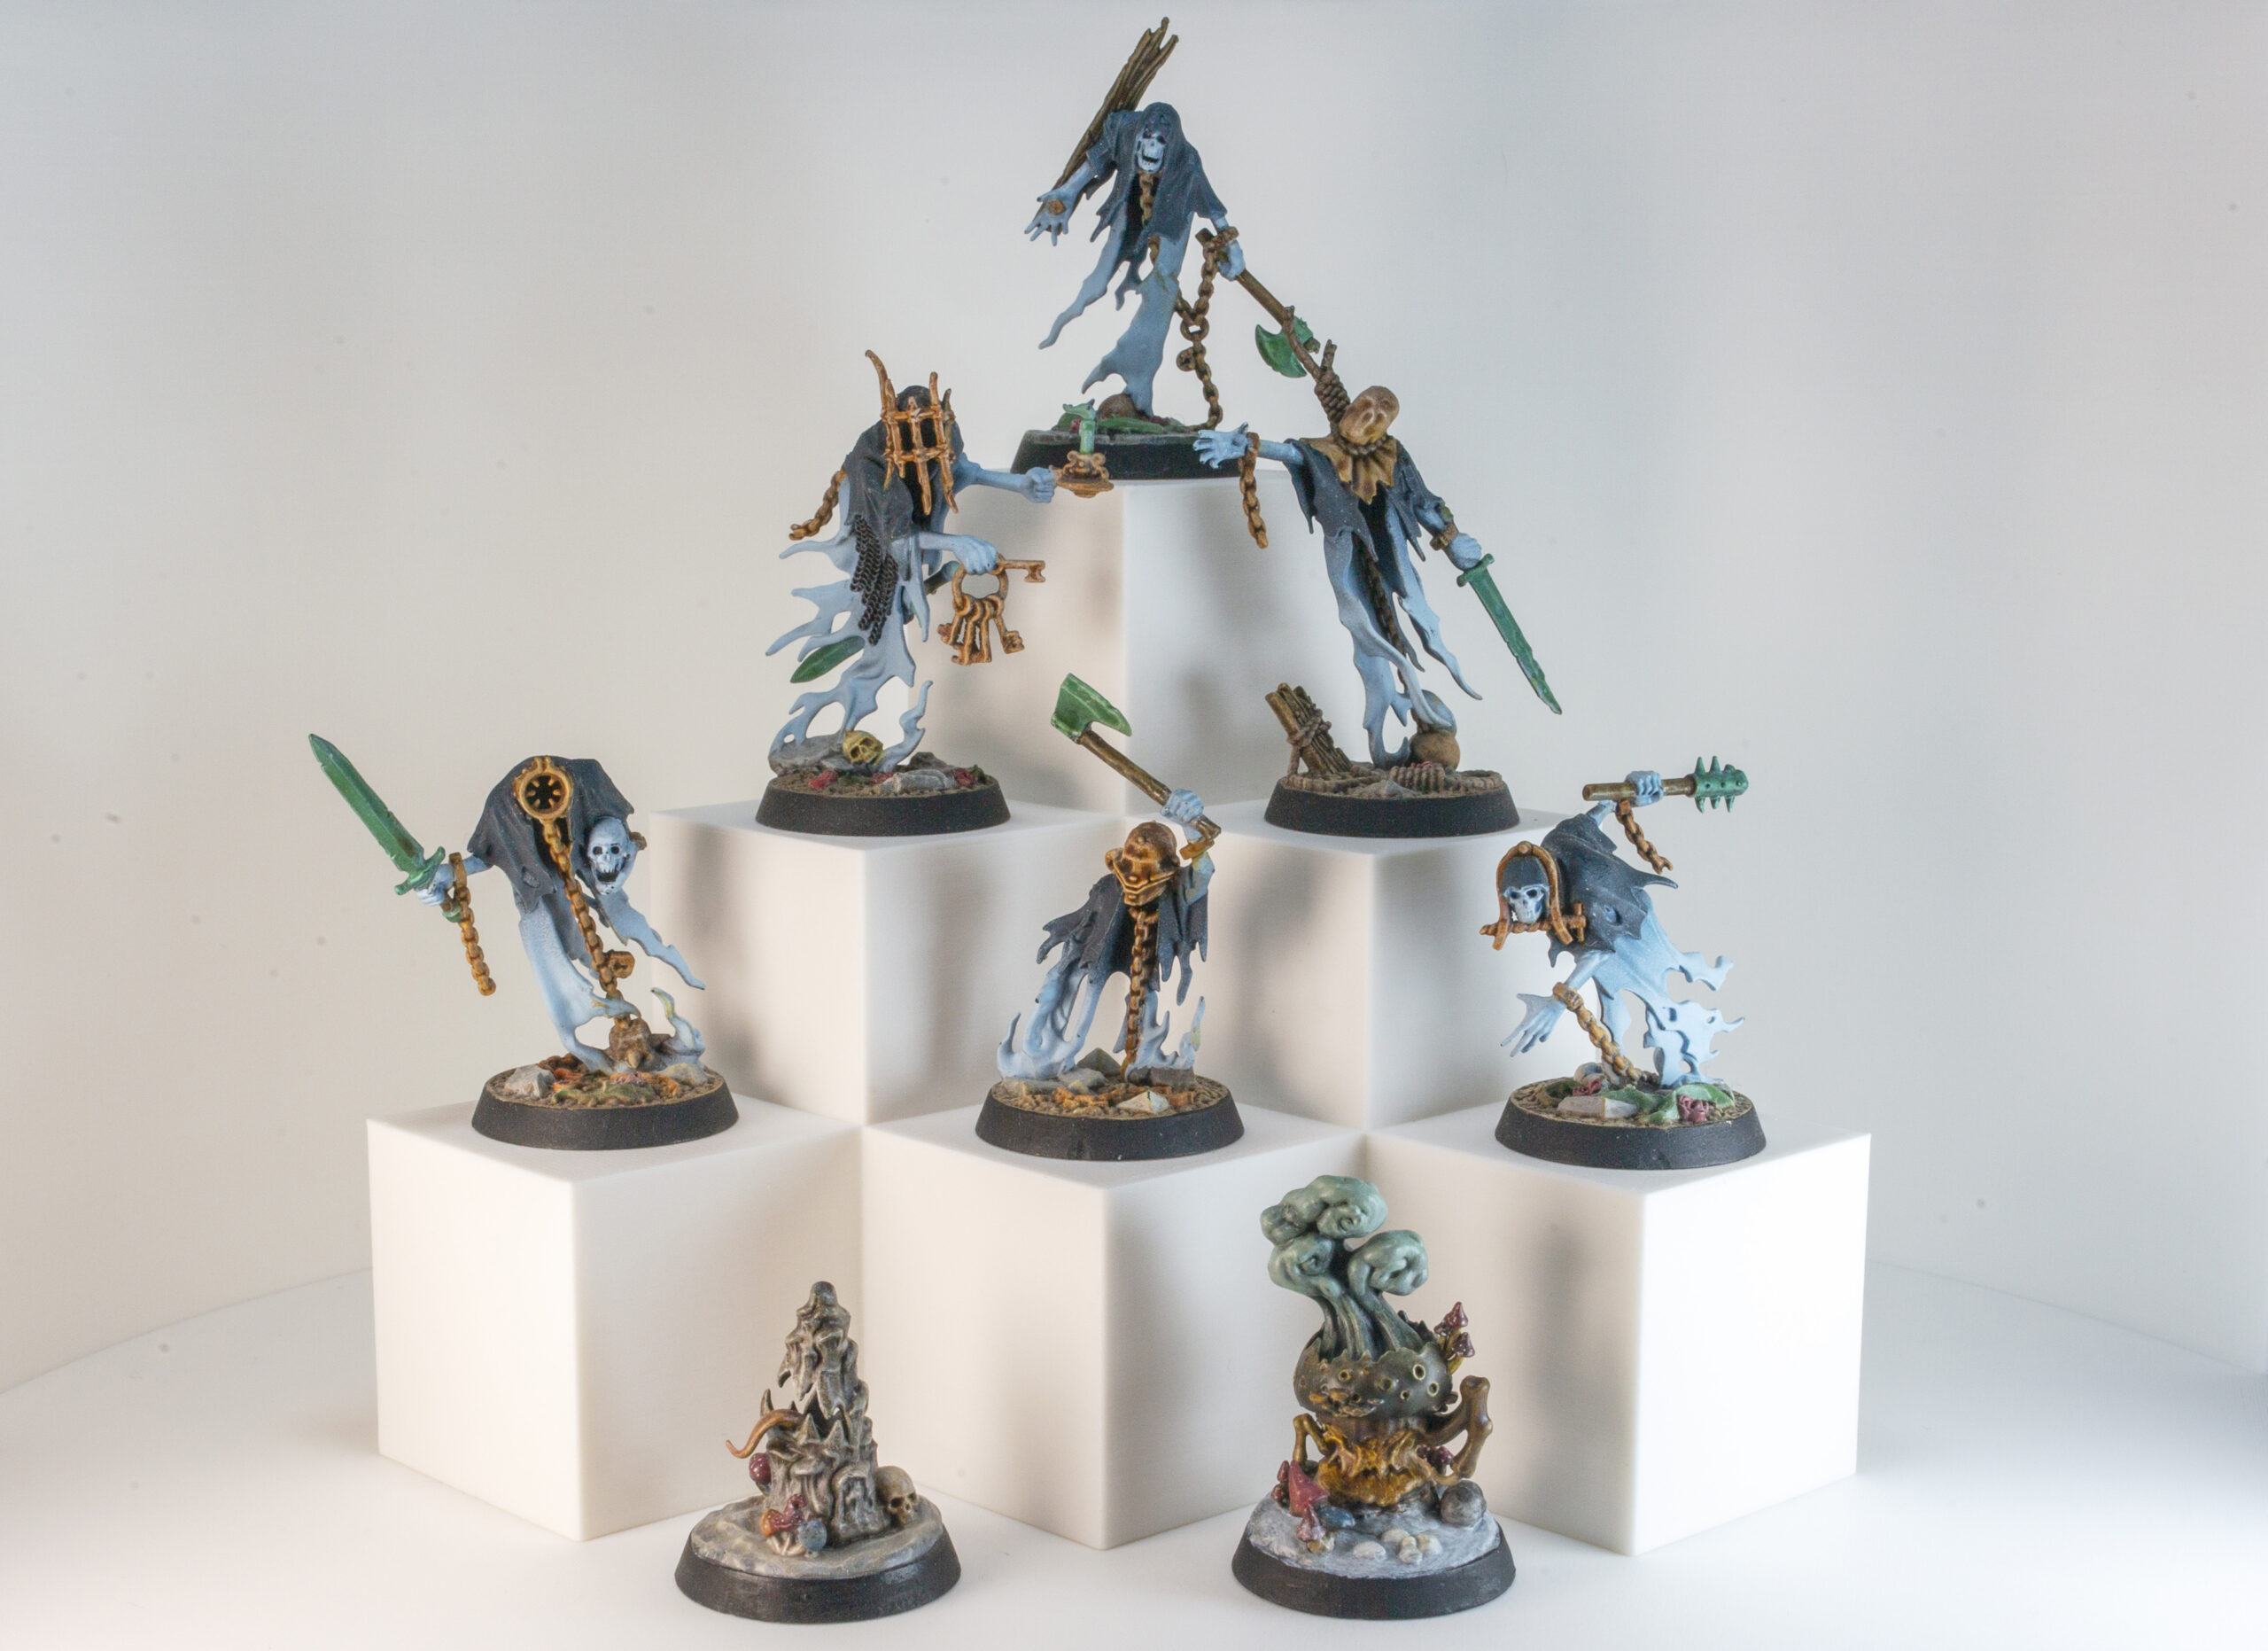
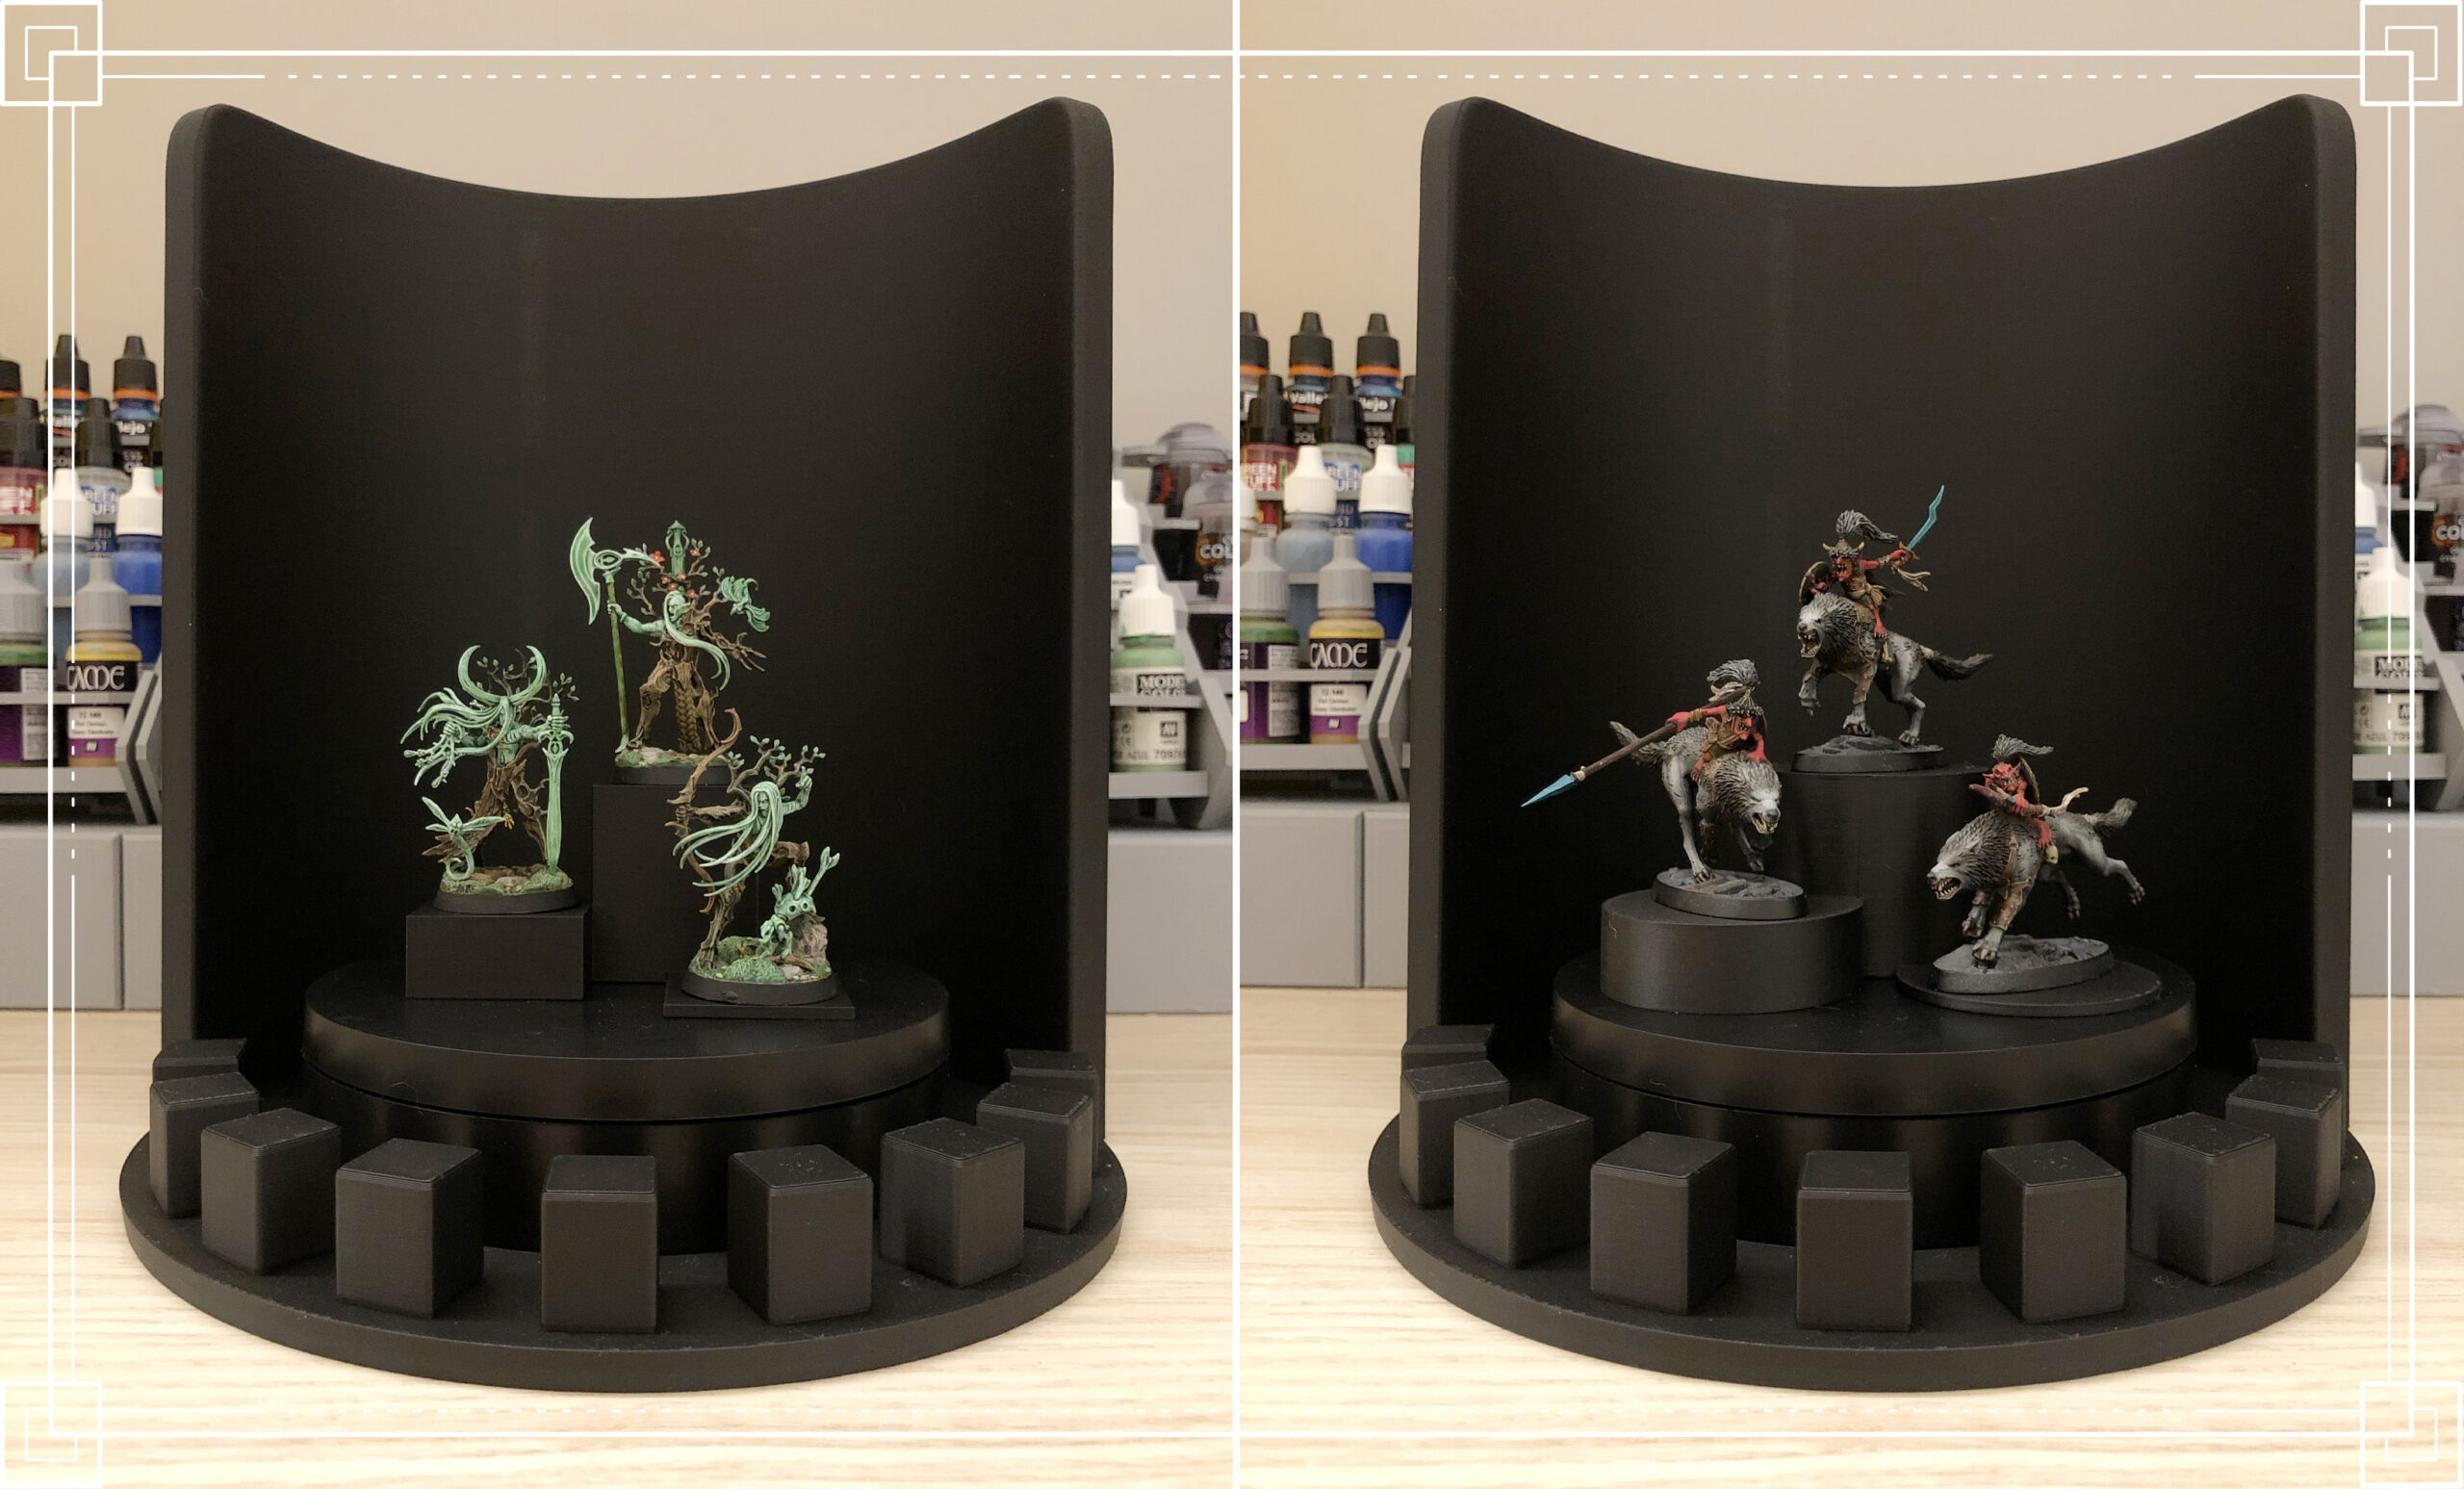
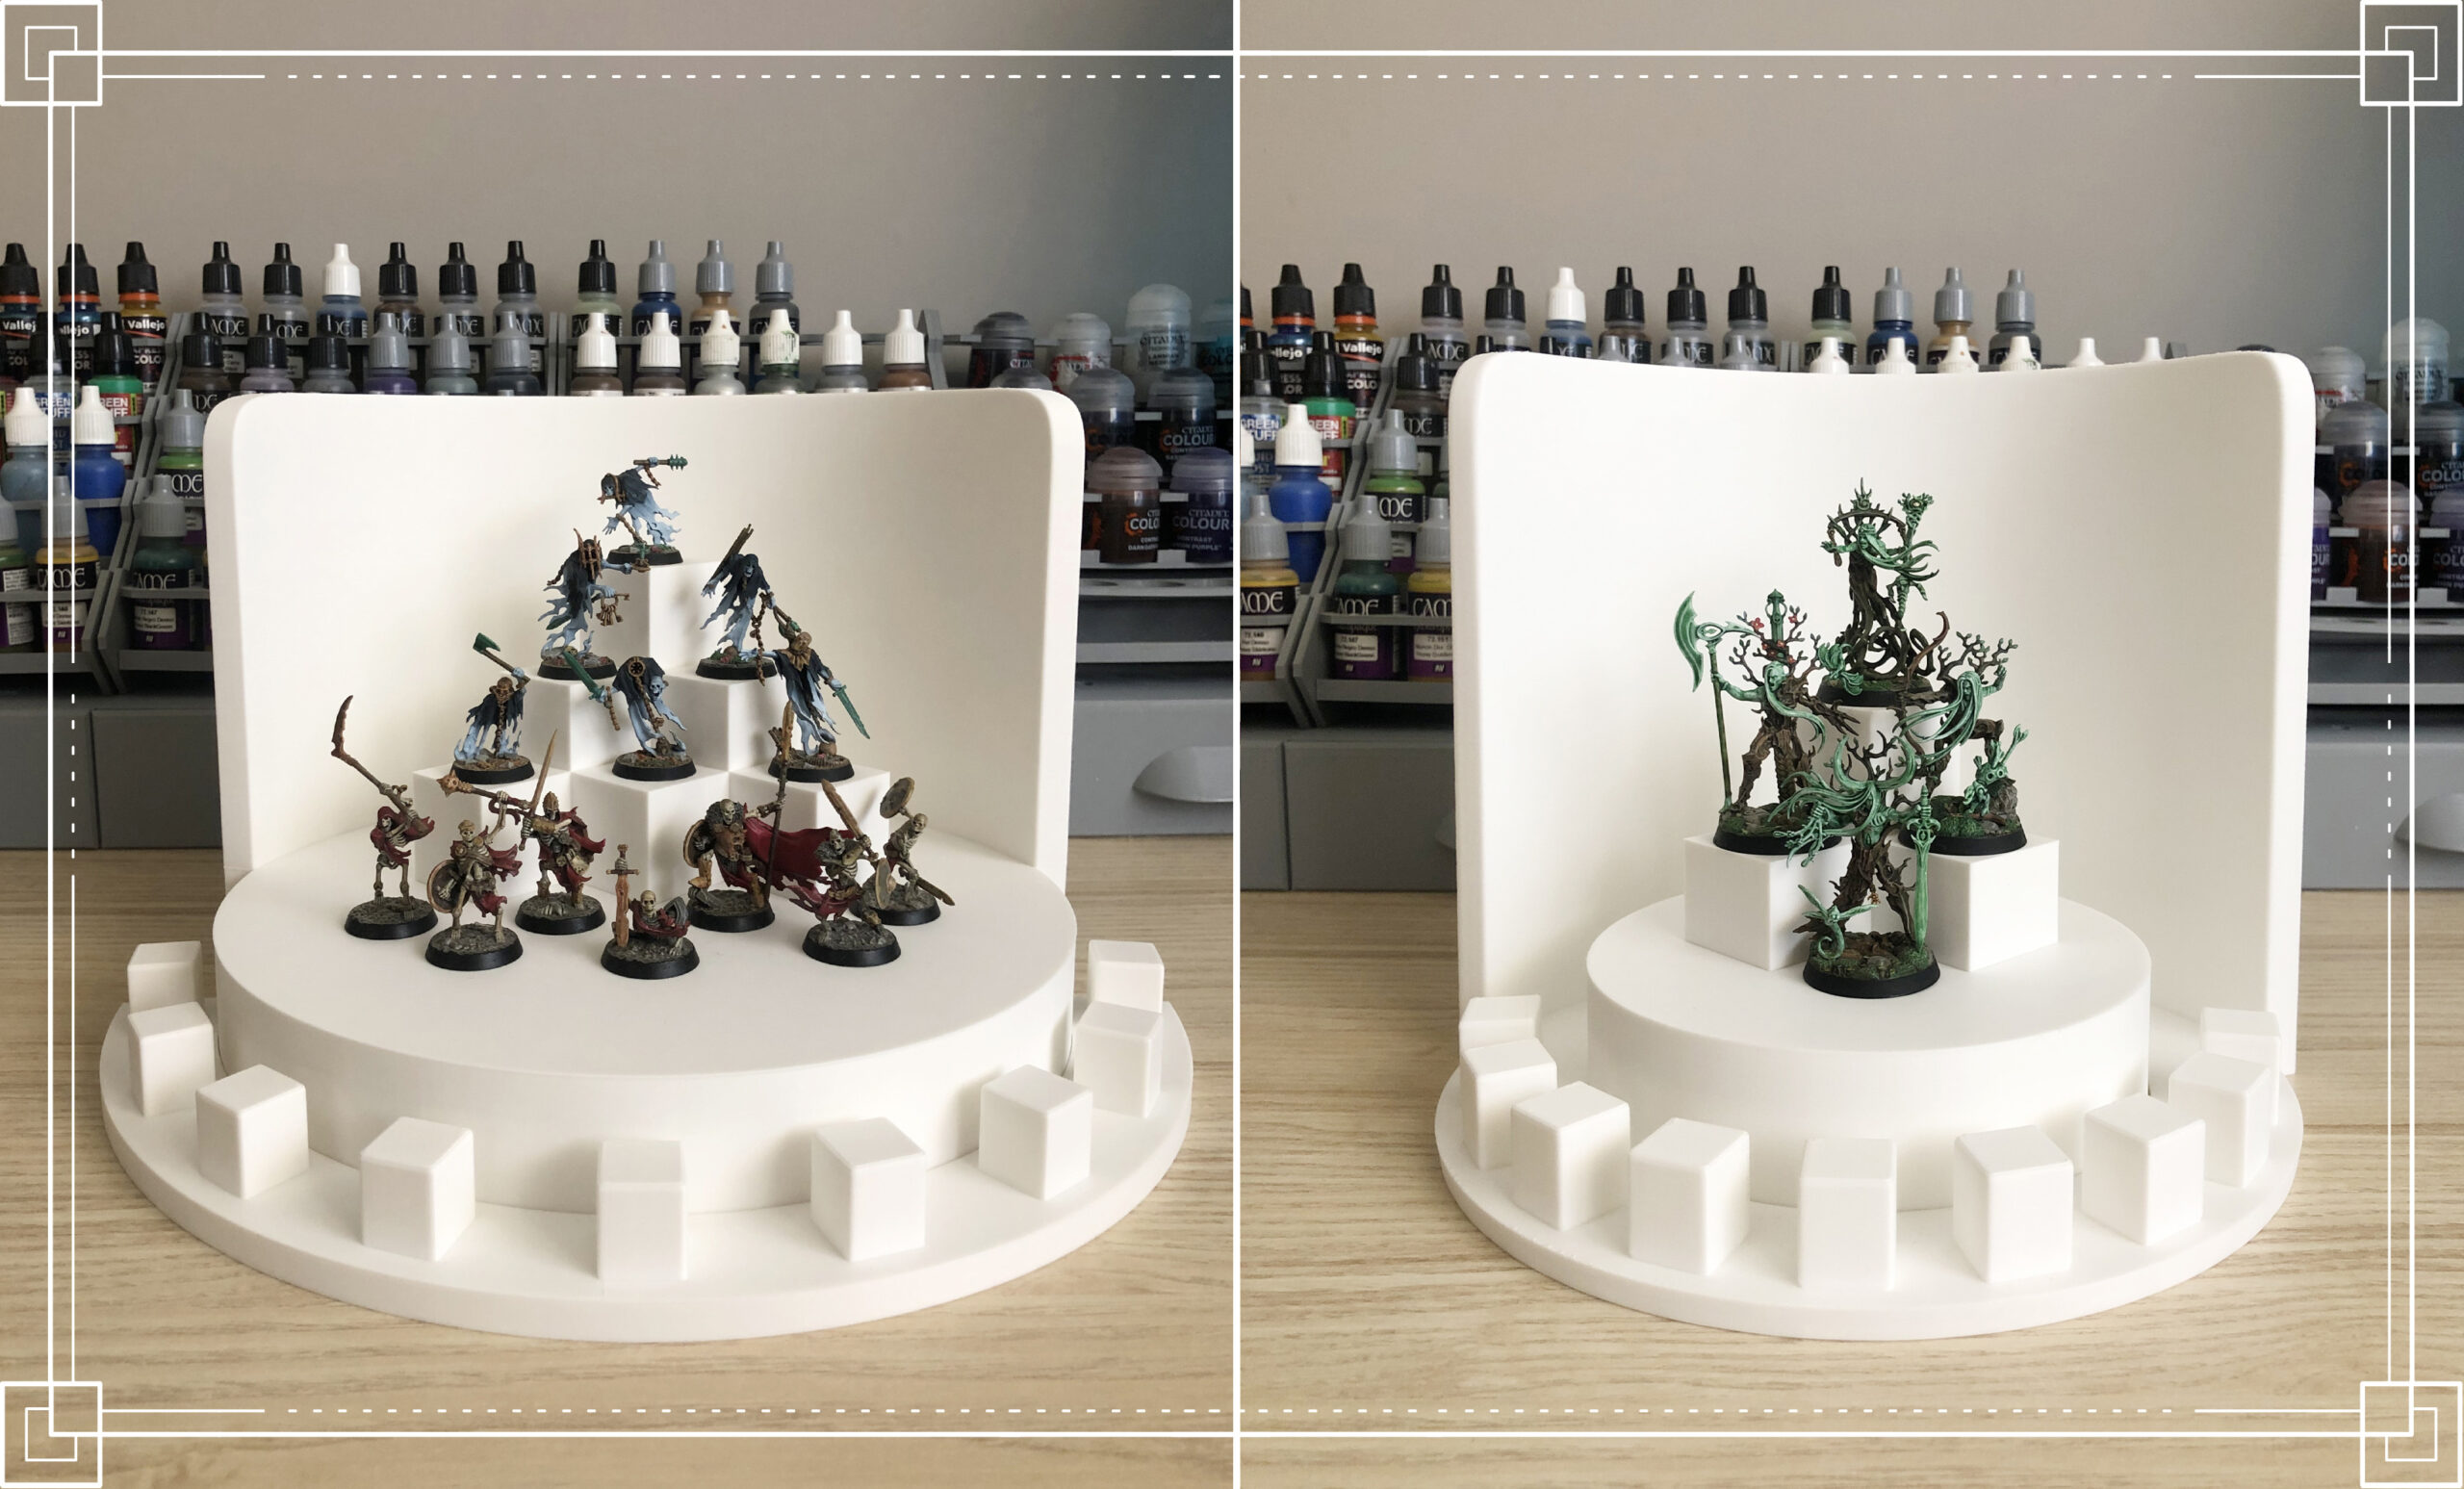
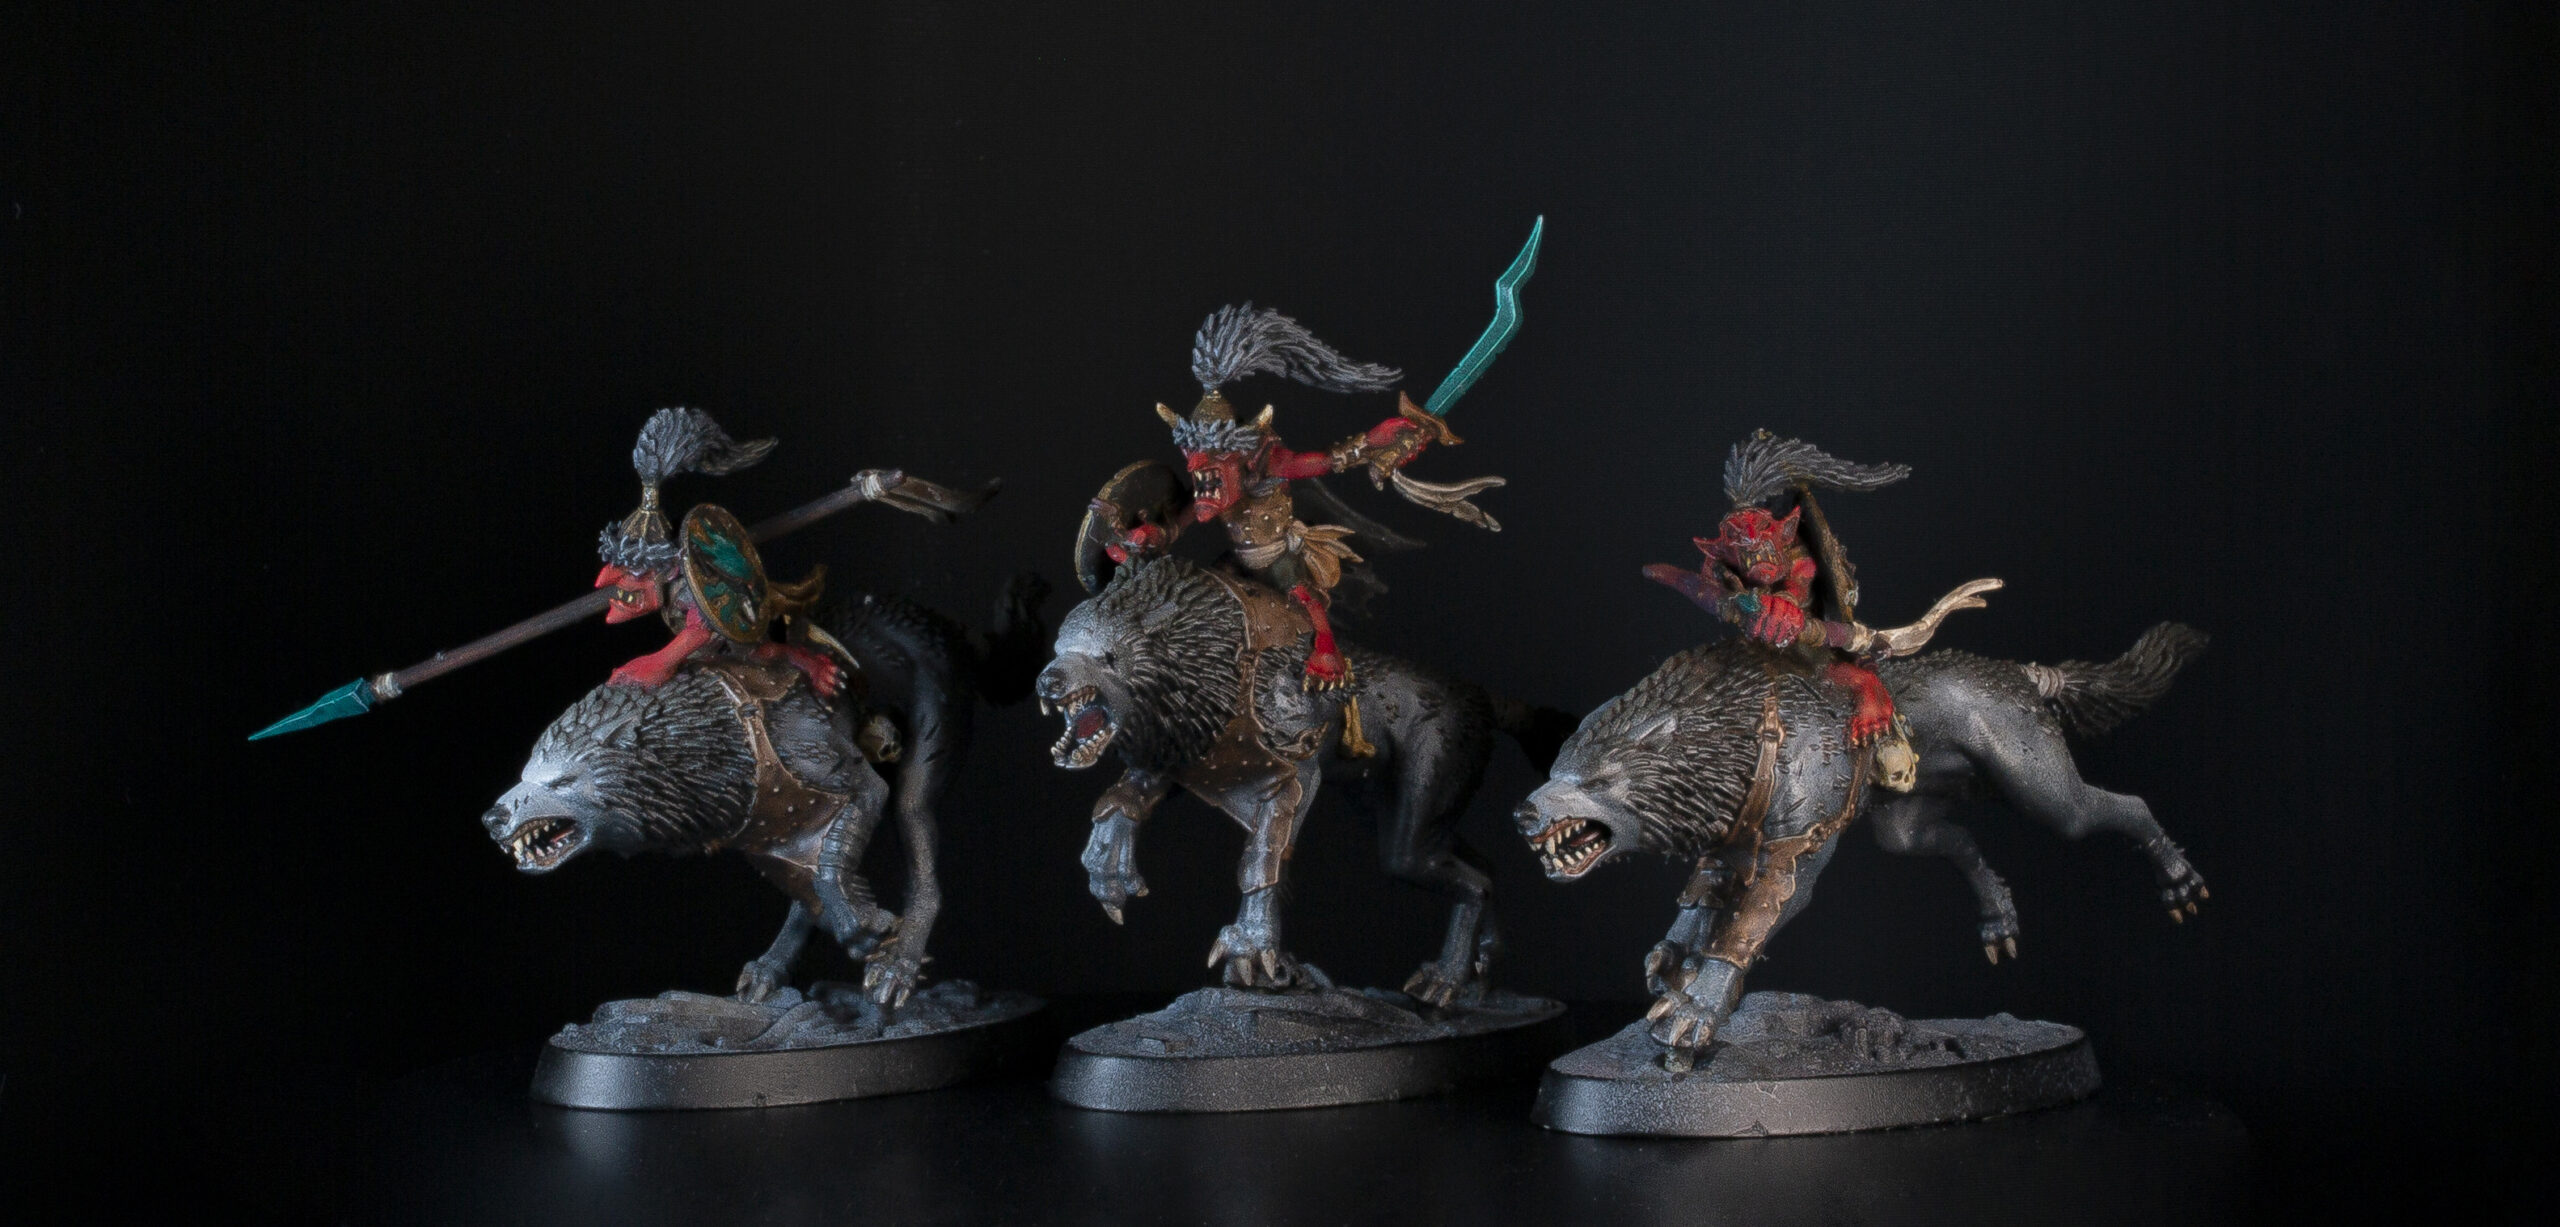
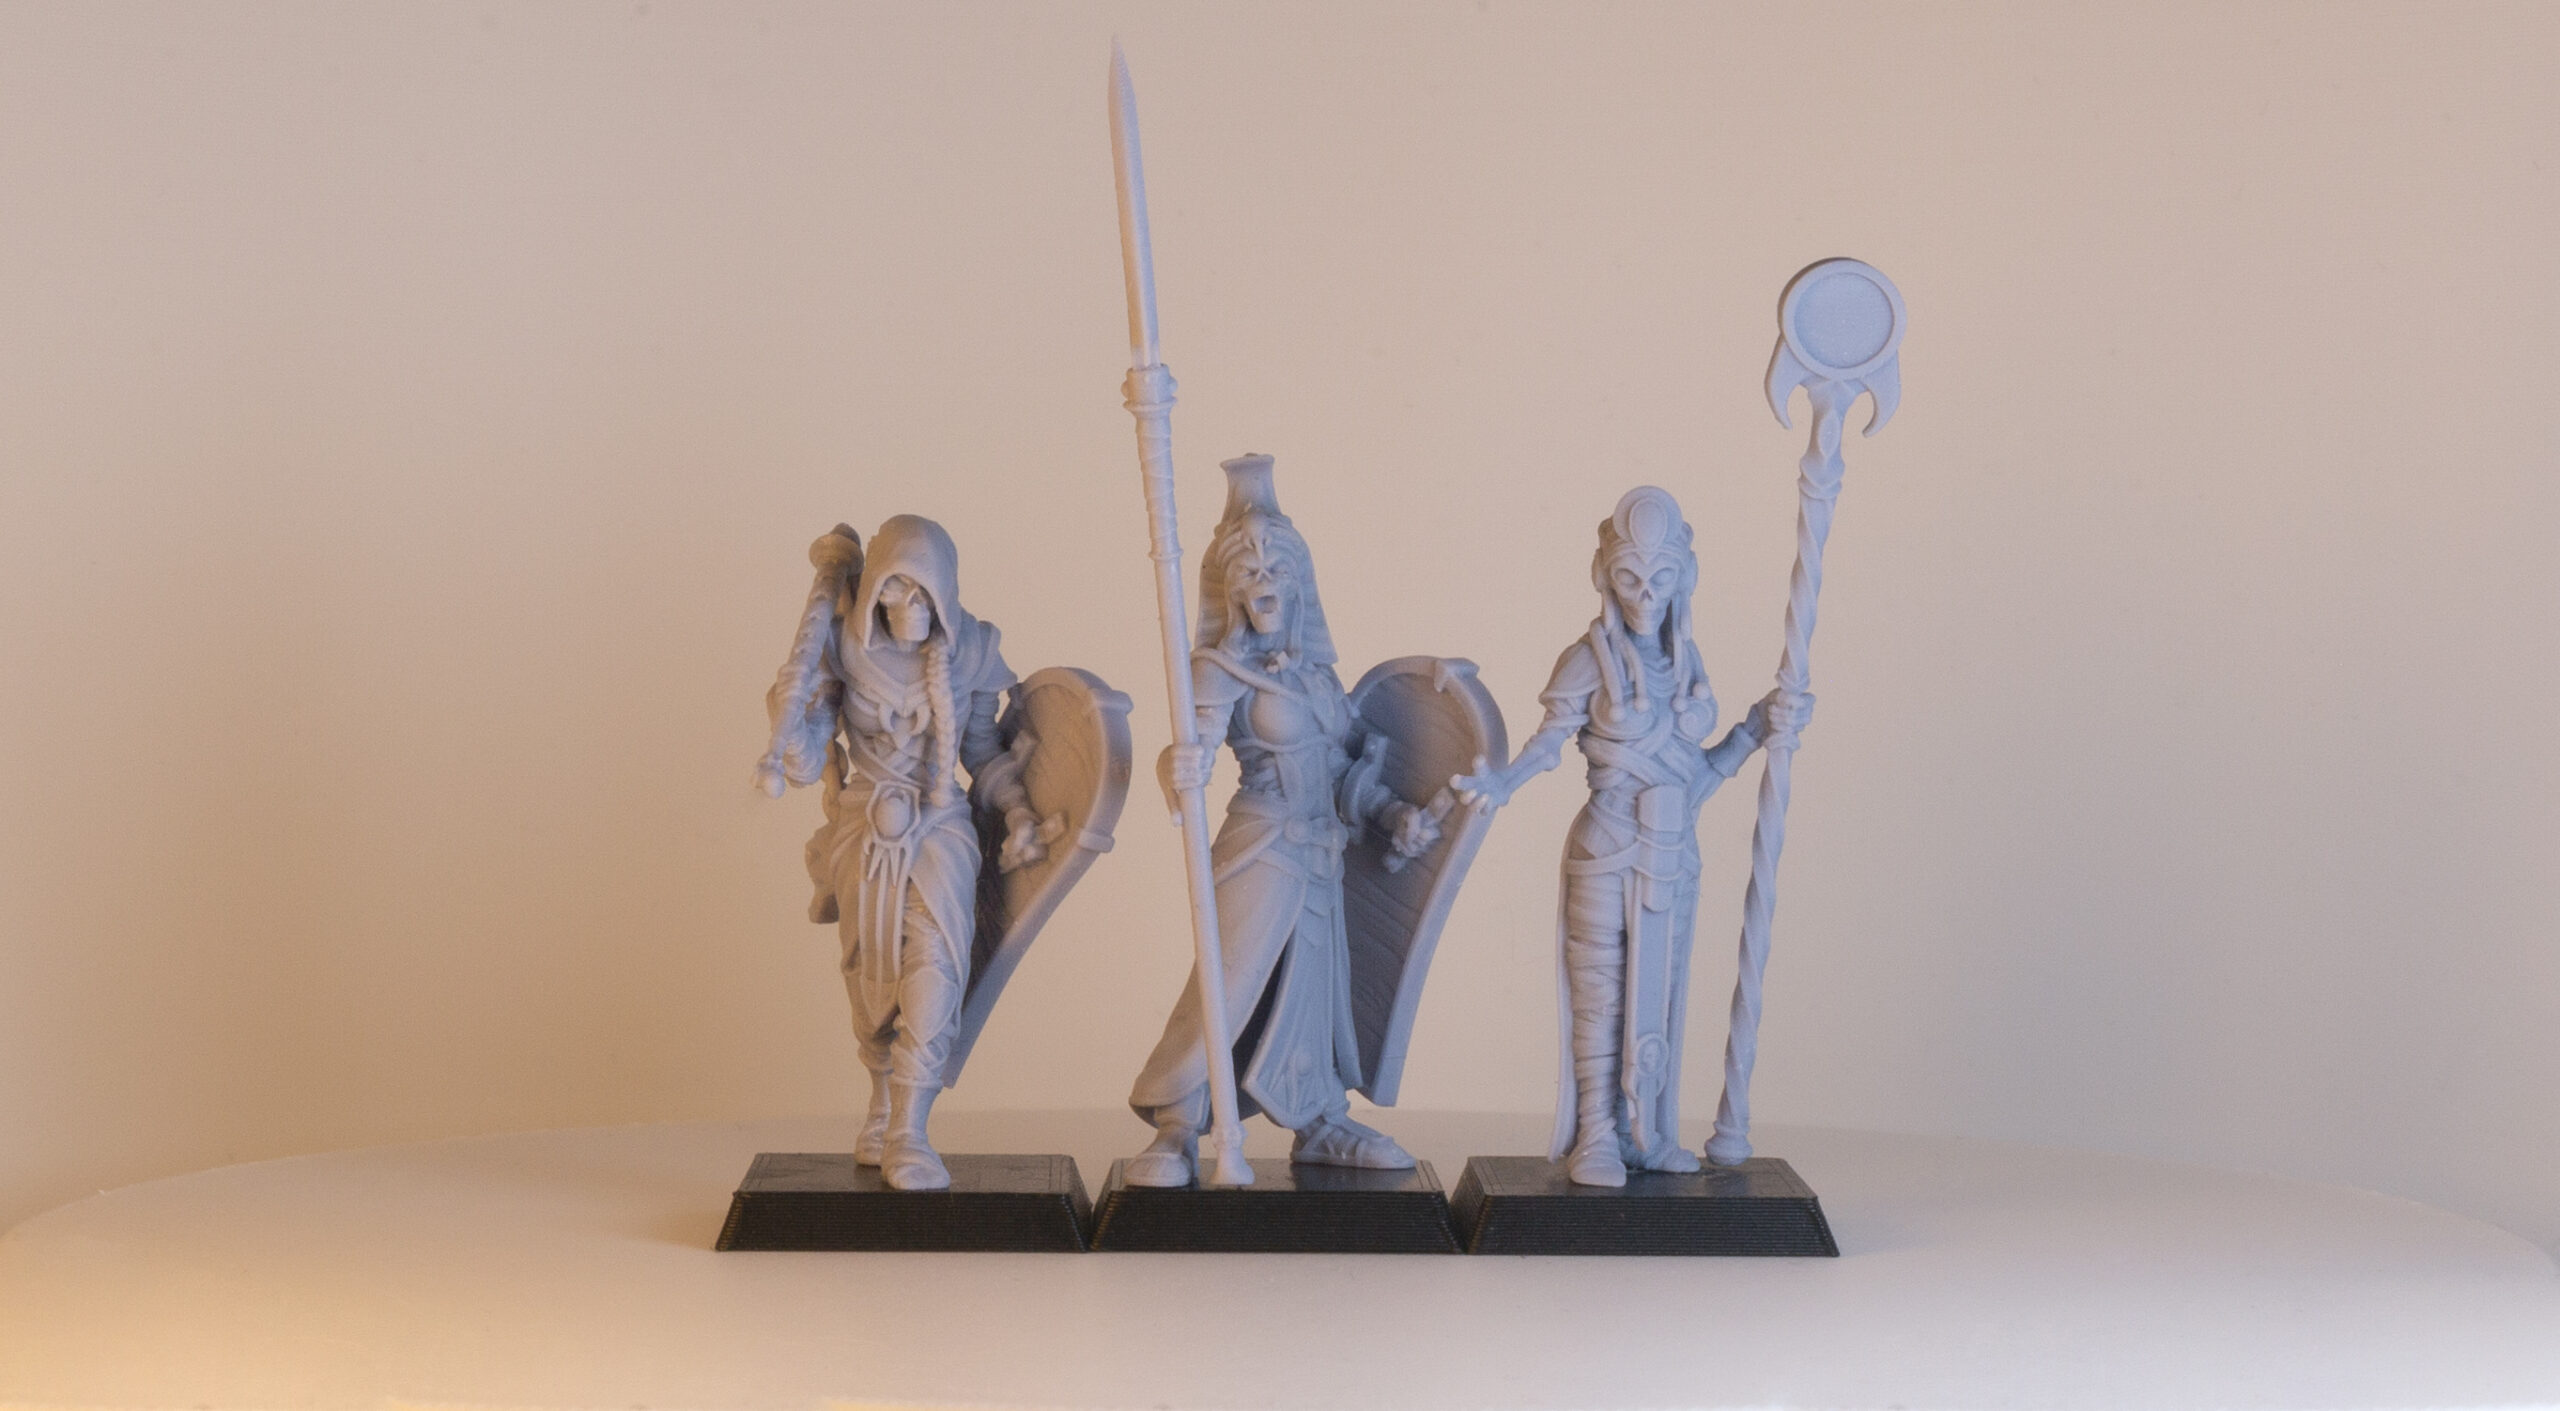
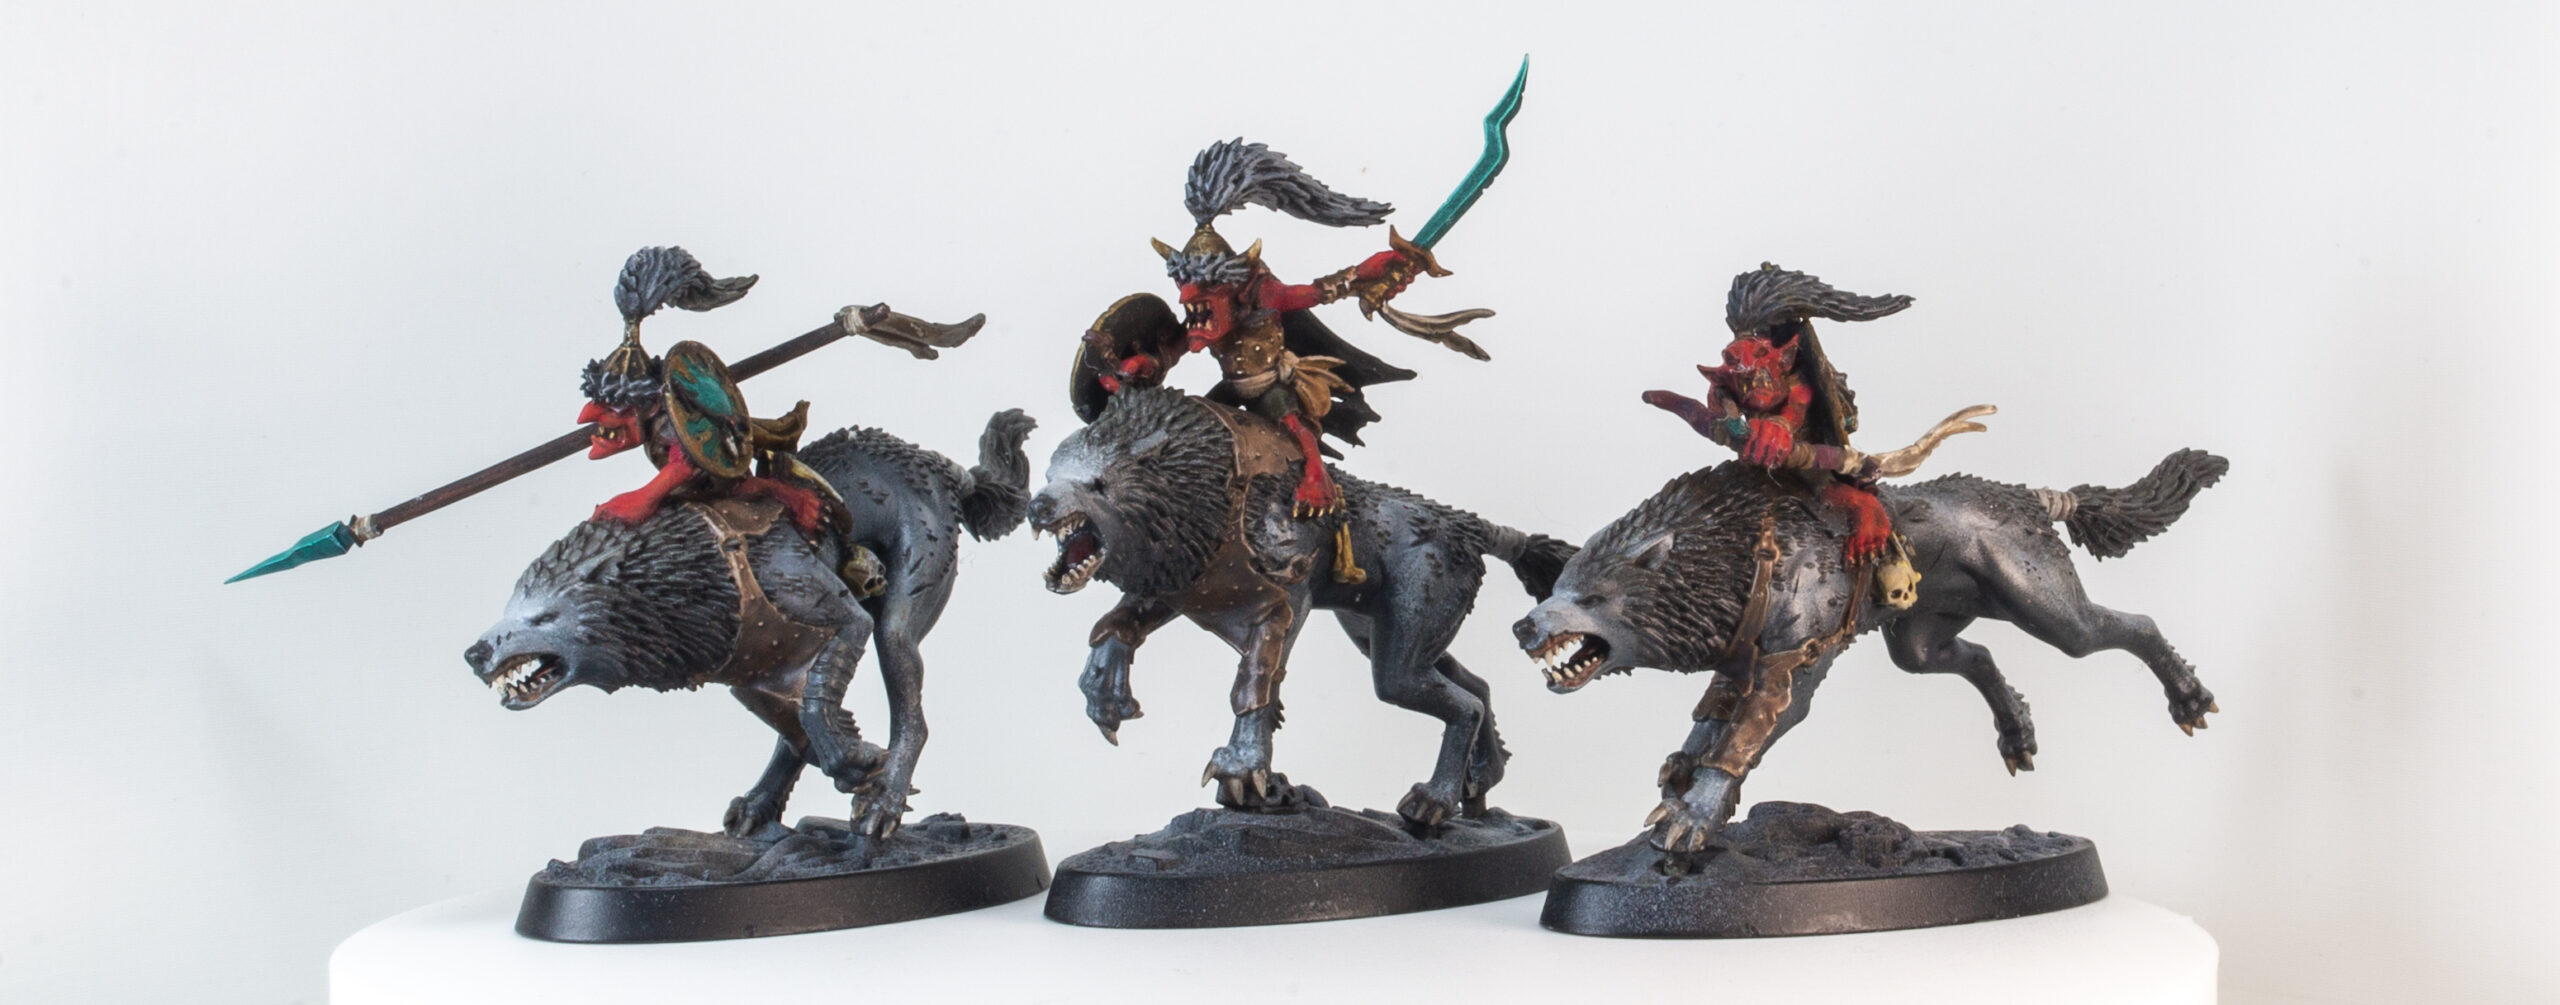
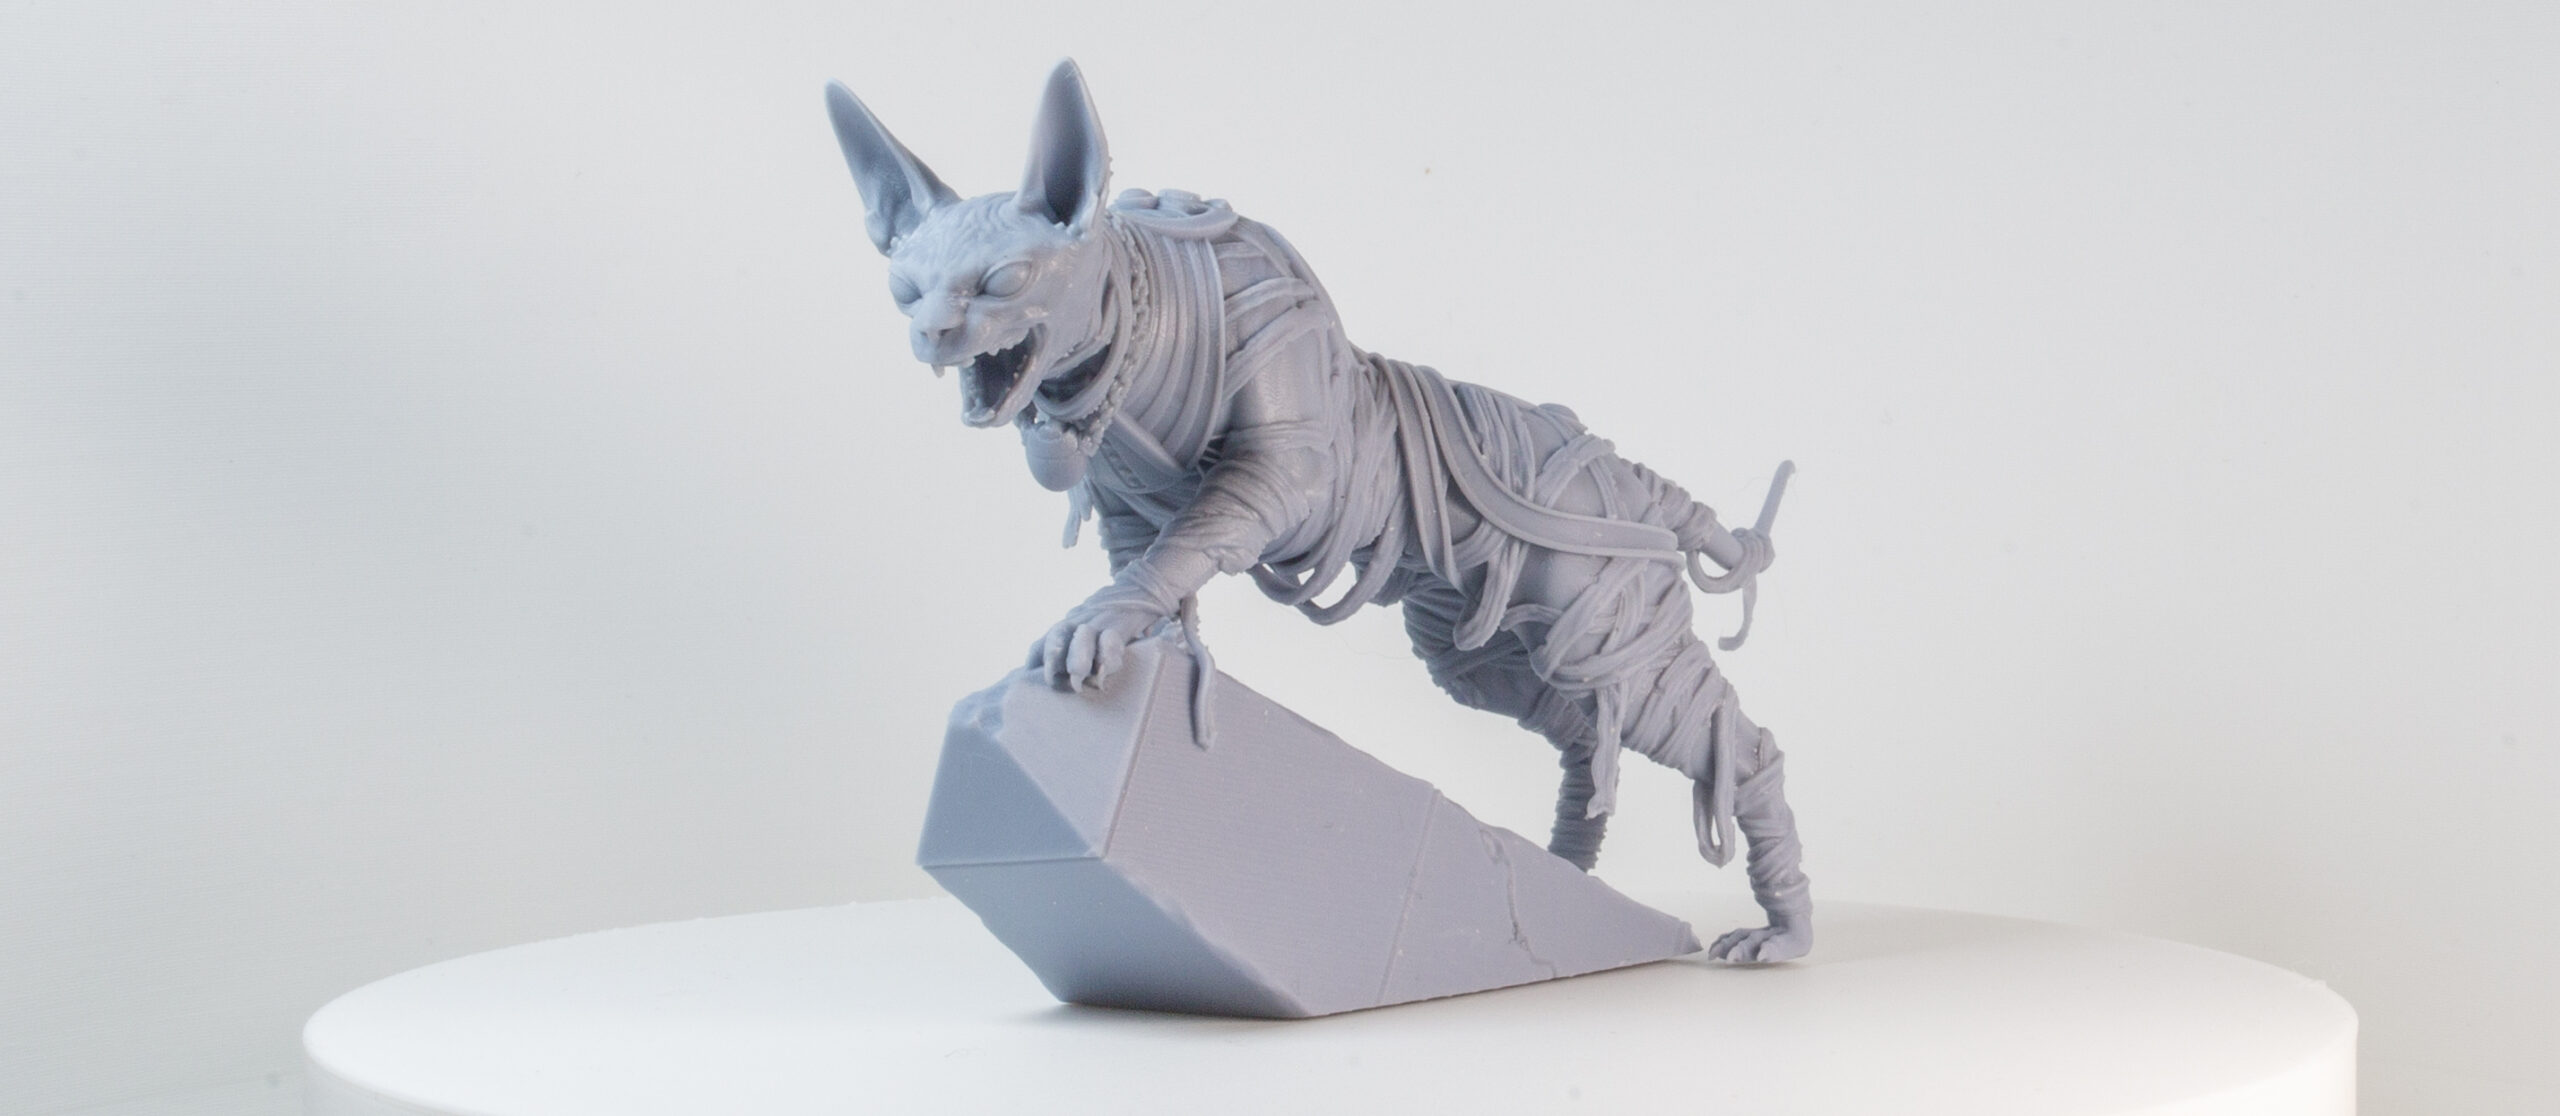
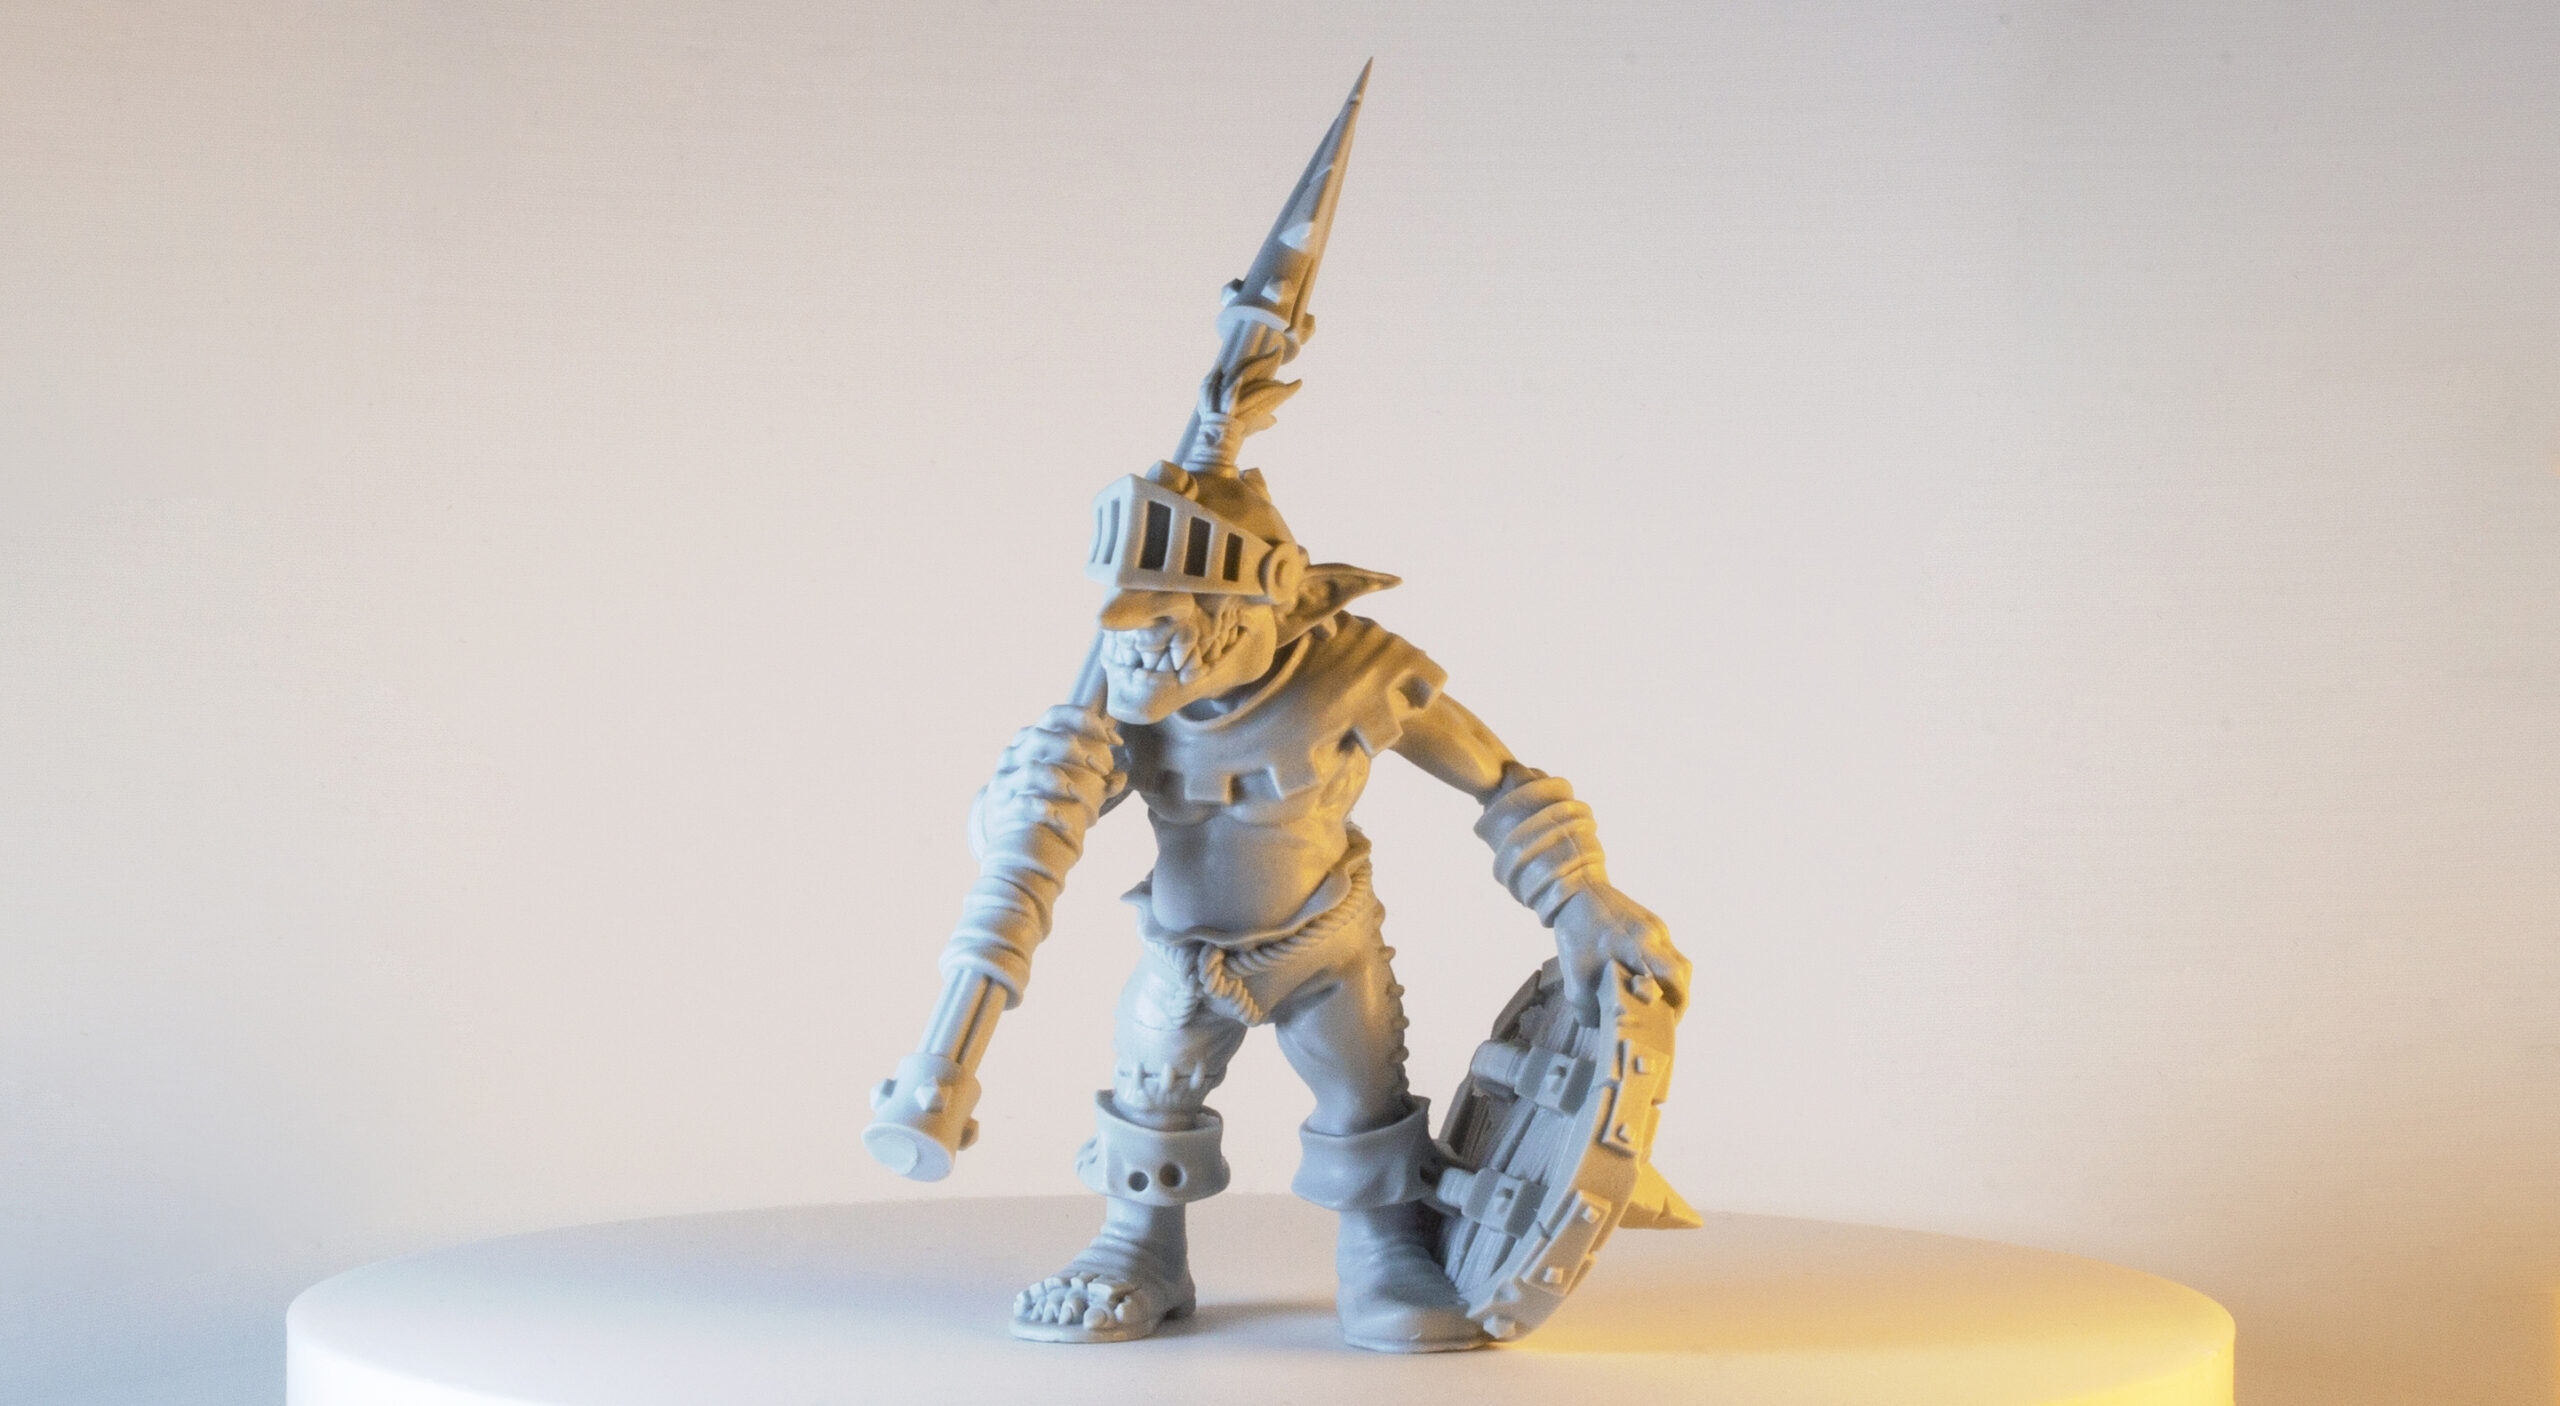
Here are some photos with only very basic curve adjustments.
Black background:
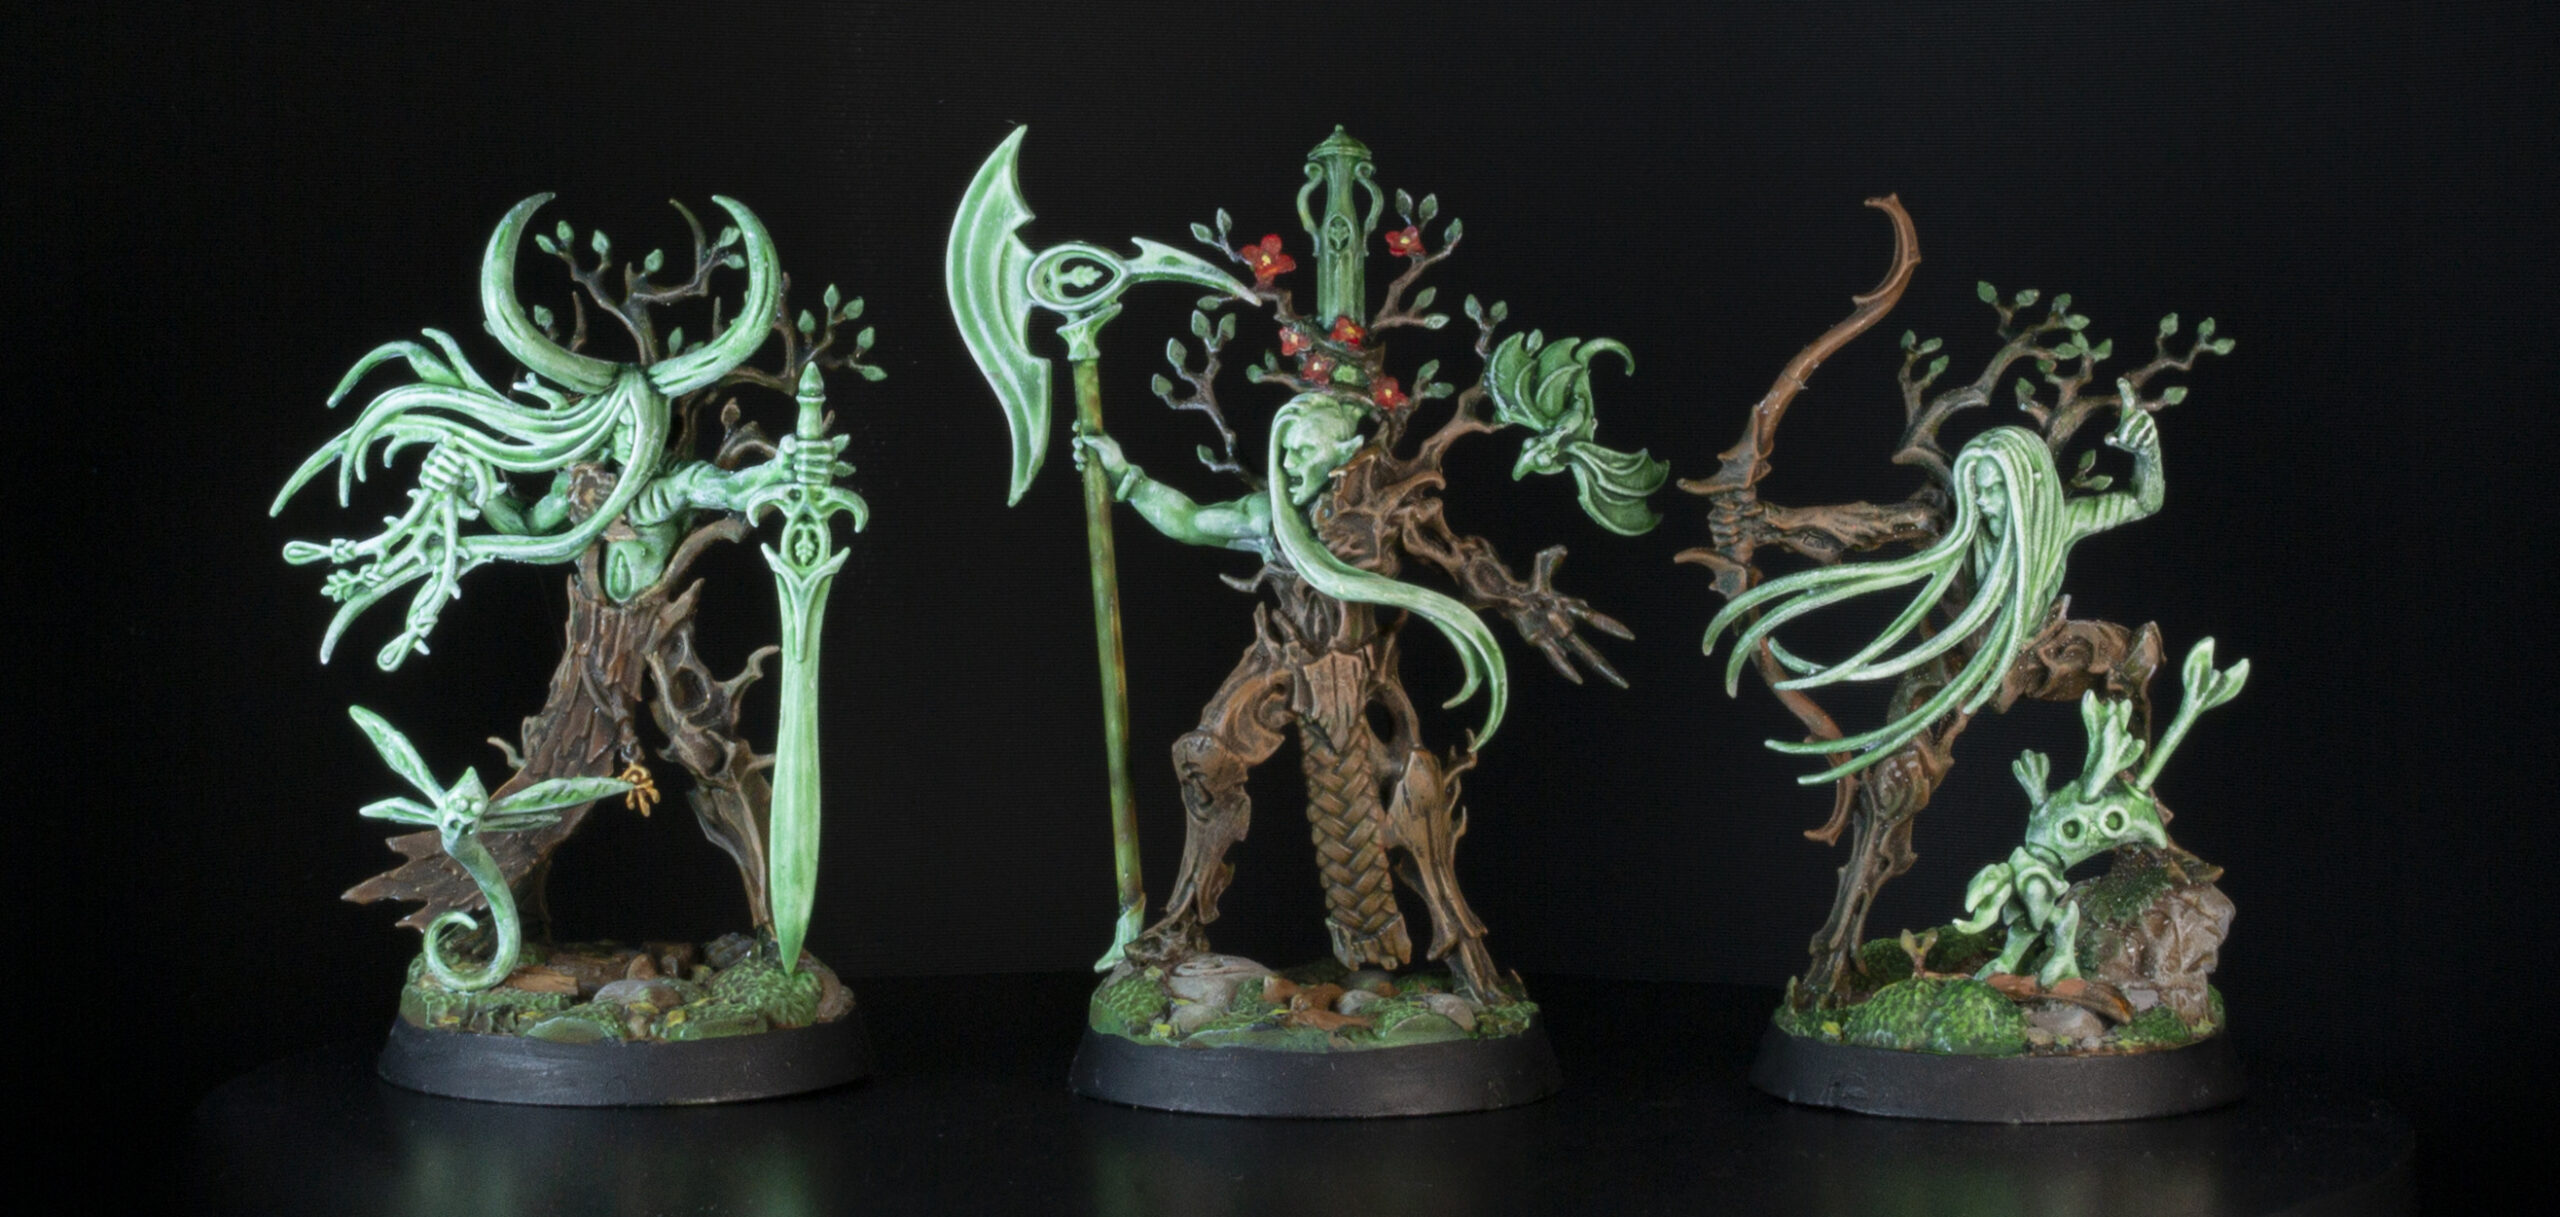
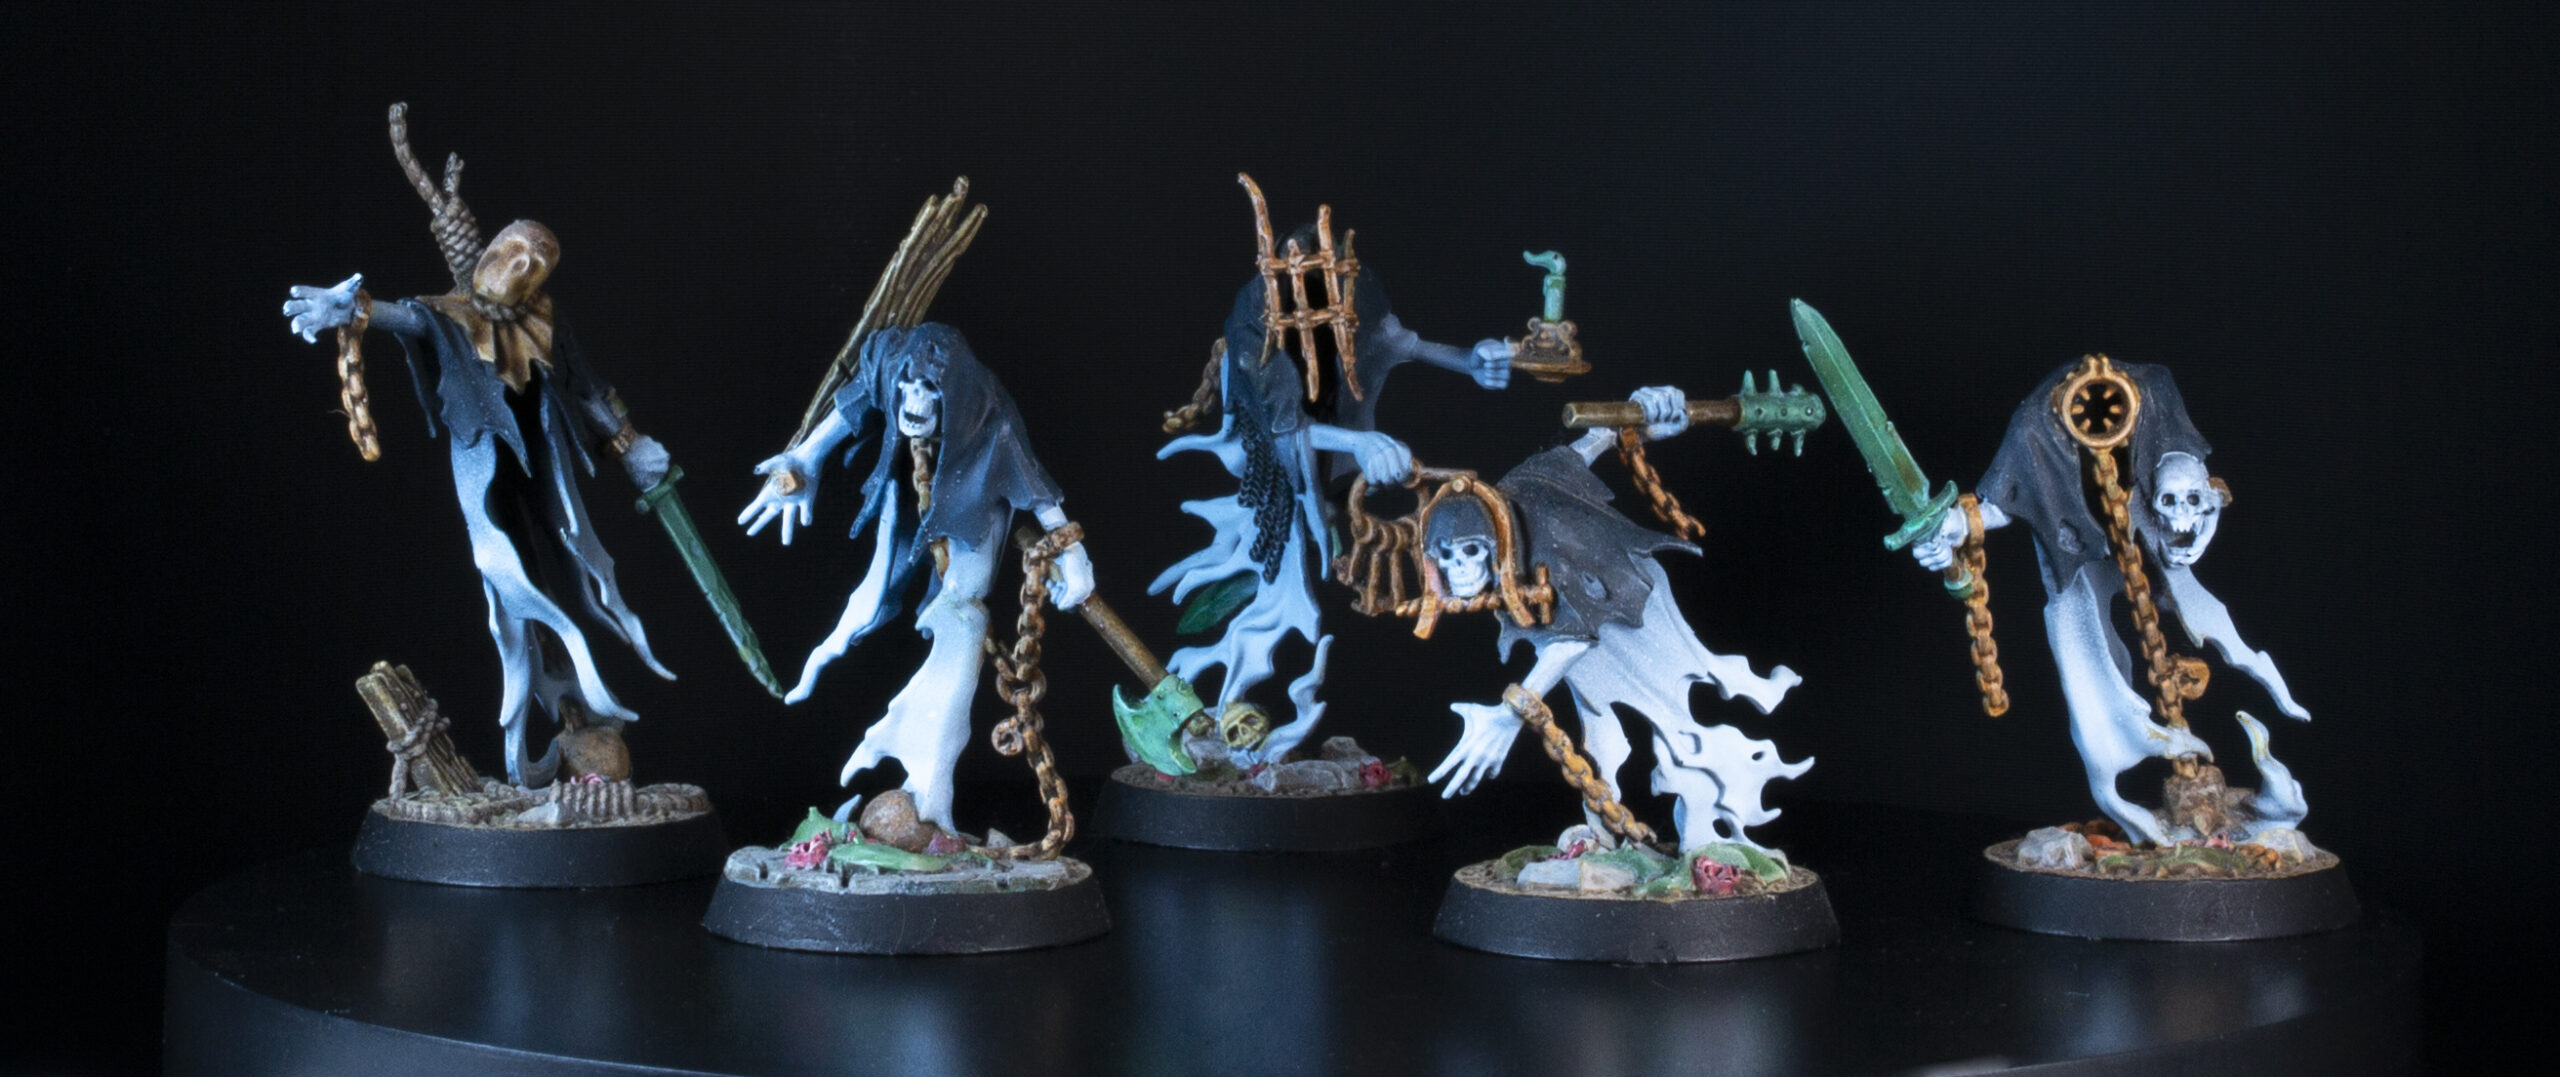
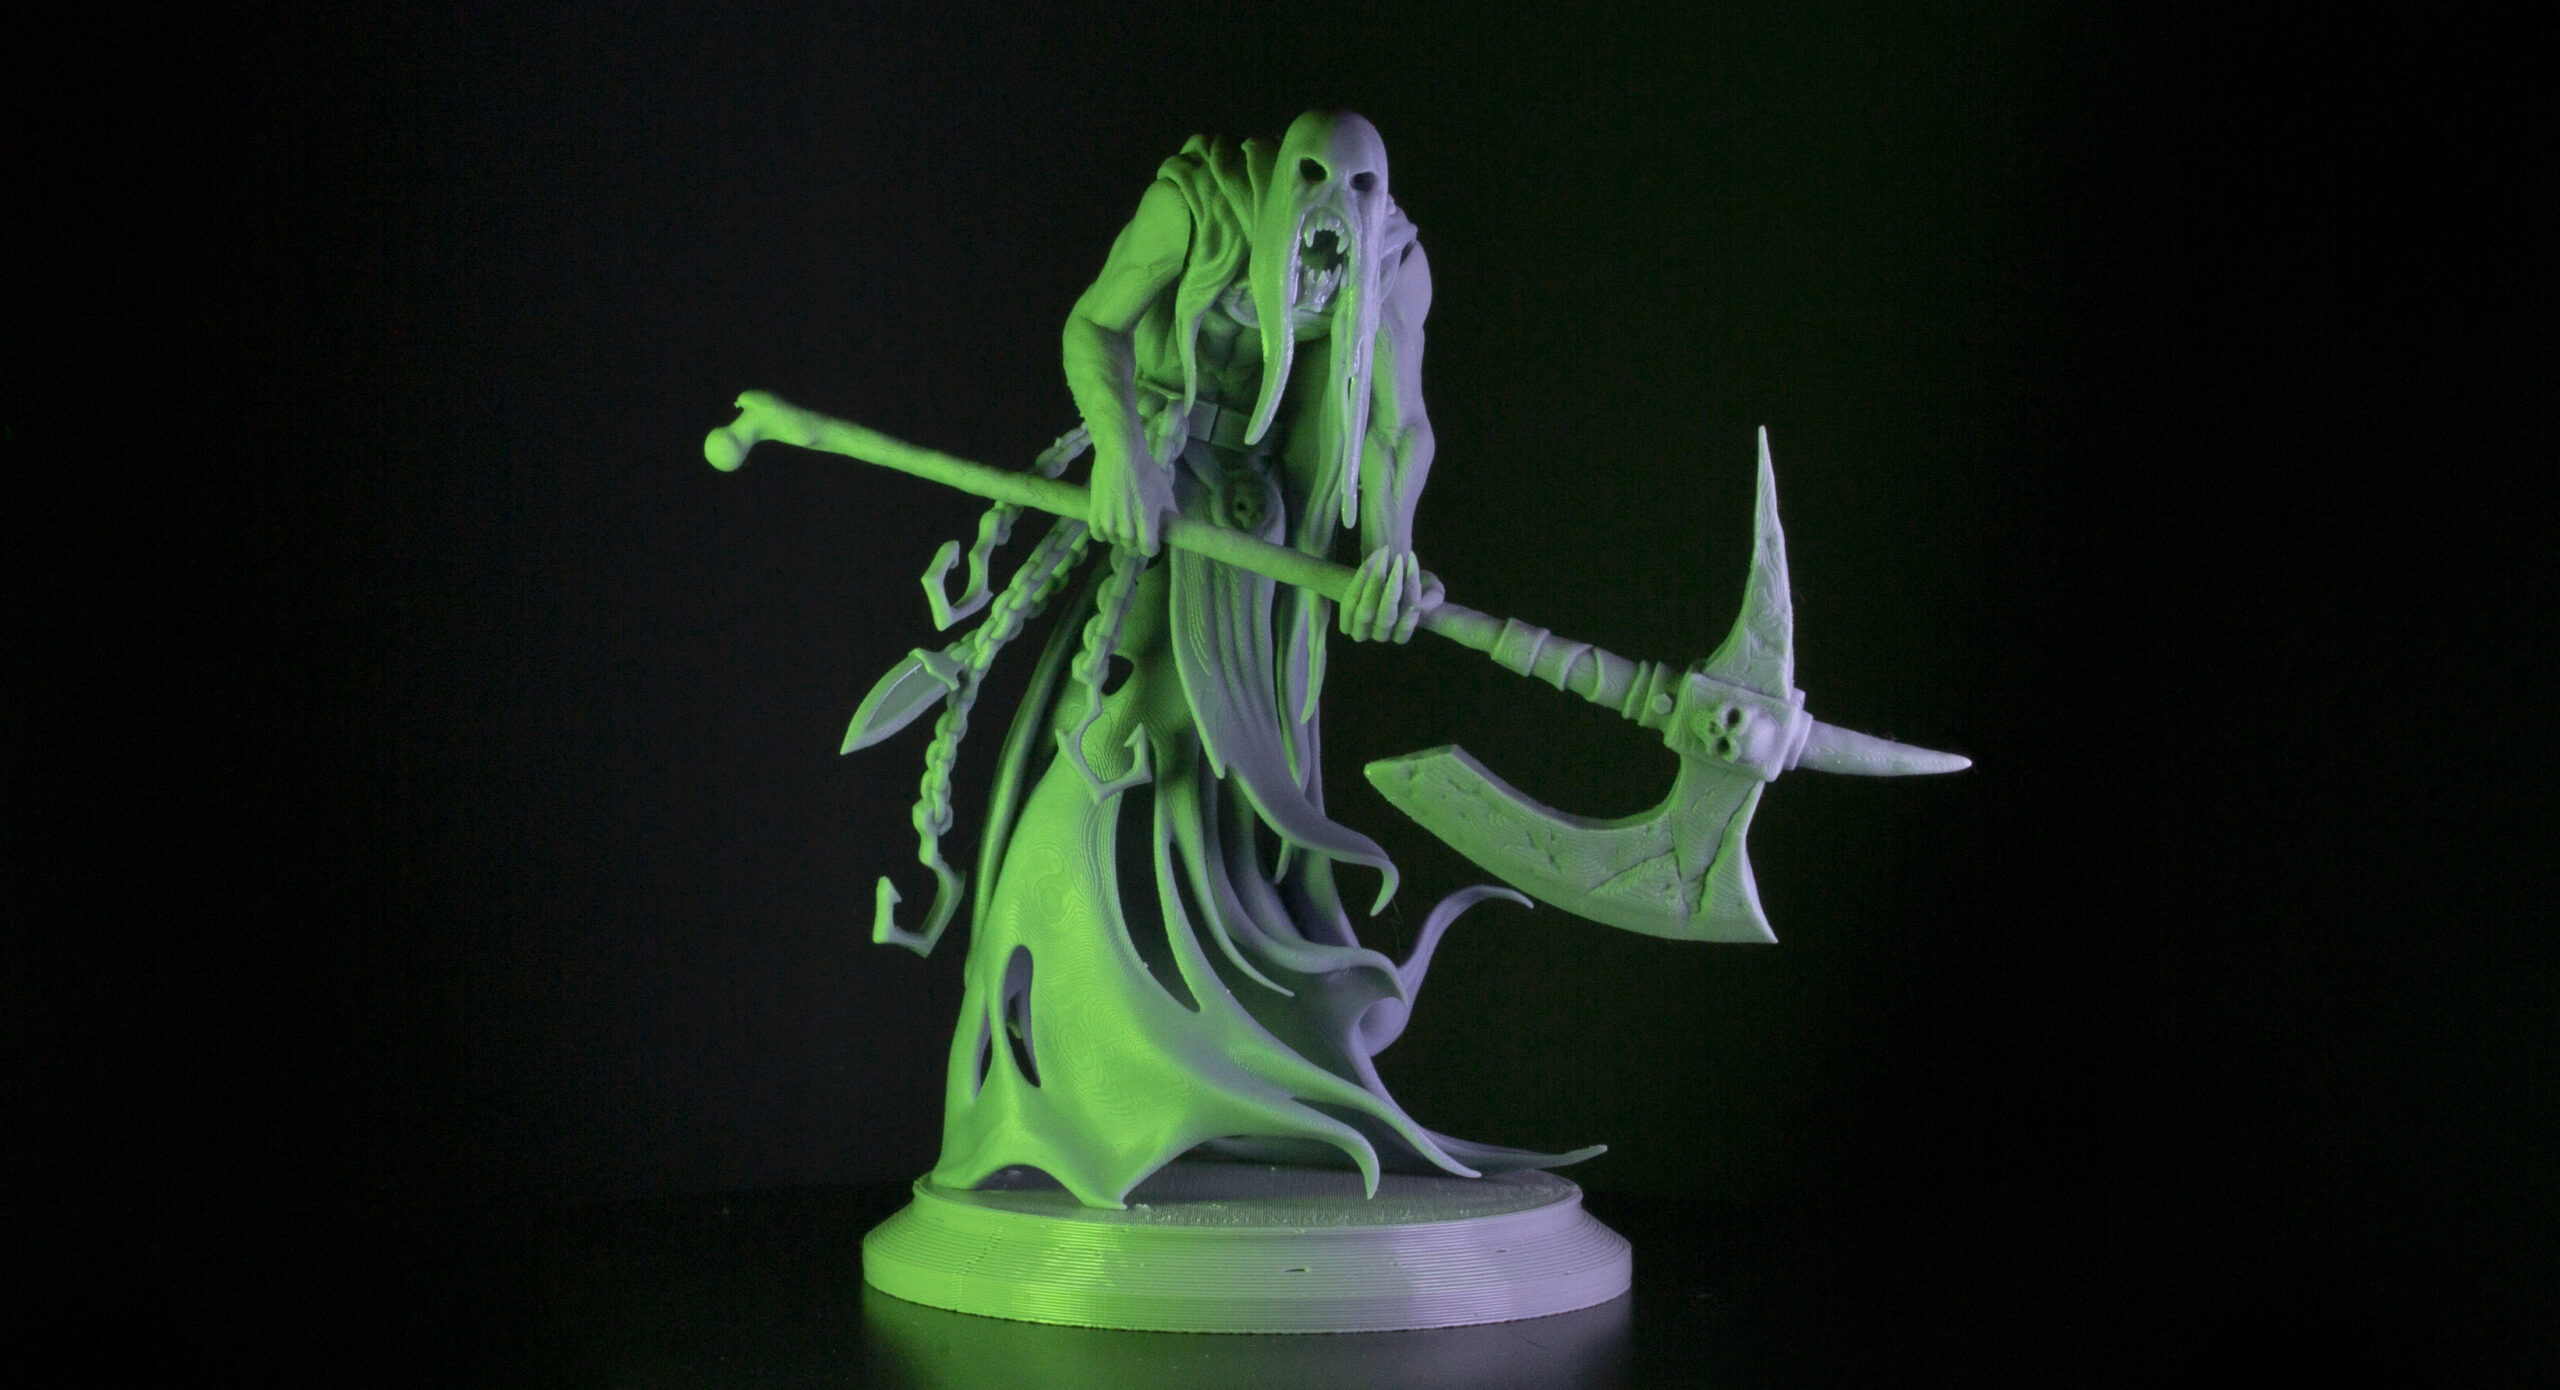

White background:
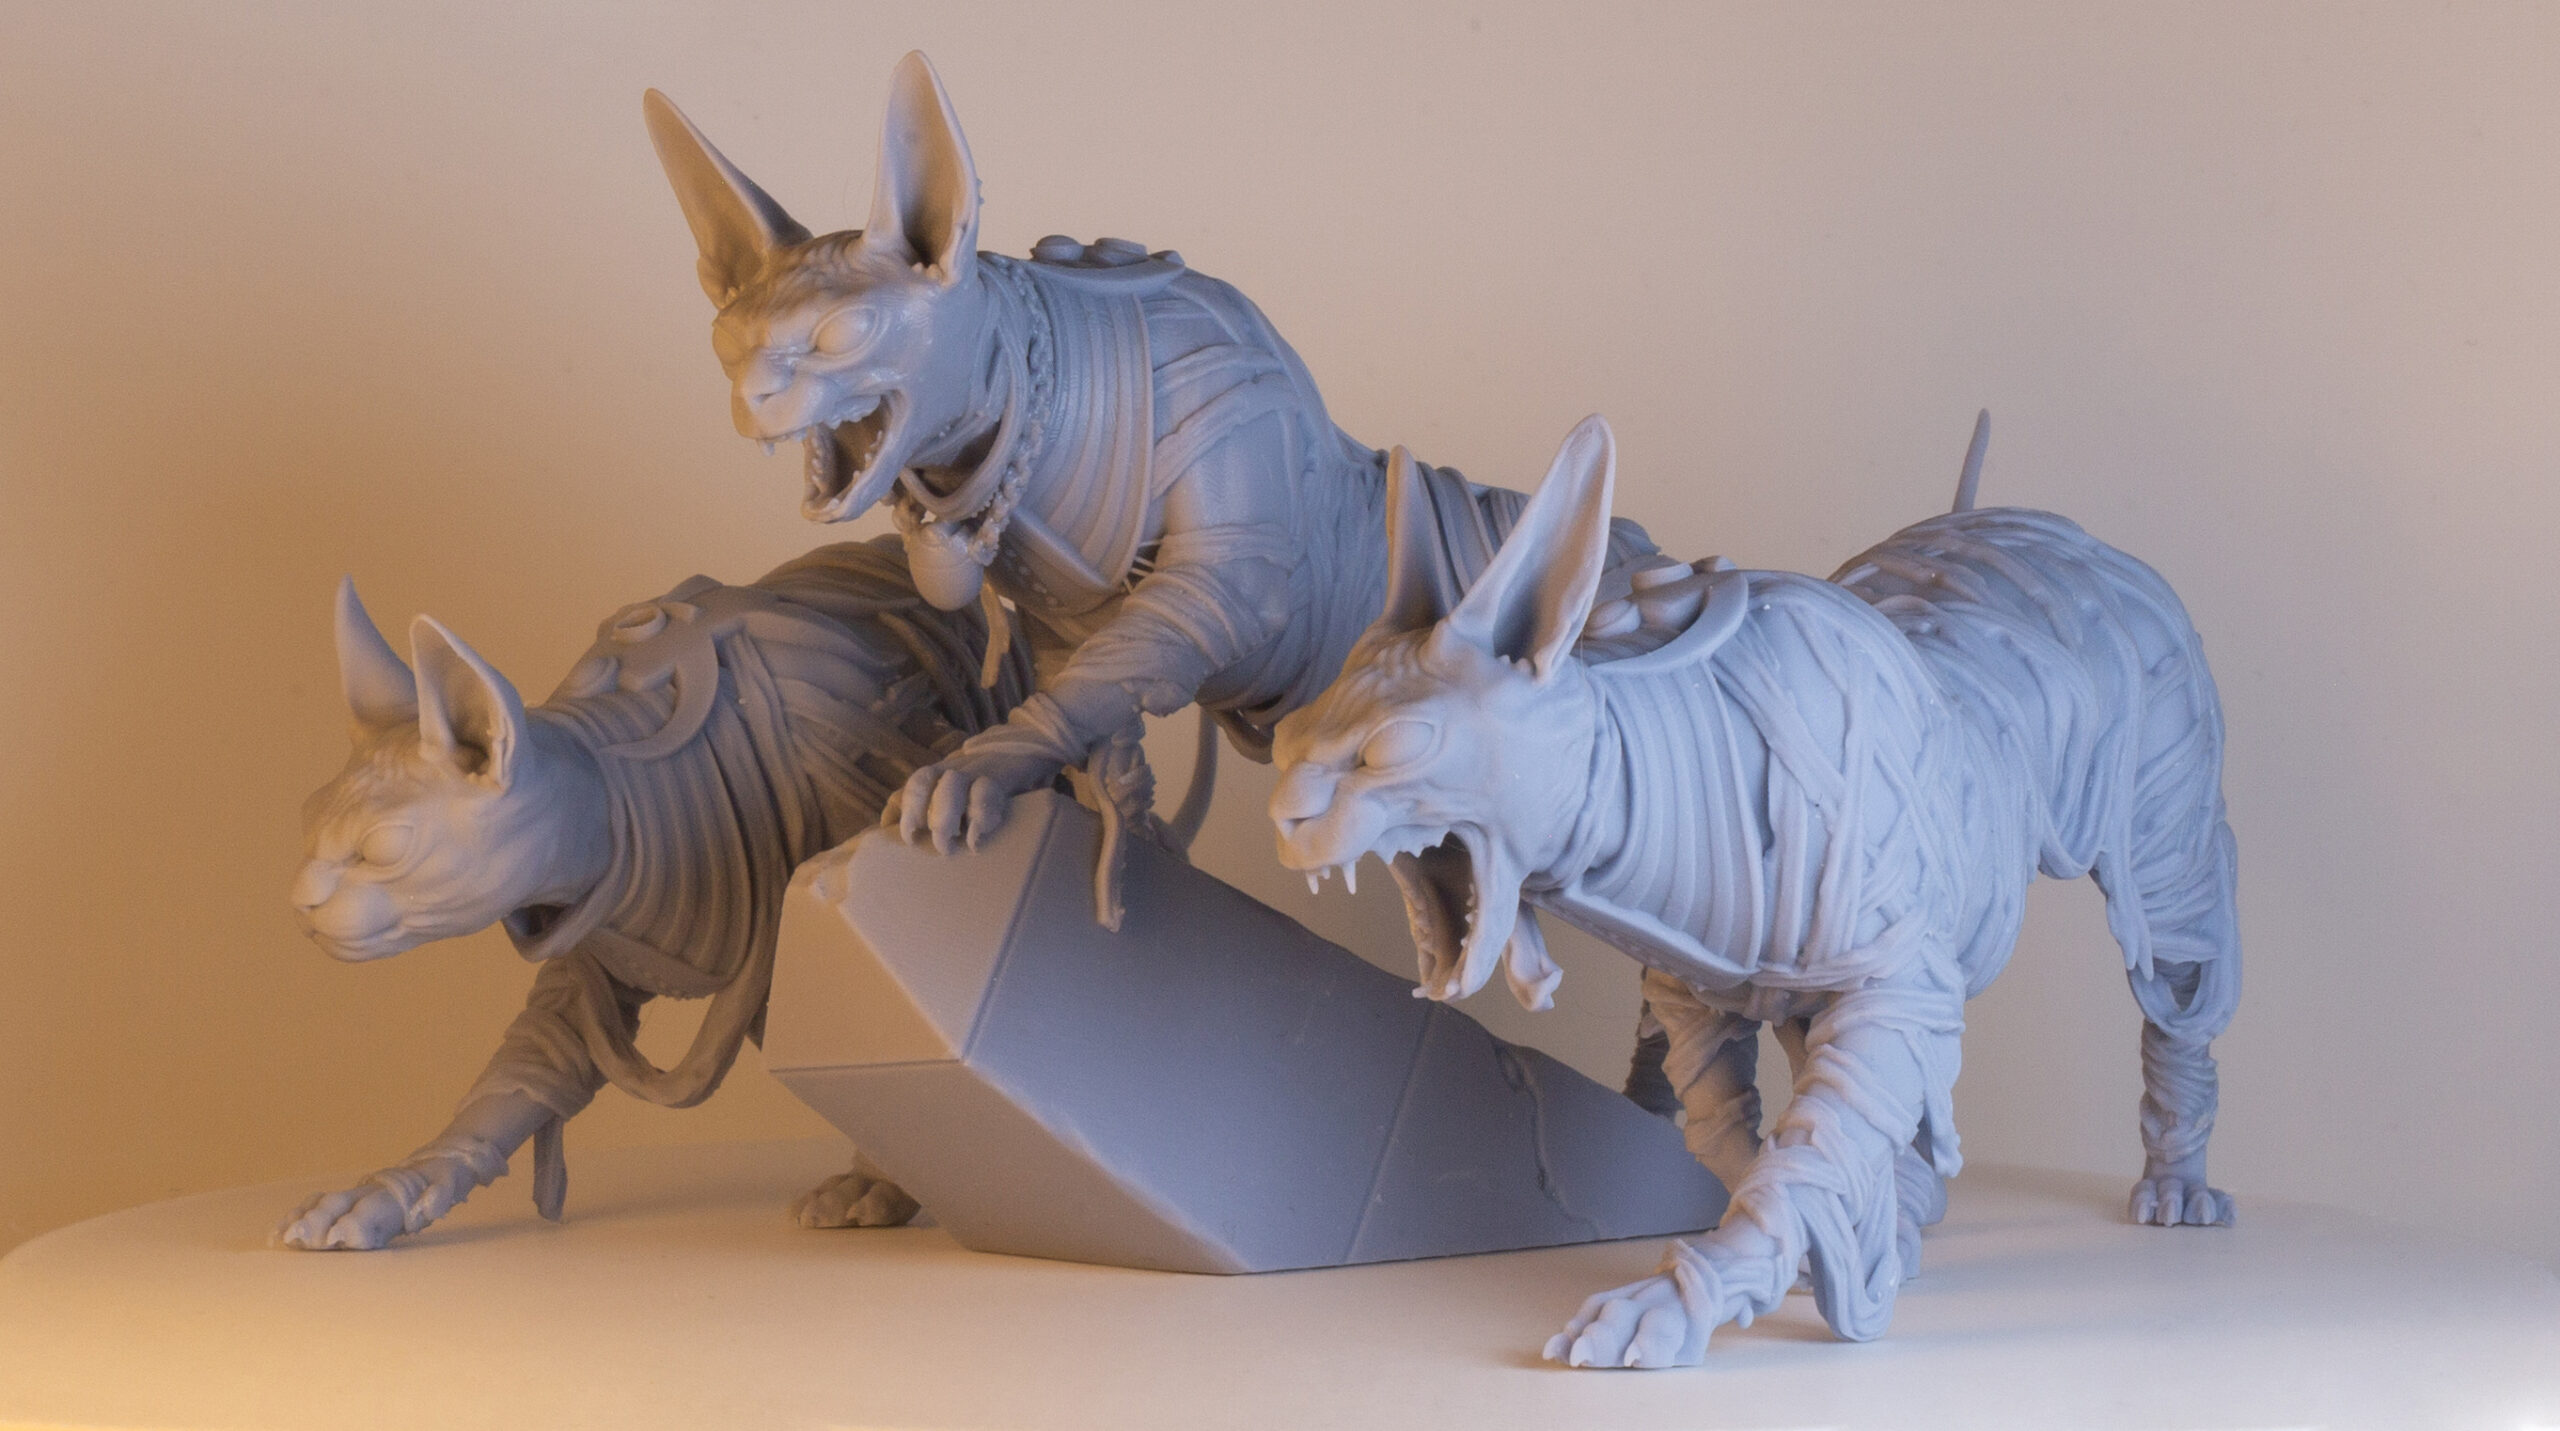

XL Size:
